
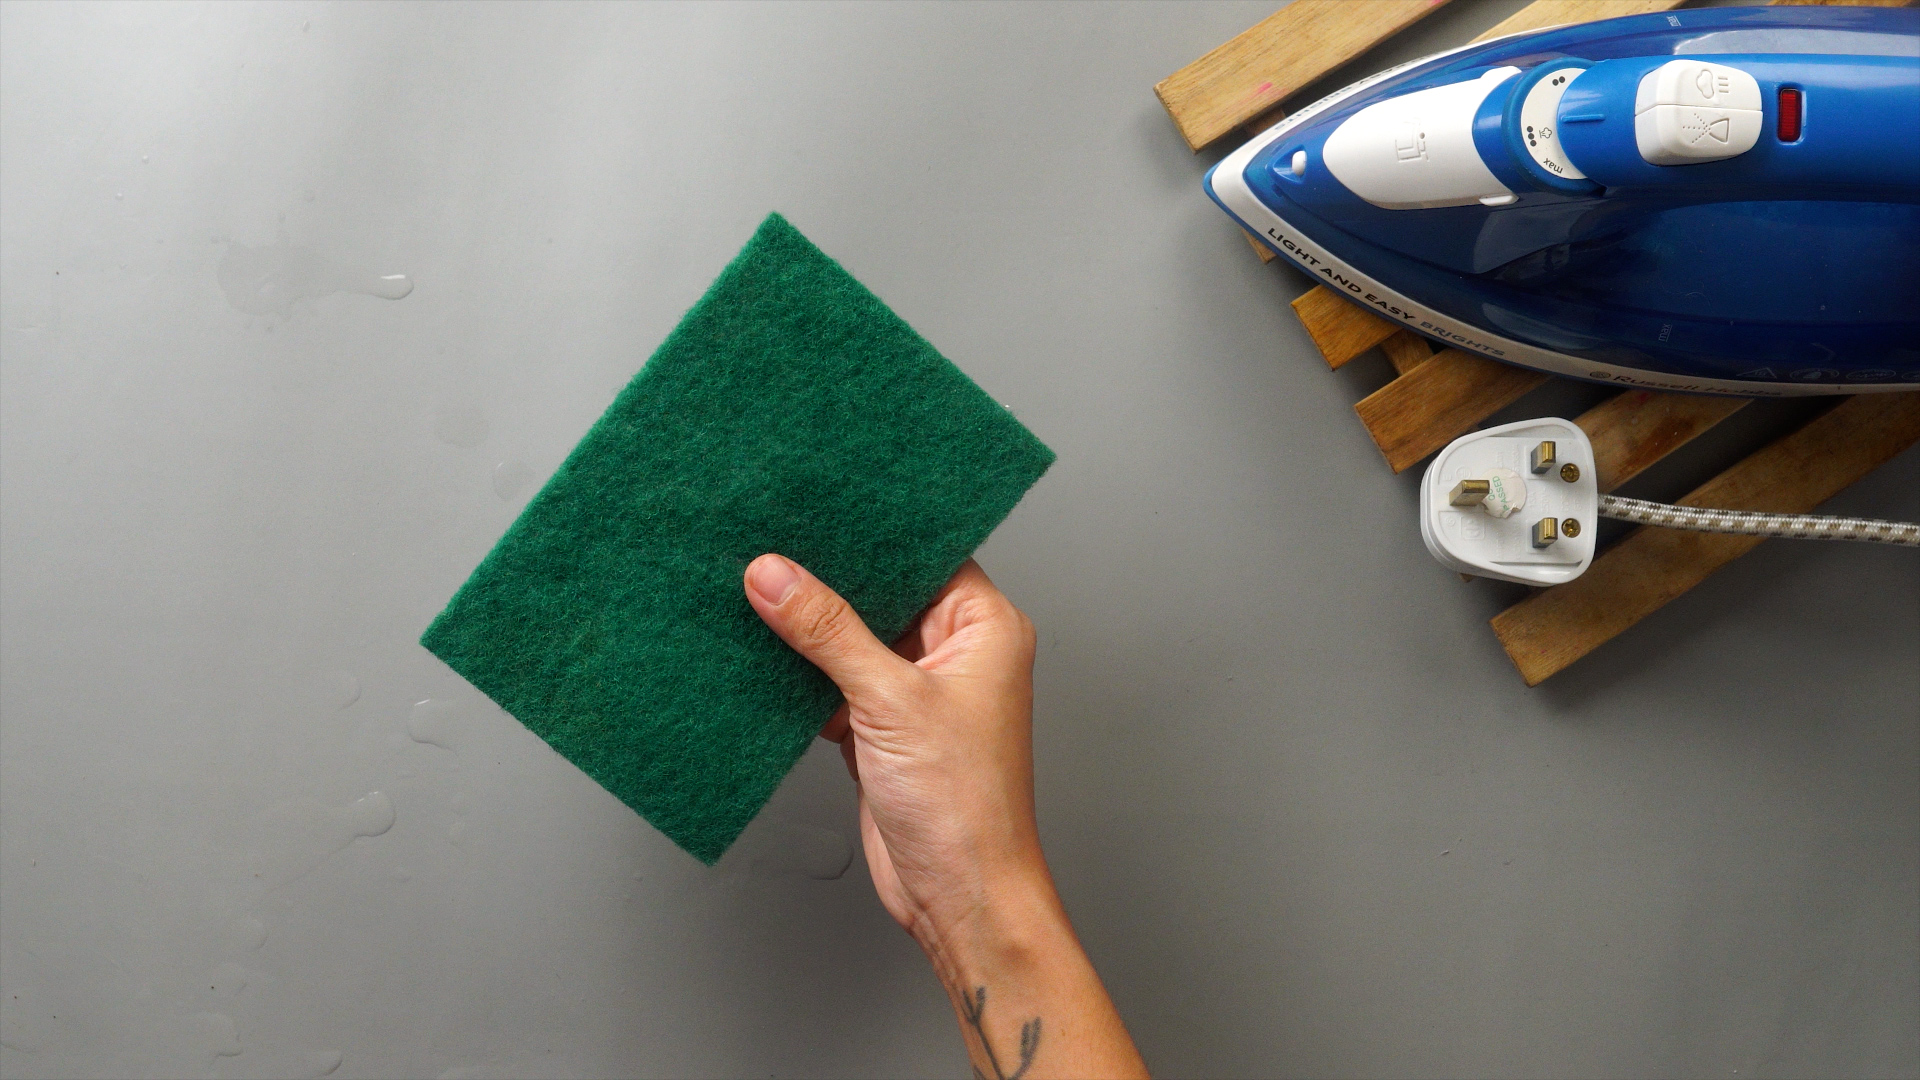
A dirty iron has a special talent for revealing itself at the worst possible moment. One minute, you are pressing a clean white shirt; the next, the soleplate leaves a mysterious brown streak that looks like the autograph of a tiny chimney sweep.
Fortunately, distilled white vinegar can help loosen mineral deposits, starch residue, and grime. However, there is one important catch: not every iron manufacturer allows vinegar inside the water reservoir. Some models tolerate a diluted vinegar rinse, while others specifically require plain water for their self-cleaning cycle.
This guide explains how to clean an iron with vinegar safely in 13 practical steps. It covers the soleplate, steam holes, exterior, andonly when approved by the manufacturerthe internal water chamber. You will also learn what not to do, how to test the iron afterward, and how to prevent another crusty soleplate reunion.
Why Irons Become Dirty or Clogged
An iron encounters more than clean fabric. Spray starch, sizing agents, melted synthetic fibers, detergent residue, dust, and minerals from water can all collect on or inside the appliance.
Mineral buildup in the steam system
Tap water may contain calcium, magnesium, and other dissolved minerals. When water is heated into steam, some of those minerals remain behind. Over time, they can form pale flakes, clog steam vents, reduce steam output, or produce sputtering droplets.
Residue on the soleplate
Starch and fabric treatments can leave a sticky film. Synthetic fabric may also melt when ironed at an excessively high temperature. That residue can drag across clothing, create scorch marks, or transfer onto the next garment.
Water left in the reservoir
Stored water encourages sediment accumulation and may eventually produce stale odors, discoloration, or leaks. An iron is not a decorative aquarium, so emptying it after use is a surprisingly useful habit.
What You Will Need
- Distilled white vinegar with approximately 5% acidity
- Distilled water
- Two or three soft microfiber cloths
- Cotton swabs
- A soft toothbrush, if permitted for your soleplate
- A small bowl or measuring cup
- Mild dish soap
- An old white cotton towel
- Heat-resistant gloves or oven mitts
Use ordinary distilled white vinegar rather than concentrated cleaning vinegar. Strong cleaning vinegar may be unnecessarily harsh on metal components, coatings, seals, and plastic parts.
How to Clean an Iron with Vinegar in 13 Steps
Step 1: Check the manufacturer’s instructions
Find the model number and review the cleaning section of the manual. Look specifically for instructions concerning vinegar, descaling products, the anti-calc valve, and the self-clean function.
If the manual says to use only water, do not pour vinegar into the reservoir. You may still be able to use a lightly dampened vinegar cloth on an uncoated exterior surface, but only when the care instructions allow it. When in doubt, choose mild dish soap and water.
Step 2: Unplug, cool, and empty the iron
Turn off the steam setting, unplug the iron, and place it upright on a stable, heat-resistant surface. Let it cool completely before cleaning the soleplate or exterior.
Empty any remaining water from the reservoir. Hot metal, trapped water, and hurried hands are an excellent recipe for learning new vocabulary, so do not rush this part.
Step 3: Prepare a safe workspace
Work beside a sink or on a counter protected with an old towel. Keep the electrical plug and cord away from standing water. Open a window or run a ventilation fan if the vinegar odor bothers you.
Inspect the soleplate. Identify sticky patches, brown marks, mineral spots, or clogged steam holes before applying anything.
Step 4: Mix a diluted vinegar solution
For exterior cleaning, combine equal parts distilled white vinegar and distilled water in a small bowl. You only need a few tablespoons.
Do not soak the iron or pour this mixture directly over it. The cloth should be damp, not dripping. Moisture must not enter buttons, electrical openings, seams, or the cord connection.
Step 5: Wipe the iron’s exterior
Dip a microfiber cloth into the diluted solution and wring it out thoroughly. Wipe the plastic housing, handle, and accessible control surfaces without flooding them.
Follow with another cloth dampened with plain water, then dry the iron. For greasy fingerprints or heavy dirt, use a drop of mild dish soap instead of adding stronger vinegar.
Step 6: Clean the cool soleplate gently
Test the diluted vinegar on a small area first. If the manual approves this method, wipe the cool soleplate with the damp cloth, concentrating on mineral stains and light residue.
Do not use steel wool, metal scrapers, knives, sandpaper, or abrasive scouring powder. These can scratch stainless steel and permanently damage ceramic, titanium, nonstick, or self-cleaning coatings.
For stubborn synthetic residue, follow the manufacturer’s recommended method. Many manuals suggest warming the iron and passing it over an old cotton cloth rather than attacking the soleplate with a miniature construction crew.
Step 7: Clean the steam vents
Dip a cotton swab into the diluted vinegar solution, then squeeze out excess liquid. Gently rotate the swab around the edge of each steam hole to lift visible deposits.
Do not push hardened debris deeper into the vents. Never insert pins, nails, paper clips, or metal tools. A soft toothbrush may help around the surface, but it should not be forced into the holes.
Step 8: Decide whether vinegar can enter the reservoir
This is the decision point that separates careful cleaning from an expensive lesson.
When the manual allows vinegar: Prepare the exact dilution specified by the manufacturer. When no exact ratio is stated but diluted vinegar is expressly permitted, a conservative mixture is one part distilled white vinegar to three parts distilled water.
When the manual prohibits vinegar or gives no clear permission: Fill the reservoir with the approved water and use the iron’s self-clean or anti-calc procedure. Do not assume that a popular household tip outranks the engineers who designed the appliance.
Step 9: Flush an approved reservoir
For models that specifically permit a vinegar solution, fill only to the recommended level. Close the cap, place the iron upright, plug it in, and select the temperature required by the cleaning instructions.
Once heated, hold the iron horizontally over a sink. Use the steam or self-clean control as directed, keeping your hands away from hot water and steam. Mineral flakes and discolored liquid may exit through the vents.
Do not leave a vinegar solution sitting in the iron longer than instructed. Prolonged acid exposure can affect certain metals, coatings, seals, and internal components.
Step 10: Use the water-only alternative when required
If vinegar is not approved, fill the tank with the manufacturer-recommended water. Heat the iron, unplug it if instructed, and activate the self-clean control over a sink.
Some irons have a removable anti-calc valve or scale collector. Clean that component exactly as directed. Certain Rowenta models, for example, allow a removable valve to be soaked in vinegar while still prohibiting indiscriminate vinegar use elsewhere in the appliance.
Step 11: Rinse the reservoir thoroughly
After an approved vinegar flush, unplug the iron, let it cool, and empty the reservoir. Refill it with distilled water, shake it gently, and empty it again.
Repeat the rinse at least once. Then run clean water through the steam system according to the manual. Continue until the discharged water is clear and the vinegar odor has disappeared.
Step 12: Test the iron on an old white towel
Fill the tank with the correct water, heat the iron, and press an old white cotton towel. Use several bursts of steam.
The white fabric makes problems easy to spot. Look for brown streaks, chalky flakes, sticky marks, or an unusual odor. If residue continues to appear, repeat the approved water-flushing process rather than testing the iron on your favorite shirt.
Step 13: Empty, dry, and store the iron upright
Unplug the appliance and empty the water chamber after the final test. Allow the iron to cool in an upright position, then wipe it dry with a clean cloth.
Store the iron vertically in a dry location. Coil the cord loosely instead of wrapping it tightly around the hot appliance. Your iron is now ready for work and considerably less likely to decorate your laundry with surprise freckles.
Common Mistakes to Avoid
Pouring full-strength vinegar into the tank
Undiluted vinegar is more acidic than necessary and may damage vulnerable internal materials. Use it only in the concentration permitted by the manufacturer.
Combining vinegar with bleach
Never mix vinegar with chlorine bleach or use one immediately after the other. The combination can release dangerous chlorine gas. Keep cleaning products separate and rinse surfaces thoroughly.
Mixing vinegar and baking soda for “extra power”
The bubbling looks dramatic, but the acid and base largely neutralize one another. A baking soda and water paste can be useful on some uncoated soleplates, but it should be used only when the manufacturer approves mild abrasives.
Scrubbing a coated soleplate
Nonstick, ceramic, and specialty soleplates can be scratched or stripped by abrasive pads. Use the gentlest method that solves the problem.
Skipping the rinse
Any vinegar left in the reservoir may affect internal components or create an odor the next time the iron heats. A complete distilled-water rinse is essential.
How Often Should You Clean an Iron?
Cleaning frequency depends on how often you iron, the water in your area, and whether you use spray starch. A reasonable maintenance schedule is:
- Wipe the soleplate whenever visible residue appears.
- Empty the water reservoir after every ironing session.
- Use the approved self-clean cycle every one to three months.
- Clean more frequently if steam output weakens or flakes appear.
- Follow any maintenance indicator built into the appliance.
A daily user may need monthly maintenance, while an occasional user may clean the iron only a few times each year.
How to Keep Your Iron Cleaner Longer
Use the correct water
Do not automatically assume distilled water is best. Some irons require tap water because their anti-calc systems are designed for it, while others recommend distilled or demineralized water in hard-water areas. Follow the manual for your model.
Choose the right temperature
Read garment labels and use lower temperatures for synthetic fabrics. Excessive heat can melt fibers onto the soleplate before you have time to say, “That probably smells expensive.”
Use spray starch sparingly
Apply starch lightly and allow it to absorb into the fabric before ironing. Heavy overspray can bake onto the soleplate and clog steam openings.
Empty the tank after use
Removing leftover water reduces sediment, odors, internal corrosion, and accidental leaks during storage.
Iron over a clean surface
A dusty or stained ironing-board cover can transfer debris to clothing and the iron. Wash or replace the cover when it becomes discolored.
Frequently Asked Questions
Can vinegar damage an iron?
Yes. Vinegar may damage internal metal parts, protective coatings, rubber seals, or other components in models not designed for acid-based descaling. Always consult the appliance instructions before using it.
What type of vinegar should I use?
Use ordinary distilled white vinegar with approximately 5% acidity. Avoid colored vinegars, flavored vinegars, and concentrated cleaning vinegar.
Can I soak the soleplate in vinegar?
No. Never immerse the iron or soak its soleplate. Liquid can enter the electrical housing and create a shock or fire hazard.
Why is brown water coming from my iron?
Brown discharge may come from mineral buildup, rust, fabric treatments, detergent residue, or water stored in the reservoir. Stop using the iron on clothing and perform the manufacturer-approved cleaning cycle.
Can I use vinegar on a ceramic soleplate?
Only when the manufacturer permits it. Ceramic coatings can be damaged by harsh acids, abrasive powders, or aggressive scrubbing. A soft cloth dampened with mild soapy water is often the safer first option.
What should I do if the steam holes remain clogged?
Repeat the water-only self-clean cycle or clean the removable anti-calc component as directed. If steam output does not improve, contact the manufacturer or a qualified repair service instead of inserting tools into the vents.
Practical Experiences and Lessons from Cleaning Irons
The most useful lesson from real-world iron maintenance is that the dirtiest-looking problem is not always the most serious one. A brown patch on the soleplate appears dramatic, but it may be nothing more than starch or melted synthetic fiber. Weak steam, random droplets, and gritty white flakes can be more troublesome because they suggest deposits inside the steam chamber.
A practical approach begins with the least aggressive solution. Wiping a completely cool soleplate with a damp microfiber cloth often removes more residue than expected. Adding a tiny amount of dish soap can handle oily buildup without exposing a specialty coating to strong acids or abrasives. Vinegar should be the next carefully considered tool, not the opening act simply because a bottle happens to be standing in the pantry.
Another recurring experience is that people frequently use too much liquid. A dripping cloth allows cleaning solution to run into seams around the soleplate, temperature dial, or buttons. The better technique is to dampen the cloth and wring it until it feels almost dry. Several controlled passes are safer than one enthusiastic splash.
Steam-vent cleaning also rewards patience. A cotton swab can lift loose mineral residue from the rim of each hole, but jabbing at deposits with a pin may scratch the surface or push the blockage farther inside. If a vent refuses to clear, the approved self-clean cycle usually accomplishes more than improvised excavation.
The old white towel test is one of the most valuable steps. After a cleaning session, an iron may appear spotless while still holding loosened scale in its internal chamber. The first few steam bursts can eject that material. Sacrificing an old towel is considerably cheaper than sacrificing a dress shirt five minutes before a meeting.
Hard-water conditions make maintenance habits especially important. An iron used weekly with mineral-heavy water may begin sputtering within months. Emptying the tank after every use and running the recommended self-clean cycle can greatly reduce the problem. Waiting until the vents resemble tiny limestone caves makes the job slower and less predictable.
It is also helpful to photograph the model label or save a digital copy of the manual. Cleaning recommendations vary even within the same brand. One model may permit vinegar on a removable anti-scale valve, another may require a proprietary descaler, and a third may instruct the owner to use nothing but water. Treating all steam irons as identical is similar to treating every fabric as cotton: eventually, something melts.
Finally, cleaning should stop when the iron shows signs of electrical damage, severe corrosion, persistent leaking, a frayed cord, or an unexplained burning smell. Vinegar cannot repair a failing thermostat or damaged wiring. Retiring an unsafe appliance is not admitting defeat; it is simply choosing not to turn laundry day into an emergency-services documentary.
Conclusion
Learning how to clean an iron with vinegar is mostly about knowing when vinegar is appropriate. It can loosen mineral residue and help clean certain approved components, but it is not safe for every reservoir, soleplate, seal, or internal system.
Start by checking the manual, unplugging the appliance, and using a soft, nonabrasive cloth. Clean the soleplate and steam vents carefully, flush the reservoir only with an approved solution, rinse thoroughly, and test the iron on an old white towel. Finish by emptying the tank and storing the appliance upright.
With those habits, your iron should glide more smoothly, produce cleaner steam, and stop threatening your wardrobe with mysterious brown souvenirs.














