
Gold jewelry has a funny reputation. On one hand, it is the glamorous overachiever of the jewelry box. On the other, it somehow still ends up looking dull, dingy, greasy, or oddly moody after enough exposure to lotion, sweat, soap, perfume, and everyday life. So if you are staring at a once-shiny ring or necklace and wondering why it now looks like it has been through three breakups and a beach vacation, you are not alone.
Here is the first thing to know: pure gold does not tarnish in the same dramatic way silver does. But most jewelry is not pure 24-karat gold. It is usually mixed with other metals to make it stronger, more wearable, and less likely to bend if you so much as look at it too hard. Those alloy metals, plus surface buildup from skin oils and products, can leave gold jewelry looking dark, faded, or “tarnished.” The good news? In many cases, you can clean it at home with a few gentle methods and a little patience.
This guide breaks down how to clean tarnished gold jewelry safely, what to avoid, and which DIY jewelry cleaning methods actually make sense. No magic potions, no weird internet hacks involving ketchup, and no need to attack your grandmother’s bracelet with toothpaste like it personally offended you.
The Truth About “Tarnished” Gold
Before we jump into the cleaning methods, let us clear up one common misconception. When people say their gold jewelry is tarnished, they are usually describing one of four things:
- Surface buildup: Lotion, sunscreen, soap residue, makeup, and body oils can create a cloudy film.
- Discoloration from alloy metals: Lower-karat gold contains more non-gold metals, which can react to moisture, chemicals, or air over time.
- White gold yellowing: White gold often has a rhodium finish that can wear down, making the piece look warmer or slightly yellow.
- Damage to plated jewelry: Gold-plated pieces can lose their top layer, which may look like tarnish but is really wear.
That matters because the fix depends on the problem. Dirt and residue can often be cleaned off at home. Worn plating or white gold that needs re-plating? That is a jeweler job, not a kitchen-counter science experiment.
Before You Clean: 5 Smart Checks
Take one minute to inspect the piece before you clean it. That minute can save you from turning a simple cleanup into an expensive lesson.
1. Check whether it is solid gold or gold-plated
If the piece is gold-plated, be extra gentle. You are working with a thin surface layer, not a chunk of solid gold. Aggressive brushing, baking soda pastes, and repeated soaking can wear the finish faster.
2. Look for gemstones
Diamonds and some sturdy stones can usually handle gentle soap-and-water cleaning. Pearls, opals, turquoise, coral, and many glued-in stones are a different story. These need a softer touch and less soaking.
3. Inspect prongs and clasps
If a stone feels loose, skip the deep clean. A soak and scrub can make a small problem bigger.
4. Close the drain
Because nothing ruins a cleaning session faster than hearing your earring make a tiny, horrifying plink into the sink.
5. Use soft tools only
That means microfiber cloths, lint-free cloths, cotton swabs, and very soft toothbrushes. Gold scratches more easily than many people realize.
Method 1: Buff It With a Soft Polishing Cloth
Best for: Light dullness, fingerprints, minor discoloration, and everyday maintenance.
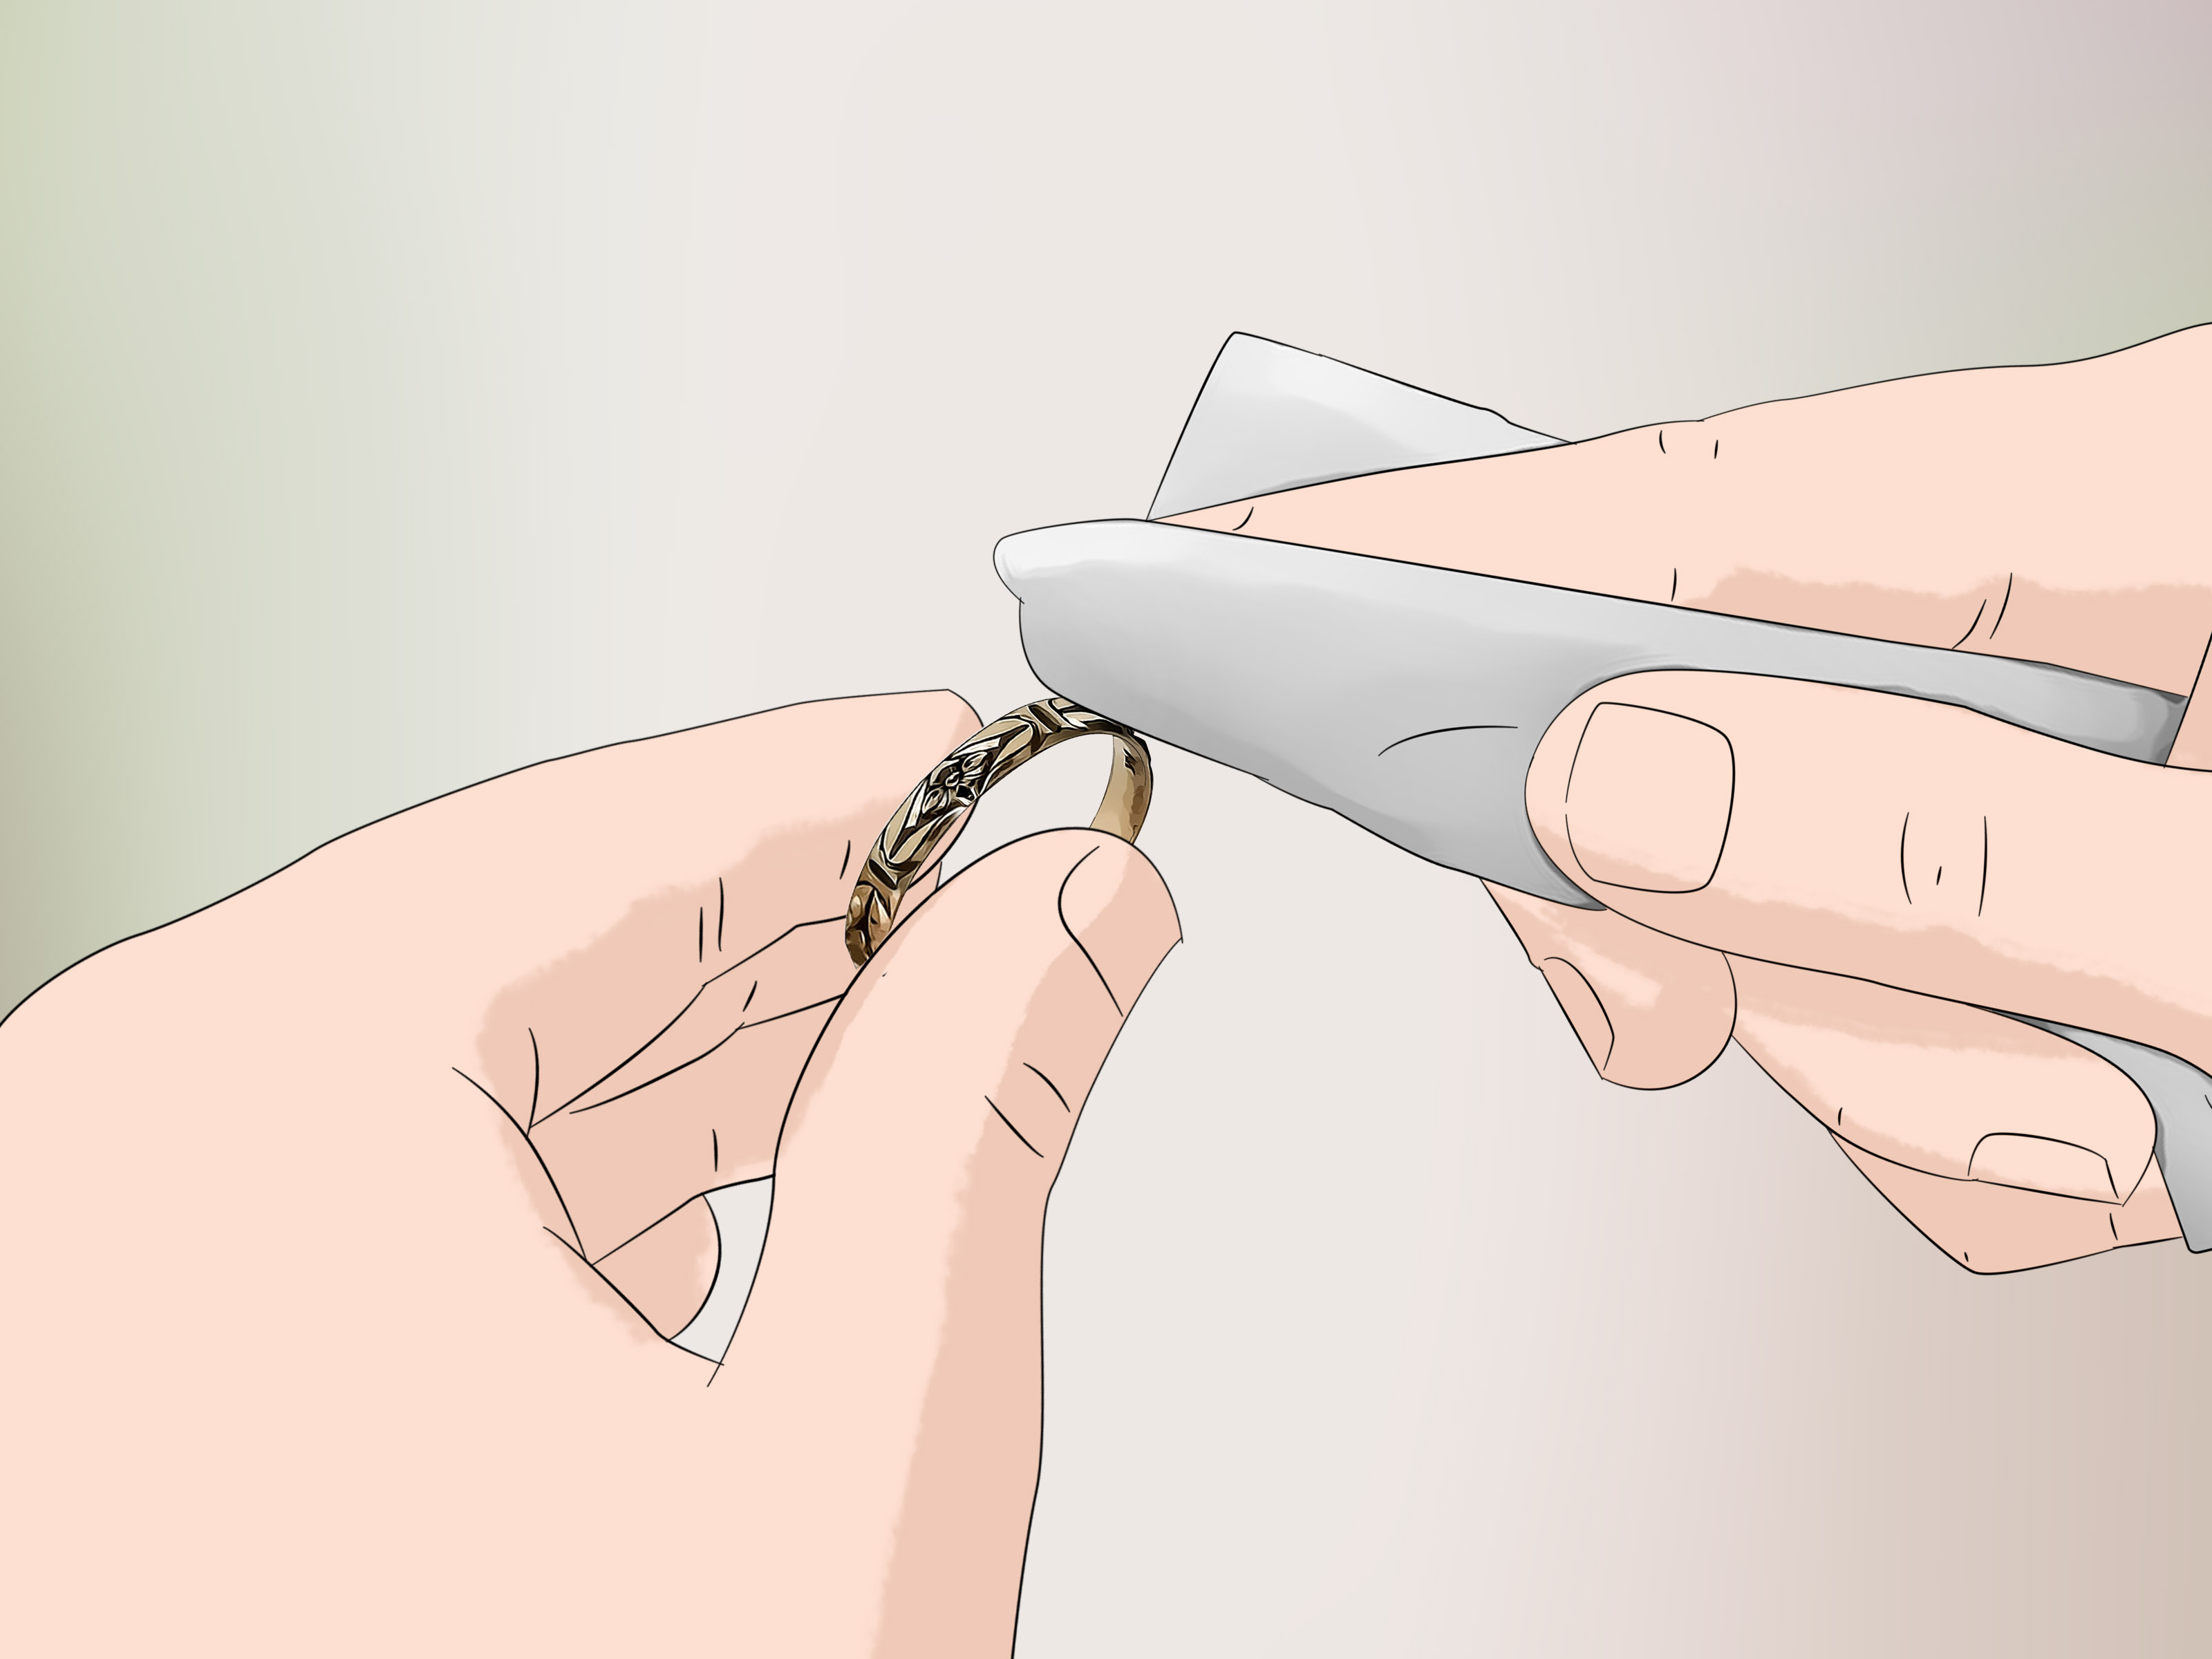
Sometimes the jewelry is not truly tarnished. It is just smudged, oily, or coated in the residue of your daily routine. In that case, a soft polishing cloth may be all you need. This is the gentlest DIY option and often the best place to start.
What you need
- A clean microfiber cloth or jewelry polishing cloth
- A dry, well-lit workspace
How to do it
- Hold the piece firmly but gently.
- Rub it with the cloth using smooth, light strokes.
- Focus on areas that touch skin most, such as the inside of rings or the backs of earrings.
- Use a corner of the cloth to reach small details.
This method is ideal for chains, simple bands, and pieces that are only starting to look tired. It is also the safest way to freshen up gold-plated jewelry between deeper cleanings.
Method 2: Soak in Warm Water and Mild Dish Soap
Best for: Most solid gold jewelry, including rings, chains, bracelets, and earrings with light to moderate buildup.
If gold jewelry cleaning had a hall of fame, this would be the first inductee. A bowl of warm water and a few drops of mild dish soap is the go-to method because it is effective, accessible, and far less risky than harsh household cleaners.
What you need
- A small bowl
- Warm water, not hot
- A few drops of mild dish soap
- A soft lint-free cloth
How to do it
- Fill a bowl with warm water and add a few drops of mild dish soap.
- Swish gently to mix.
- Place the jewelry in the bowl and let it soak for 5 to 15 minutes.
- Lift the piece out and inspect it. You may already notice more shine.
- Rinse with clean water.
- Pat dry with a soft cloth and let it air dry completely.
This method works especially well when your jewelry looks cloudy from skin oils, hand soap, or beauty products. If your ring seems dull no matter how many dramatic sighs you aim at it, a soap soak is often the reset it needs.
Use caution: If the jewelry contains pearls, opals, turquoise, coral, or glued stones, shorten the soak or skip soaking entirely.
Method 3: Use a Soft Toothbrush for Detail Cleaning
Best for: Intricate settings, textured bands, chain links, and grime hiding in tiny corners like it pays rent there.
A soak loosens dirt. A very soft toothbrush helps remove what is left behind. This is the method that usually makes the biggest visible difference on rings and ornate pieces.
What you need
- The same warm soapy water from Method 2
- A brand-new soft toothbrush or extra-soft baby toothbrush
- A towel or soft cloth
How to do it
- After soaking, place the jewelry on a soft towel.
- Dip the toothbrush into the cleaning solution.
- Gently brush around prongs, under settings, along clasps, and inside chain links.
- Do not scrub hard. Think “encouraging nudge,” not “revenge cleaning.”
- Rinse thoroughly and dry with a lint-free cloth.
This is one of the most effective ways to clean tarnished gold jewelry at home because so much of the dullness comes from hidden grime. Rings, especially, collect a ridiculous amount of lotion, soap, and mystery residue underneath the stone.
Skip brushing if the piece is heavily plated, has delicate enamel, or has fragile stones.
Method 4: Try a Diluted Ammonia Solution for Stubborn Grime
Best for: Solid gold jewelry with stubborn greasy buildup and no delicate stones.
This is the stronger-at-home option, not the everyday one. Some jewelry care sources allow a small amount of ammonia mixed with soap and water for gold. It can cut through grime well, but it should be used sparingly and carefully.
What you need
- A small bowl
- Warm water
- A few drops of mild dish soap
- A very small amount of household ammonia
- A soft cloth
How to do it
- Mix warm water with dish soap.
- Add only a tiny amount of ammonia.
- Dip or briefly soak the jewelry for a short time.
- Rinse thoroughly with clean water.
- Dry and buff with a soft cloth.
Important: Do not use this on pearls, opals, turquoise, coral, soft stones, antique jewelry, or gold-plated pieces. And never mix ammonia with bleach. Ever. Not for jewelry, not for cleaning, not for science, not for “just this once.”
If you feel even slightly uncertain about the piece, go back to soap and water. Boring is beautiful when you are cleaning fine jewelry.
Method 5: Use Rubbing Alcohol for Greasy Film and Earring Posts
Best for: Solid gold pieces with oily buildup, plus cleaning gold earring posts and backs.
Sometimes the problem is not tarnish-looking discoloration at all. It is grease. Hair products, face creams, sunscreen, and skin oils can create a film that makes gold look lifeless. In limited cases, rubbing alcohol can help cut through that residue.
What you need
- Isopropyl rubbing alcohol
- Cotton swabs or cotton pads
- A soft dry cloth
How to do it
- Dampen a cotton swab or pad with a small amount of rubbing alcohol.
- Gently wipe the greasy area or clean earring posts and backs.
- Allow the jewelry to air dry or dry it with a soft cloth.
This works well for small touch-ups, especially on earrings. It is not a universal soak solution for every piece in your jewelry box. Avoid it on plated jewelry, porous stones, glued settings, or anything fragile.
What Not to Use on Gold Jewelry
There is no shortage of viral hacks for DIY jewelry cleaner, but some of them are better suited for internet views than actual jewelry care.
- Bleach or chlorine: These can discolor gold and may weaken metal over time.
- Toothpaste: It is usually too abrasive and can scratch both metal and stones.
- Baking soda paste: Popular, yes. Gentle, not always. It can be too abrasive for plated pieces and softer finishes.
- Rough paper towels: They can leave tiny scratches.
- Boiling water: Too risky for jewelry with stones, glue, or delicate settings.
- Strong vinegar soaks: These are often not the best match for gold jewelry, especially plated or mixed-material pieces.
When in doubt, default to the gentlest method first. You can always clean again. You cannot un-scratch a ring with optimism.
How to Keep Gold Jewelry From Looking Tarnished Again
Cleaning is helpful, but prevention is where the real magic lives. A few habits can help your jewelry stay shiny longer:
- Remove gold jewelry before swimming, showering, cleaning, or using bleach-based products.
- Put on perfume, lotion, hairspray, and sunscreen before your jewelry, not after.
- Wipe pieces with a soft cloth after wearing them.
- Store pieces separately to reduce scratching and tangling.
- Keep jewelry dry and away from humidity when possible.
- Have frequently worn items inspected professionally if they have stones or delicate settings.
One especially useful habit: give rings and chains a quick wipe at the end of the day. It takes less than a minute and saves you from having to do a dramatic rescue mission later.
When to Skip DIY and See a Jeweler
Home cleaning is great for maintenance, but there are times when a professional should take over:
- The piece is antique or highly valuable
- Stones are loose
- The metal looks worn through or damaged
- The jewelry is white gold that has lost its rhodium finish
- The item is gold-plated and the color is rubbing off
- The discoloration does not improve after gentle cleaning
In those cases, the jewelry may need polishing, re-plating, repair, or expert inspection. A soft brush can do a lot, but it cannot perform miracles.
Common Experiences People Have When Cleaning Tarnished Gold Jewelry
One of the most relatable things about gold jewelry care is that people often think their favorite piece is ruined when it really just needs a gentle cleanup. A ring that looked dark around the band can brighten noticeably after a short soak in warm water and mild dish soap. A necklace that seemed “old” may turn out to be coated with body oil, sunscreen, and perfume residue. That moment when the shine comes back is usually less dramatic than a movie makeover scene, but emotionally, it is not far off.
Many people first notice the problem with everyday jewelry. Wedding bands, thin chains, and favorite hoop earrings collect grime quietly over time. Because the change is gradual, the piece can look normal until it is placed next to a freshly cleaned item. Then the difference is obvious. People often describe this as a surprise, especially with rings, where lotion and hand soap build up in places they never think to inspect. The underside of a setting can hold so much residue that a quick brush reveals sparkle they forgot the piece even had.
Another common experience happens with inherited or long-stored jewelry. Someone opens a box, sees a once-lovely gold bracelet looking dull and slightly dark, and assumes age has won. In reality, storage conditions matter. Humidity, dust, skin oils left on the surface, and contact with cosmetics can all affect how gold jewelry looks after sitting for months or years. A careful cleaning often restores far more shine than expected. That said, people are also sometimes surprised to learn that not every problem is dirt. White gold may look yellow because the rhodium finish has worn down, and plated jewelry may show fading because the top layer has thinned. In those cases, cleaning helps only a little.
Gold-plated jewelry creates its own learning curve. Many people discover, usually the hard way, that scrubbing harder is not the answer. A plated necklace may look better after a gentle wipe, but too much brushing can make it look worse by wearing away the finish. This is why the most successful at-home experiences with plated pieces tend to involve restraint: soft cloths, quick cleanups, and fewer soaking sessions.
Earrings also bring up a very practical experience. People often notice that the posts and backs get grimy faster than the decorative front. Cleaning those tiny contact points with a soft cloth or a little rubbing alcohol on a swab can make the whole pair feel fresher. It is not glamorous, but it is satisfying.
Perhaps the most universal experience is discovering that the best jewelry cleaning method is usually the least exciting one. Not a foamy chemistry trick. Not a pantry concoction with ten ingredients. Just warm water, mild soap, a very soft brush, and patience. Gold jewelry responds well to kindness. Honestly, more of us probably would too.
Final Thoughts
If you want to know how to clean tarnished gold jewelry, the short answer is this: start simple, stay gentle, and match the method to the piece. For most solid gold jewelry, warm water, mild dish soap, and a soft cloth or brush will do the heavy lifting. For stubborn grime, a carefully diluted ammonia mix may help. For oily residue, rubbing alcohol can be useful in limited cases. And for plated or delicate pieces, less is usually more.
The best DIY method is not the most aggressive one. It is the one that restores shine without causing new damage. Gold jewelry is supposed to last, and with the right care, it absolutely can. Preferably without needing a panic search, a toothbrush interrogation, and an emergency speech that starts with, “Please do not fall apart right now.”










