
Cooking steak in the oven sounds like something you do only when the grill is buried under snow, rain, or your neighbor’s suspiciously enthusiastic yard sale. In reality, oven steak is one of the most reliable ways to get a deeply browned crust and a tender, evenly cooked center without standing outside wondering whether your eyebrows are still attached.
The secret is not a complicated marinade, a celebrity chef whispering into your ear, or a steakhouse-sized kitchen. It is temperature control. A thick steak, a low oven, a hot skillet, and an instant-read thermometer can turn an ordinary weeknight into a very convincing steakhouse dinner.
This guide uses a reverse-sear method: cook the steak gently in the oven first, then finish it quickly in a hot pan. It is especially useful for thick ribeye, New York strip, porterhouse, T-bone, filet mignon, and sirloin steaks. The result is a more evenly cooked interior, less gray overcooked meat near the edges, and a crust that says, “Yes, I did mean to make this impressive.”
What You Need to Cook Steak in the Oven
- 1 to 2 steaks, preferably 1 1/4 to 2 inches thick
- Kosher salt and freshly ground black pepper
- A little high-heat cooking oil
- A rimmed baking sheet and oven-safe wire rack
- A heavy oven-safe skillet, such as cast iron
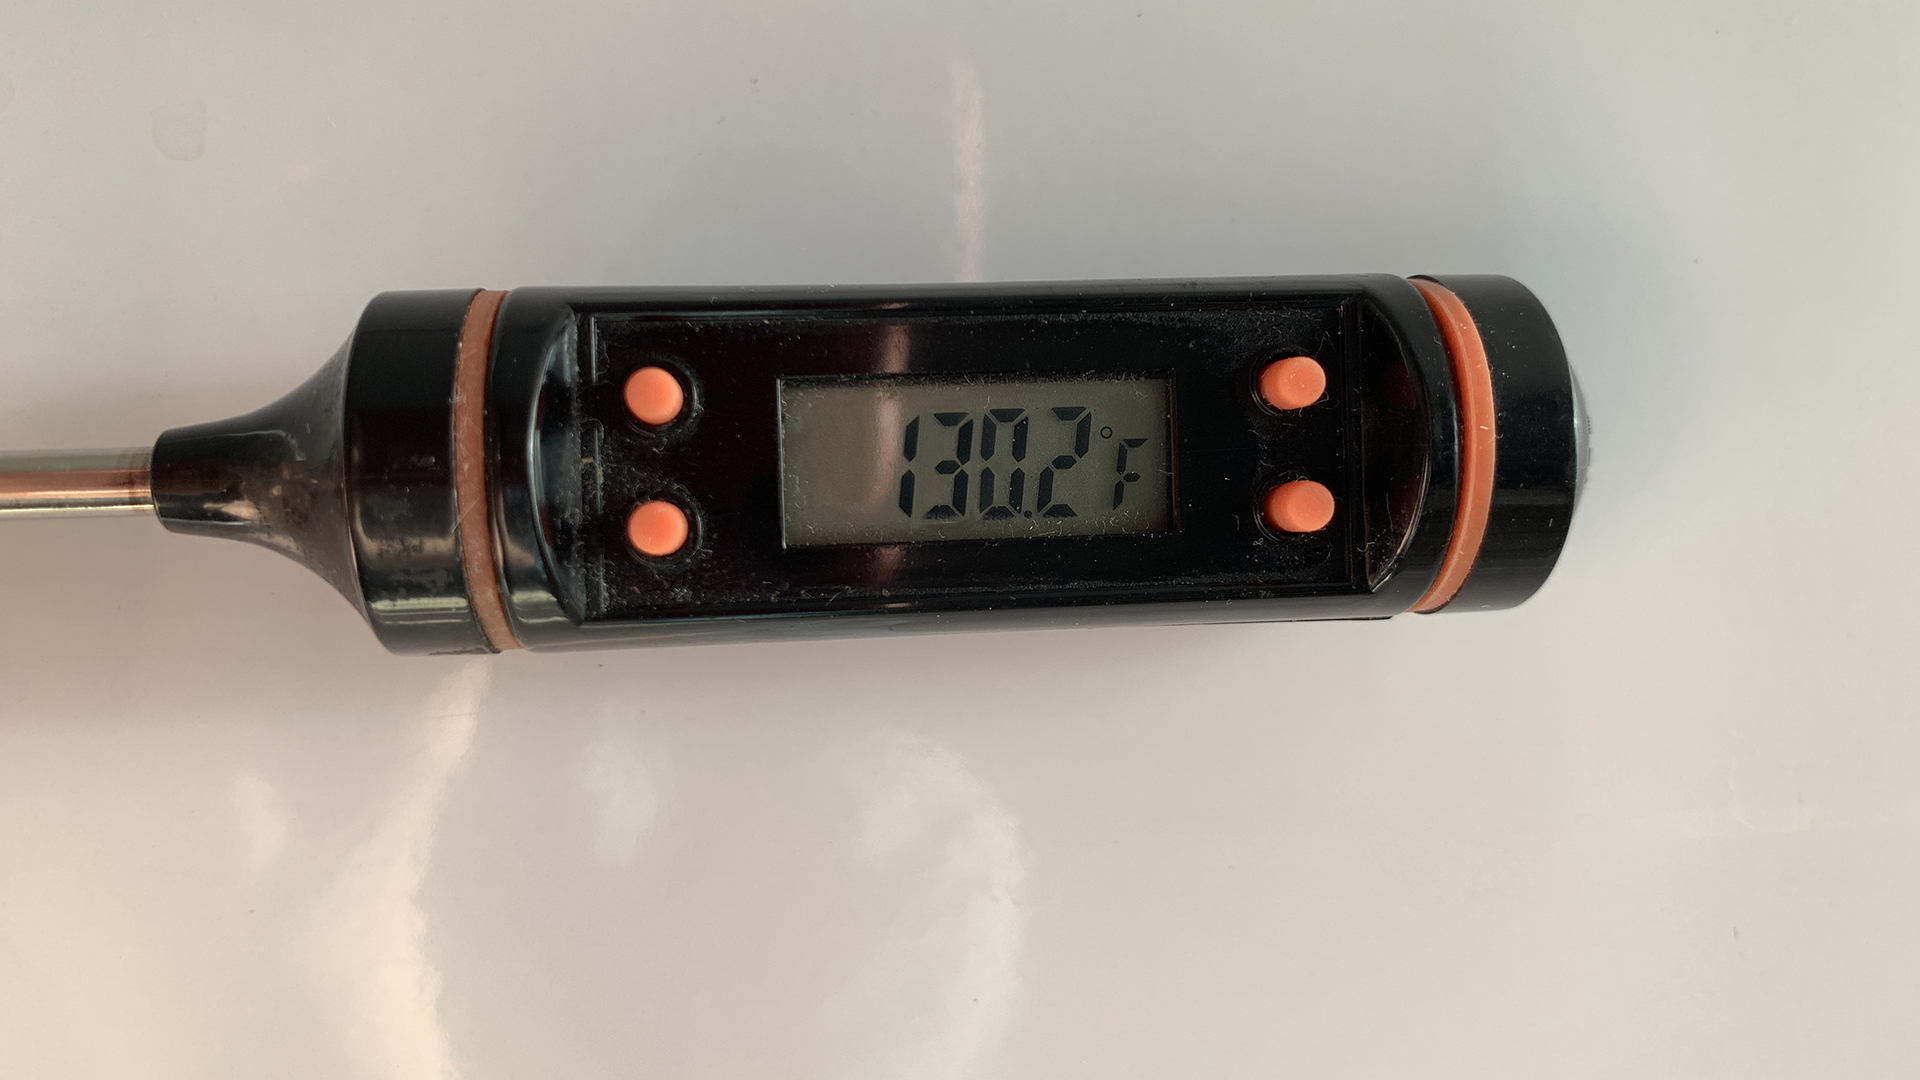
- An instant-read meat thermometer
- Optional: butter, garlic, rosemary, thyme, or steak seasoning
For the best results, choose steaks with a little thickness. Thin steaks can still taste great, but they cook quickly and leave very little room for error. A thick steak gives you time to build a crust without accidentally turning dinner into a beef-flavored coaster.
How to Cook Steak in the Oven: 13 Steps
Step 1: Choose the Right Steak
Start with a steak that is at least 1 1/4 inches thick. Ribeye is rich and buttery because of its marbling. New York strip has a firmer texture and bold beef flavor. Filet mignon is tender and mild, while sirloin offers a more budget-friendly option that still performs well with the right cooking method.
Look for steaks with even thickness from end to end. A steak shaped like a tiny mountain range will cook unevenly, leaving one side perfect and the other side auditioning for jerky.
Step 2: Let the Steak Lose Its Refrigerator Chill
Take the steak out of the refrigerator about 20 to 30 minutes before cooking. This does not magically bring it fully to room temperature, but it helps prevent the center from being ice-cold when the outside begins cooking.
Place the steak on a plate or tray while you prepare the oven and ingredients. Keep it covered loosely if needed, and avoid leaving raw meat sitting out for long periods.
Step 3: Salt the Steak Generously
Season both sides with kosher salt. Salt does more than make steak taste better; it helps create a more flavorful surface and supports better browning later. For an extra-flavorful result, salt the steak 40 minutes to 24 hours ahead and refrigerate it uncovered on a rack. This is often called dry brining.
If you are cooking immediately, salt right before the steak goes into the oven. The key is to avoid salting it and then letting it sit briefly for only a few minutes, which can pull moisture to the surface without giving the salt enough time to work its magic.
Step 4: Preheat the Oven to 250°F
Set the oven to 250°F. This low temperature is ideal for reverse-searing because it cooks the steak gradually instead of blasting the exterior before the center has a chance to catch up.
Low-and-slow does not mean boring-and-bland. It simply means the steak gets a calmer, more even ride before the skillet gives it the dramatic finish.
Step 5: Set Up a Rack and Baking Sheet
Place an oven-safe wire rack inside a rimmed baking sheet. The rack allows hot air to circulate around the steak, helping it cook more evenly. It also keeps the steak from sitting in its own juices, which is great because nobody wants a beautiful steak to steam itself into sadness.
If you do not have a wire rack, use a baking sheet alone. The steak will still cook, but you may need to flip it once during the oven stage for more even results.
Step 6: Pat the Steak Very Dry
Use paper towels to dry the steak thoroughly on all sides. This step matters more than most people expect. Moisture on the surface creates steam, and steam is the sworn enemy of a crisp brown crust.
Think of it this way: a dry steak sears, while a wet steak negotiates. Give it the advantage before it ever meets the pan.
Step 7: Add Pepper and a Light Coat of Oil
Season the steak with black pepper and lightly coat it with a neutral, high-heat oil. Avocado oil, canola oil, grapeseed oil, or refined vegetable oil work well. The oil helps the steak make full contact with the hot pan during searing.
Save butter for the final sear. Butter has a lower smoke point than many cooking oils, so adding it too early can turn your kitchen into a dramatic fog machine.
Step 8: Roast the Steak Until It Is Almost Done
Place the steak on the rack and slide the baking sheet into the oven. Cook until the internal temperature is about 10°F below your preferred final doneness. For a 1 1/2-inch steak, this may take roughly 20 to 35 minutes, but thickness, steak temperature, oven accuracy, and cut all affect timing.
Do not trust the clock more than the thermometer. Ovens are charmingly inconsistent little boxes, and two steaks of the same weight can cook at different speeds.
Step 9: Use Temperature Targets Instead of Guesswork
Check the temperature by inserting the thermometer into the thickest part of the steak from the side whenever possible. Pull the steak from the oven before it reaches its final serving temperature because the hot skillet and resting period will continue cooking it.
| Preferred Doneness | Remove from Oven | Approximate Final Temperature |
|---|---|---|
| Rare | 115°F to 120°F | 120°F to 125°F |
| Medium-rare | 120°F to 125°F | 130°F to 135°F |
| Medium | 130°F to 135°F | 135°F to 145°F |
| Medium-well | 140°F to 145°F | 145°F to 155°F |
| Well-done | 150°F and above | 155°F and above |
Food-safety note: USDA guidance recommends cooking whole cuts of beef steak to a minimum internal temperature of 145°F followed by at least a three-minute rest. For mechanically tenderized beef, follow that same minimum carefully because surface bacteria may have been pushed into the meat during processing.
Step 10: Heat the Skillet Until It Is Very Hot
When the steak is nearly ready, place a heavy oven-safe skillet over high heat. Cast iron is especially useful because it holds heat well and helps develop a strong crust. Let the pan heat for several minutes before adding oil.
Open a window or use your range hood if possible. A good sear involves high heat, and high heat sometimes comes with a little kitchen drama. That is normal. A smoke alarm joining dinner is less normal.
Step 11: Sear Both Sides Quickly
Add a small amount of high-heat oil to the hot skillet. Carefully place the steak in the pan and sear for about 45 to 90 seconds per side. The goal is not to keep cooking the center for ages; it is to build a dark, flavorful crust.
For thicker steaks, you can briefly sear the fatty edge as well. Use tongs and keep the steak moving only when necessary. Constant flipping is not a crime, but letting the steak sit long enough to brown is usually the faster route to a better crust.
Step 12: Add Butter and Aromatics, If You Want
Lower the heat slightly and add a tablespoon or two of butter along with a smashed garlic clove, rosemary, thyme, or both. Once the butter melts and foams, tilt the pan carefully and spoon the flavored butter over the steak for 30 to 60 seconds.
This step is optional, but it creates a steakhouse-style finish that makes even a simple baked potato feel as though it should be wearing a tiny tuxedo.
Step 13: Rest, Slice, and Serve
Transfer the steak to a warm plate or board and let it rest for 5 to 10 minutes. Resting allows the temperature to settle and gives the steak time to finish gently from carryover heat.
Serve the steak whole or slice it across the grain for easier chewing, especially with sirloin, flank steak, skirt steak, or other cuts with visible muscle fibers. Finish with flaky salt, cracked pepper, or a spoonful of the buttery pan drippings.
Why the Reverse-Sear Method Works So Well
Traditional steak cooking often starts with a hot skillet and finishes in the oven. That method works, but reverse searing flips the order. The steak first cooks gently in a low oven, which helps the center warm more evenly. Then the quick skillet sear provides the crust.
The main advantage is control. You can monitor the internal temperature before the surface gets overly dark, and the final sear happens so quickly that the steak is less likely to develop a thick gray band beneath the crust. Reverse searing is especially useful for steaks thicker than one inch.
How Long to Cook Steak in the Oven
There is no single oven steak cooking time that works for every cut. A 1-inch sirloin may reach its target temperature much faster than a 2-inch bone-in ribeye. Thickness matters more than weight, and a reliable thermometer matters more than any cooking chart.
As a rough guide, a 1 1/2-inch steak cooked at 250°F may need 20 to 35 minutes before searing. Start checking early. It is easier to cook a steak a little longer than to explain why dinner has crossed the border into medium-well territory without permission.
Common Oven Steak Mistakes to Avoid
Using Thin Steaks for a Reverse Sear
Very thin steaks can overcook before the crust develops. For steaks thinner than 1 inch, a quick stovetop sear or broiler method may work better than a low oven.
Skipping the Thermometer
Pressing a steak with your finger can give a rough clue, but it is not as dependable as checking the internal temperature. A thermometer turns steak cooking from hopeful guesswork into a repeatable process.
Putting a Damp Steak Into a Hot Pan
A damp surface steams instead of browns. Patting the steak dry before seasoning and searing is one of the simplest ways to improve the crust.
Adding Butter Too Soon
Butter can burn quickly over very high heat. Sear with oil first, then add butter and herbs near the end for flavor without bitterness.
Cutting the Steak Immediately
Steak straight from the pan smells incredible, which is exactly why resting feels emotionally unfair. Still, a few minutes of patience usually delivers a better texture and cleaner slices.
Broiling Steak in the Oven Instead
Broiling is another effective way to cook steak in the oven. The broiler uses intense direct heat from above, acting a little like an upside-down grill. It works especially well for thinner steaks, usually no more than about 1 1/2 inches thick.
Place the oven rack several inches below the broiler element, use a metal pan or cast-iron skillet, and watch closely. Broilers move quickly from “beautifully browned” to “why is it suddenly nighttime in this kitchen?” For even cooking, turn the steak halfway through and check the temperature early.
Experience Notes: What Makes Oven Steak Better Every Time
The first time many people cook steak in the oven, they tend to overthink it. They stare through the oven door as if the steak is a science experiment, open the oven five times, and somehow convince themselves that an extra spoonful of garlic powder will solve everything. It will not. Steak rewards calm, simple decisions.
The biggest lesson is that expensive steak does not automatically produce a great dinner. A beautifully marbled ribeye can still become dry if it stays in the oven too long. Meanwhile, an affordable top sirloin can taste excellent when it is salted properly, cooked to the right temperature, and allowed to rest. The thermometer is the great equalizer. It does not care whether your steak came from a premium butcher counter or was rescued from the back of the grocery store freezer section.
Another useful discovery is that a steak does not need a parade of seasonings. Salt, pepper, and a little butter are enough for many cuts. Ribeye already brings plenty of rich flavor from its marbling. A strip steak has a bold beefy character that does not need to be buried under half the spice cabinet. Filet mignon benefits from butter and herbs because it is tender but naturally milder in flavor.
People also learn quickly that timing is less important than temperature. One steak may need 22 minutes in the oven while another needs 34, even if they look almost identical. Oven calibration, bone placement, steak thickness, starting temperature, and fat content all influence the result. When you stop chasing exact minutes and start cooking by temperature, oven steak becomes far less stressful.
Pan choice matters, too. A heavy cast-iron skillet creates a more aggressive crust than a lightweight pan because it holds heat when the steak hits the surface. A thinner pan can lose heat quickly, causing the steak to release moisture before browning properly. The result is still edible, of course, but the difference between “pretty good” and “please make this again next Friday” often comes down to a hot, sturdy skillet.
One more practical experience: do not overcrowd the pan. If you are cooking several steaks, work in batches when necessary. Too many steaks in one skillet lower the temperature, create steam, and turn your searing session into a crowded subway platform for beef. Give each steak enough room to brown.
Finally, remember that resting does not mean abandoning the steak. Use those few minutes to plate vegetables, warm a sauce, set the table, or make sure someone has not already “taste-tested” half the crispy roasted potatoes. By the time you sit down, the steak will be ready, the crust will still be impressive, and dinner will feel much more polished than the effort required.
Final Thoughts
Learning how to cook steak in the oven is less about memorizing a magical number of minutes and more about building a reliable routine. Choose a thick steak, dry it well, season confidently, roast it gently, sear it quickly, and let a thermometer guide the finish.
Once you understand this method, you can adapt it to ribeye, strip steak, filet mignon, sirloin, porterhouse, and more. Your kitchen may not have a steakhouse chandelier or a waiter who calls you “chef,” but it can absolutely produce a steak worth bragging about.
Note: Cooking times are estimates only. Use an instant-read thermometer to confirm doneness, handle hot pans with oven mitts, and follow USDA food-safety guidance for beef steaks.










