
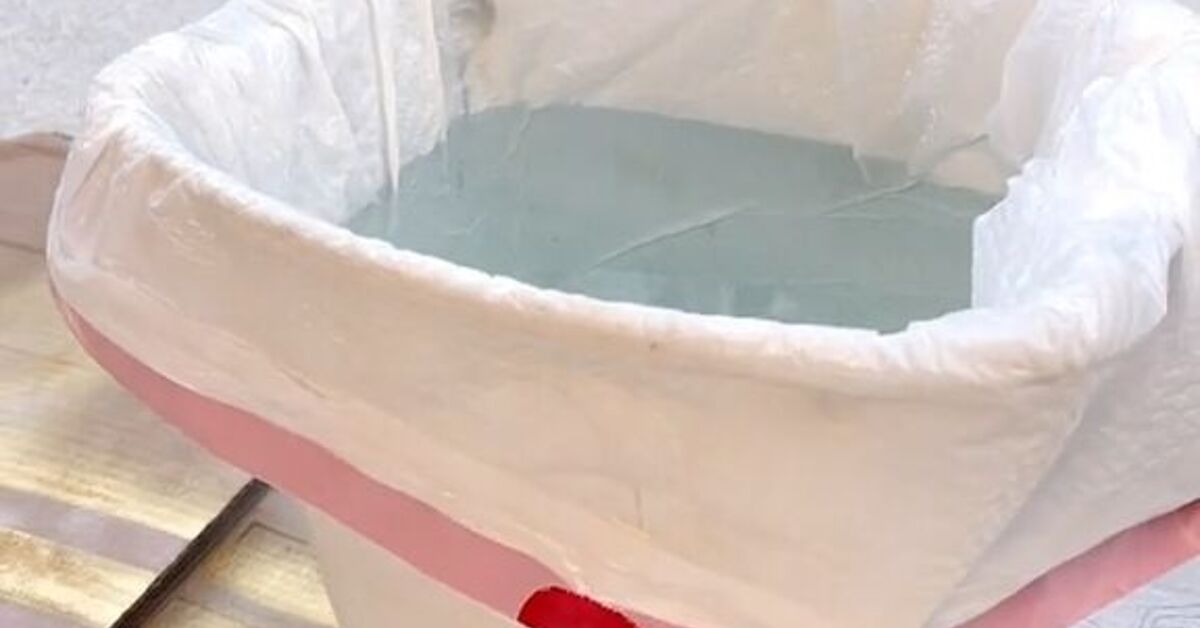
Hydro-dipped wall art is what happens when paint, water, and a little creative courage decide to throw a tiny pool party. The result? Swirled, marbled, one-of-a-kind artwork that looks like it came from a boutique gallery, even if your “studio” is technically a folding table in the backyard.
The best part is that hydro dipping does not require professional art training, expensive equipment, or the ability to draw a perfect circle without immediately questioning your life choices. With a canvas, water, spray paint, gloves, and a simple dipping technique, you can create easy, beautiful, and unique hydro-dipped wall art in an afternoon.
This guide walks you through the full process, from choosing materials to sealing your finished piece. You will also learn beginner-friendly design ideas, common mistakes to avoid, and real-world experience tips that make the difference between “abstract masterpiece” and “paint soup with anxiety.”
What Is Hydro-Dipped Wall Art?
Hydro-dipped wall art is created by floating paint on the surface of water and dipping an object, such as a canvas panel, wood board, picture frame, or decorative plaque, through the paint film. Because the paint sits on top of the water rather than mixing into it, the design transfers onto the surface as you dip.
The effect is often called marbling, water transfer painting, or spray paint hydro dipping. Each dip creates a different pattern, so no two pieces are exactly alike. That uniqueness is the whole charm. You are not making a factory-perfect print; you are making a little visual lightning storm that happens to match your living room.
Why Hydro-Dipped Art Is Perfect for DIY Home Decor
Hydro dipping is ideal for DIY wall art because it gives dramatic results with very simple steps. You can create soft marble waves, bold color explosions, galaxy-style swirls, coastal blues, modern black-and-white patterns, or metallic accents that look surprisingly high-end.
It is also a budget-friendly way to fill empty wall space. Instead of buying generic wall decor, you can customize the color palette to fit your bedroom, office, dorm room, hallway, craft corner, or gallery wall. If your sofa is teal, your rug is beige, and your throw pillows are emotionally complicated, hydro-dipped art can bring everything together.
Supplies You Need
Before you begin, gather everything first. Hydro dipping moves quickly once the paint hits the water, so you do not want to be hunting for gloves while your masterpiece is slowly becoming a floating pancake.
Basic Materials
- Canvas panel, stretched canvas, wood panel, or flat picture frame
- A large plastic bin, storage tub, or disposable container
- Room-temperature water
- Spray paint in two to five colors
- Primer or white base coat, if needed
- Clear acrylic sealer or varnish
- Disposable gloves
- Drop cloth, cardboard, or newspaper
- Painter’s tape
- Wooden skewer, craft stick, or toothpick for swirling
- Paper towels or rags
- Small stands, cups, or blocks for drying
Best Surfaces for Hydro-Dipped Wall Art
For beginners, canvas panels and wood panels are the easiest surfaces to control. A stretched canvas can work too, but it may flex when dipped, so support it carefully. Wood plaques, MDF panels, and unfinished picture frames are also excellent because they are sturdy and easy to prime.
If you use raw wood, sand it lightly and wipe away dust before painting. If you use canvas, make sure it is primed with gesso or already labeled as pre-primed. A smooth, clean surface helps the paint cling evenly and reduces patchy spots.
Safety First: Do Not Skip This Part
Hydro dipping with spray paint should be done outdoors or in a very well-ventilated area such as an open garage. Spray paint fumes are not something to “power through” like a bad haircut. Work where fresh air moves freely, keep children and pets away from the project area, and always read the instructions on your paint cans.
Wear gloves to protect your hands, and consider eye protection if you are spraying near a container where paint mist can bounce back. Cover the ground or table because overspray has a magical talent for finding the one thing you forgot to protect.
Avoid windy conditions, dusty areas, and very humid weather. Wind can blow paint away before it lands on the water. Dust can stick to the wet finish. High humidity may slow drying and make the final surface feel tacky longer than expected.
Step-by-Step Guide: How to Create Hydro-Dipped Wall Art
Step 1: Choose a Color Palette
Start with two to five colors. Beginners often get the best results with three: one light color, one medium color, and one dramatic accent. For example, white, navy, and gold create a chic modern look. Blush, coral, and cream feel soft and feminine. Black, silver, and emerald look moody and expensive, like a hotel lobby that knows where it keeps the good towels.
Try not to use every color you own in one dip. Too many colors can turn muddy, especially if they overlap heavily. A focused palette usually looks more intentional and more suitable for home decor.
Step 2: Prepare the Surface
Make sure your canvas or panel is clean, dry, and dust-free. If you are using a wood panel, sand it lightly with fine-grit sandpaper and wipe it clean. If you want the dipped colors to appear bright, apply a white base coat first and let it dry completely.
The base coat matters more than beginners think. Hydro-dipped paint can be slightly thin in some areas, so the background color may show through. White gives a crisp, bright result. Black creates a dramatic, galaxy-like effect. A pastel base can make the finished artwork softer and more layered.
Step 3: Tape Off Any Areas You Want to Keep Clean
Use painter’s tape to protect the back of the canvas, the edges, or any section you do not want painted. This is especially useful if you want a clean border or plan to frame the finished art.
Press the tape down firmly so water and paint do not sneak underneath. Paint is basically a tiny colorful criminal; if there is a gap, it will find it.
Step 4: Fill the Container With Water
Fill your plastic bin with enough room-temperature water to dip the surface comfortably. The container should be wider and deeper than your canvas or panel. If the art piece scrapes against the sides, the pattern may smear.
Use a container you do not mind staining. Hydro dipping is not the right moment to borrow your nicest kitchen bowl unless you want to explain why it now looks like a space nebula.
Step 5: Shake and Test the Spray Paint
Shake each spray paint can according to the label directions. This helps the pigment and propellant mix properly. Then test each color on scrap cardboard before spraying onto the water.
Testing helps you understand how fast the paint comes out, how wide the spray pattern is, and whether the color looks the way you expected. Metallics, neons, and matte paints can behave differently, so a test spray is your friendly little preview.
Step 6: Spray Paint Onto the Water
Hold the can above the water and spray short bursts onto the surface. The paint should spread and float. Add your colors one at a time, spraying into the center or in separate areas depending on the pattern you want.
For a bullseye design, spray one color in the center, then spray another color into the same spot, then repeat. For a more organic marble effect, spray colors in different areas and let them overlap naturally.
Step 7: Swirl the Pattern
Use a wooden skewer, craft stick, or toothpick to gently drag through the paint on the water. Move slowly. A few lines can create elegant marble veins. Too much stirring can blend the colors into a confused puddle that says, “I tried.”
For modern wall art, try long S-shaped swirls. For a stone-marble look, use thin, irregular lines. For a stormy abstract effect, pull the stick from the outside toward the center several times.
Step 8: Dip the Canvas or Panel
Hold your surface at a slight angle and lower it through the paint film in one steady motion. Do not hesitate halfway. The smoother the dip, the cleaner the transfer.
Once the surface is underwater, use a scrap piece of cardboard or paper towel to clear extra paint from the water before lifting the artwork back out. This prevents leftover floating paint from sticking to the piece in random blobs.
Step 9: Let It Dry
Place the dipped artwork on small cups, blocks, or a drying rack so air can circulate around it. Let it dry fully before touching the surface. Drying time depends on paint type, humidity, temperature, and how much paint transferred.
Do not rush this step. Wet hydro-dipped paint can look dry on top while still being soft underneath. If you poke it too early, your fingerprint may become part of the design. That is only charming if you meant to create forensic abstract art.
Step 10: Seal the Finished Art
Once the piece is fully dry, protect it with a clear acrylic sealer or varnish. A gloss finish makes colors look richer and more dramatic. A matte finish gives a softer, modern look. Satin is a safe middle ground if you cannot choose, which is understandable because finishes somehow have the emotional stakes of ordering coffee.
Apply thin, even coats and let each coat dry according to the product directions. Sealing helps protect the surface from dust, minor scuffs, and fading, especially if the artwork will hang in a bright room.
Easy Hydro-Dipped Wall Art Ideas
Minimalist Black and White Marble
Use white as the base coat and dip with black, gray, and a small amount of silver. Keep the swirling light and delicate. This style works well in modern bedrooms, offices, and neutral living rooms.
Ocean-Inspired Blue and Gold
Combine navy, turquoise, white, and metallic gold. Let the colors move in soft waves instead of over-swirling. The result feels coastal without needing seashells glued to anything, which is a win for everyone.
Soft Pastel Cloud Art
Use pale pink, lavender, cream, and light blue. Dip a white canvas quickly for a dreamy, cloud-like design. This is perfect for nurseries, reading corners, or any room that needs to calm down and drink some tea.
Bold Galaxy Wall Art
Start with a black base coat. Dip with purple, blue, silver, and a touch of white. After it dries, add tiny white paint splatters with a toothbrush for stars. Suddenly your wall has a universe, and you did not even need a telescope.
Gallery Wall Mini Set
Create three to six small hydro-dipped panels using the same color palette. Each piece will be different, but the shared colors will make the set feel cohesive. Hang them in a grid or staggered arrangement for a polished look.
Common Mistakes and How to Avoid Them
Using Too Much Paint
Too much spray paint creates thick, sticky layers that can wrinkle, clump, or drip. Start with light bursts. You can always add more paint to the water, but you cannot politely ask excess paint to leave.
Over-Swirling the Design
Swirling is fun, but restraint matters. A few gentle movements create elegant patterns. Too much stirring blends the colors into mud. When the pattern looks good, stop. This is also useful life advice.
Dipping Too Slowly
If you move too slowly, the paint may fold, break, or collect unevenly. Dip with confidence in one steady motion. Think “smooth elevator,” not “nervous submarine.”
Skipping Surface Prep
Paint sticks best to clean, dry, lightly primed surfaces. Dust, grease, and glossy finishes can cause the design to separate or flake. A few minutes of prep can save the whole project.
Touching the Art Too Soon
Hydro-dipped pieces need time to dry and cure. Touching too early can leave dents, fingerprints, or dull patches. Give the artwork time to settle before sealing or hanging.
How to Make Your Hydro-Dipped Art Look More Professional
Professional-looking hydro-dipped wall art usually comes down to three things: a clean color palette, a neat finish, and thoughtful presentation. Choose colors that match your room instead of choosing colors based on which cans are closest to your hand.
Paint the sides of the canvas or panel for a finished gallery look. You can paint the edges a solid color before dipping or let the dip wrap around naturally. If the edges look messy, paint them afterward with a small brush.
Framing also elevates the piece. A simple floating frame can turn a $10 DIY canvas into something that looks intentionally designed. Add hanging hardware carefully and make sure the piece is fully dry before placing it against a wall.
Cleaning Up After Hydro Dipping
After dipping, remove leftover paint from the water before disposing of it. Use scrap cardboard, paper towels, or a stick to skim the paint film off the surface. Do not pour paint-heavy water down indoor drains.
Let paint-covered paper towels or scraps dry completely in a safe outdoor area before throwing them away according to local disposal rules. Clean your workspace while wearing gloves, and store spray paint cans according to label instructions.
Personal Experience Tips for Better Hydro-Dipped Wall Art
After experimenting with hydro-dipped wall art, one of the biggest lessons is that the first dip is rarely the “perfect” dip, and that is completely fine. In fact, the unpredictable part is the fun part. Hydro dipping is less like coloring inside the lines and more like politely negotiating with chaos.
My best results have come from preparing more surfaces than I think I need. If I plan to make one finished piece, I prepare two or three small panels. That way, I can test the color combination first. Sometimes the colors that look beautiful in the cans become too loud together on the water. Other times, a color I expected to be boring becomes the hero of the piece. Metallic gold, for example, can look subtle in small amounts but overwhelming if sprayed like you are decorating a royal spaceship.
Another useful experience is to work quickly but not frantically. Once spray paint lands on the water, it begins forming a film. If you wait too long, the film can dry, wrinkle, or break apart. However, rushing can lead to crooked dips and splashed edges. The sweet spot is calm speed: spray, swirl, dip, clear the surface, lift. Think of it as a tiny choreography routine where the paint is the dramatic dancer.
Color order also matters. Spraying darker colors first and lighter colors second can create depth, while spraying metallics last often keeps them more visible. For marble-style wall art, I like using a white or cream base with two main colors and one accent. For example, white, sage green, charcoal, and a little gold can look elegant without screaming for attention. For a kid’s room or creative studio, brighter colors like turquoise, coral, and yellow can feel playful and energetic.
The container size makes a bigger difference than many beginners expect. If the bin is too small, the canvas bumps the sides and ruins the pattern. A wider bin gives the paint room to spread naturally. It also makes dipping less stressful because you are not trying to perform precision surgery with a wet canvas and slippery gloves.
One trick that helps create cleaner art is to practice dipping with plain cardboard first. Cardboard is cheap, disposable, and surprisingly educational. You can learn how fast to dip, how much paint to use, and how your colors behave before using your actual canvas. This small practice step can save money and prevent the classic beginner reaction: staring at a messy panel and whispering, “Well, it has personality.”
Drying is another area where patience pays off. I have found that even when the surface looks dry, it is better to wait longer before sealing. If the paint is still soft, sealer can disturb the finish or create cloudy patches. Let the piece rest in a dust-free area, then apply thin coats of clear sealer. Several light coats usually look better than one heavy coat.
Finally, hydro-dipped wall art looks more intentional when displayed thoughtfully. A single bold piece can work as a statement over a desk or dresser. A set of three smaller panels can look beautiful above a bed or sofa. If the patterns are busy, keep the frames simple. If the colors are soft, a natural wood frame can add warmth.
The real secret is to embrace the surprises. Hydro dipping will not give you total control, and that is exactly why it creates such interesting art. Every swirl, ripple, and accidental vein becomes part of the final design. With good prep, safe spraying, smart colors, and a little patience, you can create wall art that feels personal, stylish, and completely unique.
Conclusion
Creating easy, beautiful, and unique hydro-dipped wall art is a beginner-friendly DIY project with impressive results. By preparing your surface, choosing a strong color palette, spraying paint carefully onto water, dipping with steady motion, and sealing the finished piece, you can make custom artwork that looks far more expensive than it is.
The process is playful, forgiving, and full of happy accidents. Whether you want modern marble art, dreamy pastel decor, bold galaxy panels, or a coordinated gallery wall, hydro dipping gives you endless creative options. Just remember to work safely, ventilate properly, protect your workspace, and let the art dry before handling it.














