
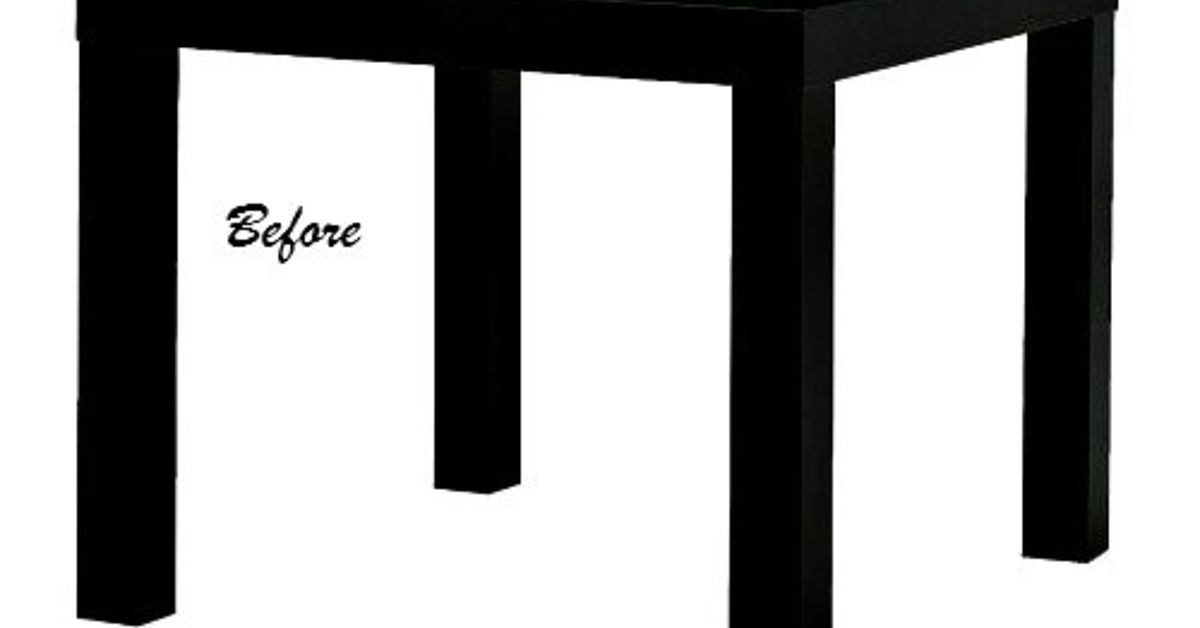
If you have an Ikea Lack table sitting in your living room looking a little too plain, congratulations: you own one of the easiest pieces of furniture to transform without needing a garage full of power tools or the confidence of a reality-TV carpenter. Learning how to decoupage an Ikea Lack table is a budget-friendly way to turn a simple square side table into a custom accent piece with personality, color, and just enough “I made this” energy to make guests ask where you bought it.
The Lack table is lightweight, affordable, and wonderfully simple. That simplicity is exactly why it makes such a good decoupage project. The flat tabletop is basically a blank canvas, while the clean lines work with almost any style: vintage maps, botanical prints, comic book pages, wallpaper scraps, sheet music, wrapping paper, rice paper, fabric, or even photocopied family recipes. The table does not ask much of you. It simply says, “Please make me less boring.”
This guide walks you through the full process, from choosing paper and preparing the surface to applying decoupage medium, smoothing bubbles, sealing the finish, and avoiding common rookie mistakes. Think of it as a friendly craft workshopminus the glitter explosion, unless you invite glitter, in which case may your vacuum be strong.
Why the Ikea Lack Table Is Perfect for Decoupage
The Ikea Lack side table has become a favorite among DIY fans because it is inexpensive, easy to assemble, and simple to customize. Its square top gives you a broad, flat surface that is easier to decorate than curved furniture, carved wood, or anything with fussy details. For beginners, flat is your friend.
The table is also lightweight, thanks to its engineered construction. Many Lack tables use a combination of particleboard, fiberboard, and honeycomb-style paper filling. That makes the piece easy to move around your home, but it also means you should treat it differently from solid wood furniture. You do not want to oversaturate it with water, aggressively sand through the surface, or use heavy-duty methods better suited to a farmhouse dining table that could survive a tornado.
Decoupage works especially well on a Lack table because it adds visual impact without adding much weight. A few sheets of decorative paper, several thin coats of decoupage medium, and a protective sealer can completely change the look of the table while keeping the project beginner-friendly.
What Is Decoupage?
Decoupage is the craft of decorating an object with paper or fabric cutouts, then sealing the design with layers of glue, medium, or finish. The result can look like painted artwork, patterned furniture, vintage collage, or high-end custom decor. The secret is layering: adhesive underneath, the decorative material on top, then protective coats to lock everything in place.
Popular decoupage mediums, such as Mod Podge, work as glue, sealer, and finish. For furniture, many crafters prefer a stronger formula such as a hard-coat decoupage medium or a durable water-based topcoat after the decorative layer has dried. A tabletop gets touched, wiped, bumped, and used, so it deserves more protection than a decorative box that sits politely on a shelf.
Supplies You Will Need
Basic Materials
- Ikea Lack table
- Decorative paper, napkins, wallpaper, maps, posters, rice paper, or lightweight fabric
- Decoupage medium, such as Mod Podge Matte, Gloss, or Hard Coat
- Fine-grit sandpaper, around 220 grit
- Microfiber cloth or tack cloth
- Foam brush or soft paintbrush
- Brayer, plastic scraper, old credit card, or bone folder
- Craft knife or sharp scissors
- Cutting mat
- Pencil and ruler
- Painter’s tape
- Clear acrylic sealer or water-based polyurethane for extra durability
Optional but Helpful Supplies
- Primer for slick surfaces if you plan to paint the base first
- Acrylic paint for the legs or edges
- Disposable gloves
- Small artist brush for corners
- Wax paper or parchment paper for smoothing delicate paper
- 400-grit sandpaper for smoothing between topcoats
Choose Your Decoupage Design
Before you open the glue, decide what personality your table should have. This step matters because the design determines how carefully you need to cut, align, and seal the paper.
Best Paper Ideas for a Lack Table
Wallpaper samples are excellent because they are usually thicker and more durable than regular printer paper. Wrapping paper can look beautiful, but thinner versions wrinkle easily, so work slowly. Maps give the table a travel-inspired look. Botanical prints create a vintage garden feel. Comic book pages make a playful table for a game room or kid’s space. Sheet music works well for a piano room, reading nook, or anyone who wants their coffee cup to feel cultured.
Napkins and tissue paper are popular for decoupage because they blend smoothly into the surface, but they are delicate. If you are a beginner, start with thicker paper or rice paper. It is more forgiving and less likely to tear when you smooth it.
One Large Sheet or Collage?
A single large sheet creates a clean, modern look, but it can be trickier to apply without wrinkles. A collage made from smaller pieces is more forgiving because tiny overlaps hide small mistakes. If your first attempt at decoupage feels intimidating, collage is the craft equivalent of wearing a patterned shirt to dinner: it hides a lot.
Step-by-Step: How to Decoupage an Ikea Lack Table
Step 1: Disassemble or Prep the Table
If your Lack table is already assembled, you can still decoupage it. However, it is easier to work on the tabletop when the legs are removed. Place the tabletop on a clean, protected surface. If the table is new and still in the box, decorate the top before attaching the legs. Your back will thank you, and so will your patience.
Step 2: Clean the Surface
Wipe the tabletop with a slightly damp microfiber cloth to remove dust, fingerprints, and mystery smudges. Dry it completely. Decoupage medium does not love dirt. It prefers a clean surface, much like guests who arrive five minutes early while you are still hiding laundry.
Step 3: Lightly Sand the Top
The Lack table has a smooth factory finish, which can make adhesion more difficult. Lightly scuff the tabletop with 220-grit sandpaper. You are not trying to remove the finish; you are simply dulling the surface so the adhesive has something to grip. Sand gently and evenly, then wipe away every bit of dust with a tack cloth or microfiber cloth.
Avoid heavy sanding. The table is not solid hardwood, so aggressive sanding can damage the surface. A light scuff is enough.
Step 4: Paint the Base or Edges, If Desired
If you want the table legs or tabletop edges to coordinate with your decoupage design, paint them before applying paper. Use a primer made for slick or laminate-style furniture, then apply thin coats of acrylic or furniture paint. Let the paint dry fully before moving on.
This is also the moment to paint the tabletop edges if your paper will only cover the top surface. A black edge can make a map look graphic and modern. A white edge can keep floral paper feeling fresh. A bold color can make the whole piece look intentionally designed instead of “I found this paper in a drawer and got ambitious.”
Step 5: Measure and Cut Your Paper
Measure the tabletop carefully. If you are using one sheet, cut it slightly larger than the tabletop so you can trim the edges after it dries. If you are making a collage, arrange the pieces on the table before gluing. Take a quick photo of the layout with your phone so you remember where everything goes.
For a clean top, use a ruler and craft knife. For torn-edge collage, tear the paper by hand for softer transitions. Torn edges often blend better than sharp cuts, especially with vintage-style designs.
Step 6: Test the Paper
Before committing to the full tabletop, test a small scrap of your chosen paper with the decoupage medium. Some inkjet prints can bleed. Some thin papers wrinkle dramatically. Some napkins behave like they have been personally offended by moisture. A test patch lets you catch problems before your table becomes a cautionary tale.
If you are using inkjet-printed images, let the ink dry thoroughly and consider sealing both sides lightly with a clear acrylic spray before decoupaging. This helps reduce smearing.
Step 7: Apply a Thin Layer of Decoupage Medium
Use a foam brush to apply a thin, even layer of decoupage medium to a section of the tabletop. If you are using one large sheet, you can coat the whole top, but work quickly and calmly. If you are using smaller pieces, work section by section.
Thin coats are key. Too much medium can soak the paper and create bubbles or wrinkles. Too little medium can cause lifting edges. Aim for even coverage that looks wet but not puddled.
Step 8: Place and Smooth the Paper
Lay the paper onto the wet medium. Start at one edge and slowly lower the paper into place. Use a brayer, plastic scraper, bone folder, or old credit card to smooth from the center outward. This pushes out air bubbles and excess glue.
For delicate paper, place wax paper or parchment paper over the design before smoothing. This reduces the chance of tearing. Be firm but gentle. You are smoothing paper, not negotiating with a stubborn jar lid.
Step 9: Fix Bubbles Before They Dry
Look over the surface from different angles. If you see bubbles, gently push them toward the edges. For stubborn bubbles that appear after a few minutes, carefully lift the paper if possible, add a tiny bit more medium, and smooth again. If the bubble is trapped and the paper is already setting, let it dry. Later, you can prick the bubble with a fine pin, press it flat with a small amount of medium, and seal over it.
Step 10: Let the First Layer Dry
Let the paper dry completely before adding a topcoat. Drying time depends on the product, paper thickness, room temperature, and humidity. Many decoupage products dry to the touch fairly quickly, but furniture projects benefit from patience. Give the tabletop several hours at minimum, and overnight is even better.
Step 11: Seal the Top
Once the paper is dry, brush a thin layer of decoupage medium over the entire tabletop. Let it dry fully, then add another coat. For a table that will actually be used, apply several thin coats. Four to five coats of a hard-coat decoupage medium can create a smoother, more durable surface.
Lightly sand between dry coats with very fine sandpaper if you want an extra-smooth finish. Wipe away dust before adding the next coat. Do not sand so hard that you scratch through the design.
Step 12: Add a Protective Topcoat
For better durability, especially on a side table that will hold drinks, books, remotes, or the occasional emergency snack plate, finish with a clear water-based polyurethane or acrylic sealer. Choose matte, satin, or gloss depending on the look you want.
Use thin coats and follow the product directions. Let the finish cure before heavy use. Dry and cured are not the same thing. Dry means you can touch it. Cured means it has hardened enough to handle real life. Real life includes coffee mugs, keys, and people who do not believe in coasters.
Design Ideas for a Decoupaged Ikea Lack Table
Vintage Map Table
Use a city map, state map, or world map to create a travel-themed table. This works beautifully in a home office, guest room, or reading corner. For a personal touch, center the map on a meaningful location, such as a hometown, honeymoon spot, or favorite road trip destination.
Botanical Garden Table
Botanical prints, pressed-flower illustrations, or floral wrapping paper can make a plain Lack table feel like a charming cottage accent. Pair it with painted green, cream, or soft black legs for a finished look.
Book Page or Sheet Music Table
Old book pages and sheet music create texture and character. Use photocopies if the originals are valuable. Arrange pages in neat rows for a tailored look or overlap torn pieces for a softer, antique effect.
Kids’ Art Table
Photocopy children’s drawings and decoupage them onto the tabletop. Seal the surface well, and you have a functional keepsake. It is also a clever way to preserve artwork without turning your refrigerator into a paper avalanche.
Bold Wallpaper Accent Table
Peel-and-stick wallpaper or traditional wallpaper remnants can give the Lack table a designer feel. Large-scale patterns look especially good because the table shape is simple enough to handle drama.
Common Mistakes to Avoid
Skipping Surface Prep
The biggest mistake is applying paper directly to a slick, dusty surface. Clean and lightly sand first. It takes only a few minutes, but it can make the difference between a long-lasting finish and peeling corners.
Using Too Much Glue
More glue does not mean better adhesion. Heavy layers can cause paper to wrinkle, buckle, or dry unevenly. Use thin, even coats and build protection gradually.
Rushing the Drying Time
Decoupage rewards patience. If you seal too soon, moisture can get trapped under the finish. If you use the table too soon, objects may leave marks. Let each layer dry, and let the final finish cure before putting the table into regular service.
Choosing the Wrong Paper
Very thin paper can be beautiful, but it is harder to control. Beginners may have better results with wallpaper, rice paper, medium-weight wrapping paper, or laser-printed designs.
Forgetting the Edges
The edges of the tabletop are where peeling often begins. Seal them carefully. If your paper wraps over the edges, smooth it well and add extra protective coats along the corners.
How to Care for Your Decoupaged Lack Table
After the finish has cured, use the table gently. Wipe it with a soft, slightly damp cloth. Avoid soaking the surface, scrubbing with abrasive cleaners, or placing hot mugs directly on top. Use coasters for drinks, especially cold glasses that sweat. Water rings are rude, and your handmade table deserves better manners.
If the surface gets a small scratch, you can often touch it up with a little decoupage medium or clear sealer. For deeper damage, lightly sand the affected area, patch with matching paper if needed, and reseal.
Hands-On Experience: What This Project Teaches You
Decoupaging an Ikea Lack table teaches one lesson very quickly: simple projects are not always effortless, but they are absolutely manageable when you respect the process. The table may look like a basic square, but the finish is slick enough that preparation matters. The first time you run sandpaper lightly across the top, it can feel strange to intentionally scuff a new-looking piece of furniture. But that dull surface is what helps the medium grip. Skipping that step is like asking wallpaper to stick to a mirror and then acting shocked when gravity gets involved.
Another experience many beginners notice is that paper has a personality. Thick wallpaper behaves with confidence. Rice paper is cooperative and graceful. Wrapping paper can be lovely but occasionally dramatic. Napkins are gorgeous, but they require a calm hand and a willingness to forgive tiny wrinkles. Once you understand how your material reacts to moisture, the project becomes much easier. Testing a scrap is not busywork; it is a tiny rehearsal before opening night.
The smoothing stage is also where confidence grows. At first, every bubble looks like a disaster. After a few minutes, you realize most bubbles can be pushed out gently from the center toward the edge. The trick is not to panic. A brayer or plastic card helps, but your best tool is patience. Work slowly, smooth lightly, and check the surface again after a few minutes because bubbles sometimes sneak back like they forgot their keys.
The biggest surprise is how much the final coats change the look. The first sealed layer may look uneven or slightly streaky. By the third or fourth thin coat, the surface starts to feel unified. The design looks less like paper sitting on furniture and more like part of the table itself. Light sanding between fully dry coats can make the finish smoother, but restraint is important. Sanding should polish the ridges, not punish the artwork.
This project also teaches realistic expectations. A decoupaged Lack table can be beautiful and functional, but it is not suddenly a waterproof marble slab. It still needs coasters, gentle cleaning, and a little kindness. That said, the satisfaction is huge. You take an ordinary table and make it look custom with inexpensive supplies and an afternoon of focused work. Even better, the next time you see a plain piece of furniture, you will not see “boring.” You will see possibility, pattern, and maybe a very good excuse to buy more craft paper.
Conclusion
Learning how to decoupage an Ikea Lack table is one of the easiest ways to try furniture upcycling without spending a fortune. The table’s simple shape, flat top, and lightweight design make it ideal for beginners, while the creative options are nearly endless. Whether you choose maps, florals, wallpaper, comics, fabric, or family artwork, the basic formula stays the same: clean, lightly sand, plan your layout, apply thin adhesive layers, smooth carefully, seal patiently, and let the finish cure.
The best part is that this project does not require perfection. A tiny wrinkle can add character. A layered collage can hide a crooked cut. A bold pattern can turn a basic table into a conversation piece. With a little prep and a lot of patience, your Ikea Lack table can go from “I needed something cheap next to the sofa” to “Yes, I made that, and yes, I am accepting compliments.”













