
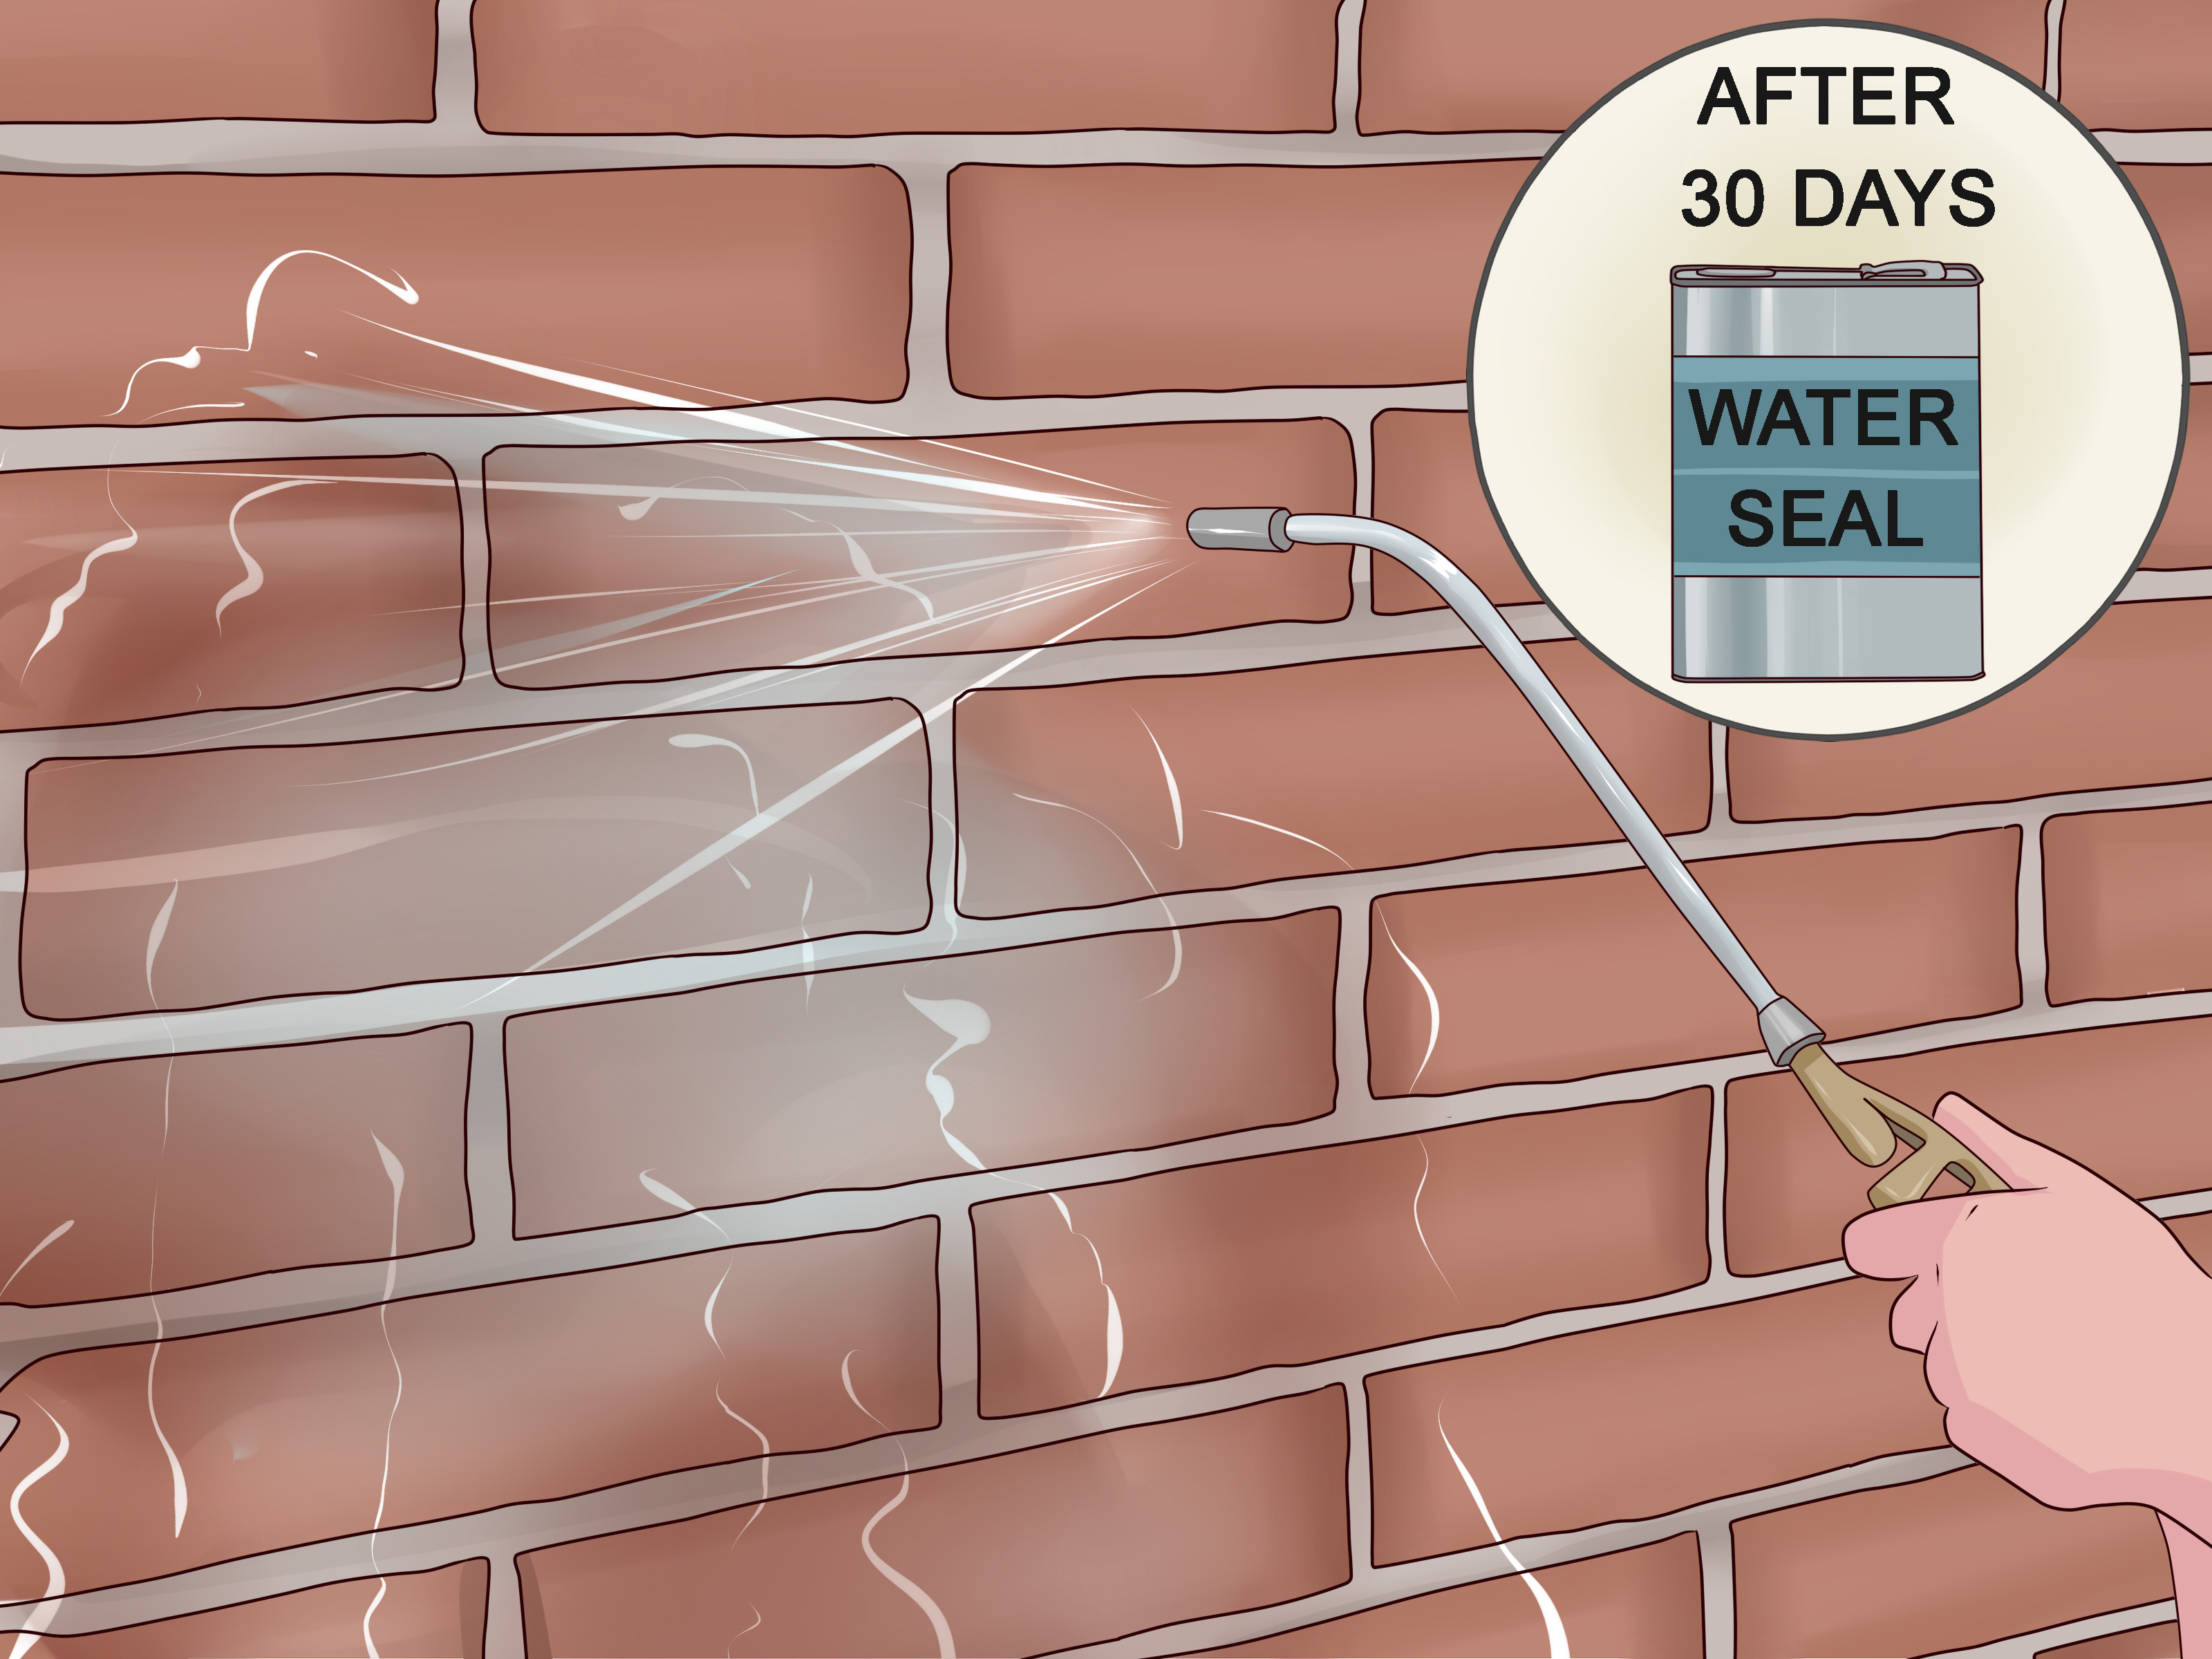
Brick walls age with dignityuntil the mortar starts falling out like cookie crumbs from a toddler’s pocket. That’s when tuckpointing comes in. Done well, tuckpointing restores deteriorated mortar joints, helps keep water out of masonry, improves curb appeal, and can make an old brick wall look sharp enough to wear a blazer.
In everyday American home improvement language, “tuckpointing” is often used to mean repointing brick: removing failing mortar and packing in new mortar. Traditionally, however, tuckpointing is more decorative. It uses mortar that blends with the brick and then adds a thin contrasting line, called a fillet, to create the appearance of crisp, narrow joints. This guide covers the practical repair process most homeowners mean when they search for how to do tuckpointing, plus tips for achieving a cleaner, more traditional finish.
Before grabbing a grinder and declaring yourself Lord of the Bricks, know this: tuckpointing is simple in theory but fussy in execution. The goal is not just to stuff mortar into cracks. The goal is to remove damaged material without harming the brick, match the new mortar to the old masonry, compact it properly, tool it neatly, and cure it slowly enough to last.
What Is Tuckpointing?
Tuckpointing is a masonry repair technique used to renew mortar joints between bricks or stone. Mortar is usually the sacrificial part of a brick wall. It is supposed to weather before the brick does, because replacing mortar is far easier than replacing damaged brick units. When mortar erodes, cracks, separates from the brick, or develops voids, moisture can enter the wall. In cold climates, trapped water can freeze, expand, and accelerate damage. In warm or humid climates, moisture can still create staining, efflorescence, mildew, and interior dampness.
Traditional tuckpointing adds an aesthetic layer: the base mortar is colored to match the brick, and a thin contrasting line is pressed into the center of the joint. Modern DIY guides often use the word tuckpointing interchangeably with repointing, and homeowners usually care about both results: a stronger wall and a cleaner-looking brick surface.
When Does Brick Need Tuckpointing?
You may need tuckpointing if the mortar is crumbling, powdery, cracked, missing, recessed more than about a quarter inch, or pulling away from the brick edges. Other warning signs include plant growth in joints, water stains indoors, loose bricks, spalling brick faces, or white powdery efflorescence that keeps returning. If the wall is bulging, leaning, badly cracked, or shedding entire bricks, stop. That is not a “weekend warrior with a playlist” project. Call a qualified mason or structural professional.
For small sections of sound brickwork, tuckpointing can be a realistic DIY job. Chimneys, high walls, historic masonry, structural walls, and extensive deterioration usually deserve professional help.
Tools and Materials You’ll Need
- Safety glasses or goggles
- Respirator rated for fine dust, especially if grinding mortar
- Work gloves and hearing protection
- Drop cloths or plastic sheeting
- Cold chisel, plugging chisel, or joint raker
- Hammer
- Angle grinder with masonry blade or mortar removal blade, if appropriate
- HEPA vacuum or dust-control attachment
- Masonry brush or stiff nylon brush
- Spray bottle or garden hose with mist setting
- Pointing trowel, hawk board, mortar bag, or mortar gun
- Tuckpointing tool or jointing tool
- Mortar mix matched to your brick and existing mortar
- Masonry pigment or lime putty if doing decorative tuckpointing
- Natural-bristle or nylon brush for final cleanup
Choosing the Right Mortar
The best mortar is not always the hardest mortar. In fact, using mortar that is too hard can damage softer brick. Many older brick buildings were built with lime-based mortar, which is more breathable and flexible than modern high-cement mixes. If you repoint soft historic brick with a hard cement mortar, moisture may be trapped in the wall and the brick can spall. Translation: the brick face pops off, and your wall starts looking like it lost a bar fight.
For many modern exterior brick repairs, Type N mortar is commonly used because it offers a practical balance of strength and workability. For older or softer masonry, Type O or a compatible lime mortar may be more appropriate. Type S mortar is stronger and sometimes used for more demanding applications, but stronger is not automatically better for tuckpointing. When in doubt, test the existing mortar, consult a masonry supplier, or hire a restoration mason for a mortar match.
How to Do Tuckpointing: 9 Steps
1. Inspect the Wall and Mark the Problem Areas
Start with a slow inspection. Look for loose, cracked, powdery, recessed, or missing mortar. Lightly scrape suspicious joints with a screwdriver or pointing tool. If the mortar falls out easily or turns to dust, it needs attention. Mark only the damaged areas with painter’s tape or chalk. You do not need to remove good mortar just because it is nearby and minding its own business.
Check for the cause of the damage before repairing it. Bad gutters, poor grading, missing flashing, roof leaks, or sprinklers hitting the wall can ruin new tuckpointing faster than you can say, “Why is this wet again?” Fix moisture problems first.
2. Prepare the Work Area
Cover nearby plants, windows, patios, and trim. Move furniture, grills, and decorative items away from the work zone. If you are working indoors on a fireplace or exposed brick wall, seal off the area with plastic sheeting and protect floors. Mortar dust travels like gossip at a family reunion.
Choose good weather. Mild temperatures are best, ideally above freezing and below extreme heat. Avoid tuckpointing in direct blazing sun, heavy wind, rain, or freezing conditions. Fresh mortar needs time and moisture to cure properly.
3. Remove the Damaged Mortar
Remove deteriorated mortar to a consistent depth, usually about two to two-and-a-half times the width of the joint. For a common 3/8-inch joint, that often means roughly 3/4 inch to 1 inch deep, or until you reach sound mortar. Use a cold chisel, joint raker, or plugging chisel for control. If you use an angle grinder, work carefully and use it mainly on wider horizontal bed joints. Vertical head joints are easier to damage with power tools, so hand tools are often safer.
Do not chip the brick edges. The goal is to remove mortar, not sculpt the bricks into abstract art. If the brick is soft, old, handmade, glazed, or historic, avoid aggressive grinding. A slow hand-tool approach is often better.
4. Control Dust and Clean the Joints
Grinding or raking mortar can release respirable silica dust, which is a serious health hazard. Wear proper respiratory protection, use a shroud and HEPA vacuum when grinding, and avoid dry sweeping. Clean dust with a HEPA vacuum, damp methods, or a brush used carefully. Never blast the joints with uncontrolled compressed air unless proper dust capture is in place.
After removing the mortar, brush the joints clean. The inside of each joint should have firm edges and no loose powder. Mortar bonds poorly to dust, and no one wants a repair that fails because it was installed over a tiny masonry sandbox.
5. Dampen the Brick Joints
Before applying new mortar, lightly dampen the joints with clean water. The brick should be damp but not dripping. This step matters because dry brick can suck water out of fresh mortar too quickly, weakening the bond and increasing shrinkage cracks.
Use a spray bottle for small repairs or a gentle mist from a hose for larger areas. Let shiny surface water absorb before packing in mortar. Damp is good. Puddles are not.
6. Mix the Mortar
Mix mortar in small batches according to the manufacturer’s directions or your matched mortar recipe. Aim for a workable consistency that holds its shape but is not soupy. Think peanut butter, not pancake batter. Mortar that is too wet smears all over the brick face and shrinks as it cures. Mortar that is too dry will not pack tightly into the joint.
If color matching matters, make a test batch first. Let it dry fully before judging the color, because wet mortar usually looks darker. Record the exact proportions of mortar, sand, pigment, and water so your next batch does not come out looking like it belongs to a different wall.
7. Pack the New Mortar Into the Joints
Load mortar onto a hawk board or trowel and push it firmly into the joints using a pointing trowel or tuckpointing tool. Start with horizontal bed joints, then fill the vertical head joints. Work from the top down so debris does not fall into freshly finished joints.
For deeper joints, fill in layers about 1/4 inch at a time, compacting each layer before adding the next. This reduces shrinkage and helps the mortar bond. The back of the joint must be filled, not just the front edge. A pretty surface over an empty joint is basically masonry theater.
8. Tool the Joints at the Right Time
Let the mortar firm up until it reaches “thumbprint hard.” That means you can press it lightly with your thumb and leave only a slight mark without mortar sticking to your skin. Then tool the joints to match the existing profile. Common joint profiles include concave, V-shaped, flush, slightly recessed, and weathered.
For exterior brickwork, a concave or weathered joint often sheds water better than a deep recessed joint. Match the original style whenever possible, especially on older homes. Tooling compresses the mortar surface, improves water resistance, and gives the wall a finished appearance.
9. Add the Tuckpointing Line and Cure the Mortar
If you want a traditional tuckpointed look, create a narrow groove in the center of the fresh joint while the mortar is still workable. Press in a thin line of contrasting lime putty or fine mortar using a tuckpointing tool and straightedge. Keep the line consistent. This is where patience pays off. A wavy fillet can make the wall look surprised.
After tooling or adding fillets, gently brush away excess mortar from the brick face with a natural-bristle or nylon brush. Do not use a metal brush on delicate or historic masonry. Protect the fresh work from direct sun, wind, rain, and freezing temperatures. Mist lightly as needed for the first day or two, especially in warm or dry weather. Slow curing helps the mortar gain strength and reduces cracking.
Common Tuckpointing Mistakes to Avoid
Using Mortar That Is Too Hard
Hard mortar can damage soft brick by trapping moisture or forcing the brick to take the stress instead of the joint. Always match mortar strength and permeability to the masonry.
Removing Too Little Old Mortar
If you only smear new mortar over the surface, the repair may fail quickly. Remove enough damaged mortar to create a solid bonding depth.
Letting Mortar Dry Too Fast
Rapid drying can cause weak, crumbly joints. Dampen the wall before applying mortar and protect the repair while it cures.
Smearing Mortar Over Brick Faces
Mortar stains can be stubborn. Work neatly, use the right consistency, and brush excess only when the mortar has stiffened enough not to smear.
Ignoring Structural Problems
Tuckpointing cannot fix a leaning wall, failing lintel, major settlement crack, or loose chimney. Those problems require professional diagnosis.
How Long Does Tuckpointing Last?
A careful tuckpointing job can last decades. Lifespan depends on the wall’s exposure, brick quality, mortar compatibility, workmanship, drainage, climate, and maintenance. A protected brick wall may hold up for a long time, while a chimney exposed to rain, snow, wind, and temperature swings may need attention sooner. The best way to extend the life of tuckpointing is boring but effective: keep water away from the wall. Maintain gutters, downspouts, caps, flashing, and grading.
DIY or Hire a Professional?
DIY tuckpointing makes sense for small, accessible areas of non-structural brickwork where the brick is in good condition and the mortar is easy to match. A porch wall, garden wall, or small fireplace section can be a good learning project. Hiring a professional is smarter for chimneys, historic brick, high walls, large elevations, structural cracks, severe water damage, or walls with soft handmade brick.
Professional masonry work costs more because it is labor-intensive and requires skill. But a bad tuckpointing job can be expensive twice: once when you do it, and again when someone has to undo it.
Field Experience: What Tuckpointing Teaches You After the First Few Joints
The first thing most people learn about tuckpointing is that the wall is not flat, the bricks are not perfectly even, and mortar has a personality. Some joints clean out easily with a few taps of a chisel. Others cling like they signed a lifetime lease. That is why a test area is so valuable. Start somewhere inconspicuous, such as behind a shrub or near the side of a garage, before working on the front facade where every neighbor and delivery driver can become an unpaid critic.
One practical lesson is that dust control is not optional. Even a small repair can produce a surprising amount of fine dust. A grinder works quickly, but it can also create a cloud, chew into brick edges, and make the job feel like a miniature construction site. Hand tools are slower, but they offer better control, especially around vertical joints. On old brick, slower is often safer. The extra time you spend with a chisel may save you from replacing damaged bricks later.
Another lesson is that mortar consistency changes everything. Too wet, and it smears across the brick like gray frosting applied by a raccoon. Too dry, and it refuses to pack into the joint. The sweet spot is stiff enough to hold together but workable enough to press firmly into the void. Small batches help because mortar stiffens as you work. If you mix a giant bucket before you have developed a rhythm, you may spend the afternoon racing against your own material.
Color matching is also humbling. Mortar can look perfect when wet and completely different after it cures. Sand color, cement content, lime, pigments, water amount, and curing conditions all affect the final shade. If appearance matters, make sample patches and let them dry. Do not trust the color in the bucket. The bucket lies.
Tooling is where the wall starts to look finished. Beginners often tool too soon, when the mortar is still soft and sticky. That creates smears and uneven joints. Waiting until thumbprint hardness gives cleaner lines and better compression. The joint profile also matters. A neat concave joint can make a basic repair look professional, while inconsistent tooling can make good mortar look careless.
Finally, curing is the quiet step that many people underestimate. Fresh mortar needs protection from harsh sun, wind, heavy rain, and freezing temperatures. Light misting and shade can make the difference between a durable repair and joints that crack too soon. Tuckpointing rewards patience. It is not glamorous work, but when you step back and see clean mortar lines restoring an old brick wall, it feels oddly satisfyinglike flossing a house.
Note: This guide is intended for small to moderate brick mortar repair projects. For historic masonry, chimneys, load-bearing walls, major cracks, leaning walls, or extensive moisture damage, consult a qualified masonry professional before beginning work.
Conclusion
Learning how to do tuckpointing is really learning how to respect brick. The process is not complicated: inspect the wall, remove damaged mortar, clean and dampen the joints, mix compatible mortar, pack it tightly, tool it neatly, and cure it carefully. The skill is in the details. Use the right mortar, avoid damaging the brick, control dust, and resist the temptation to rush. A clean tuckpointing job does more than improve curb appeal. It helps protect masonry from water, weather, and timethree opponents that never take a day off.










