
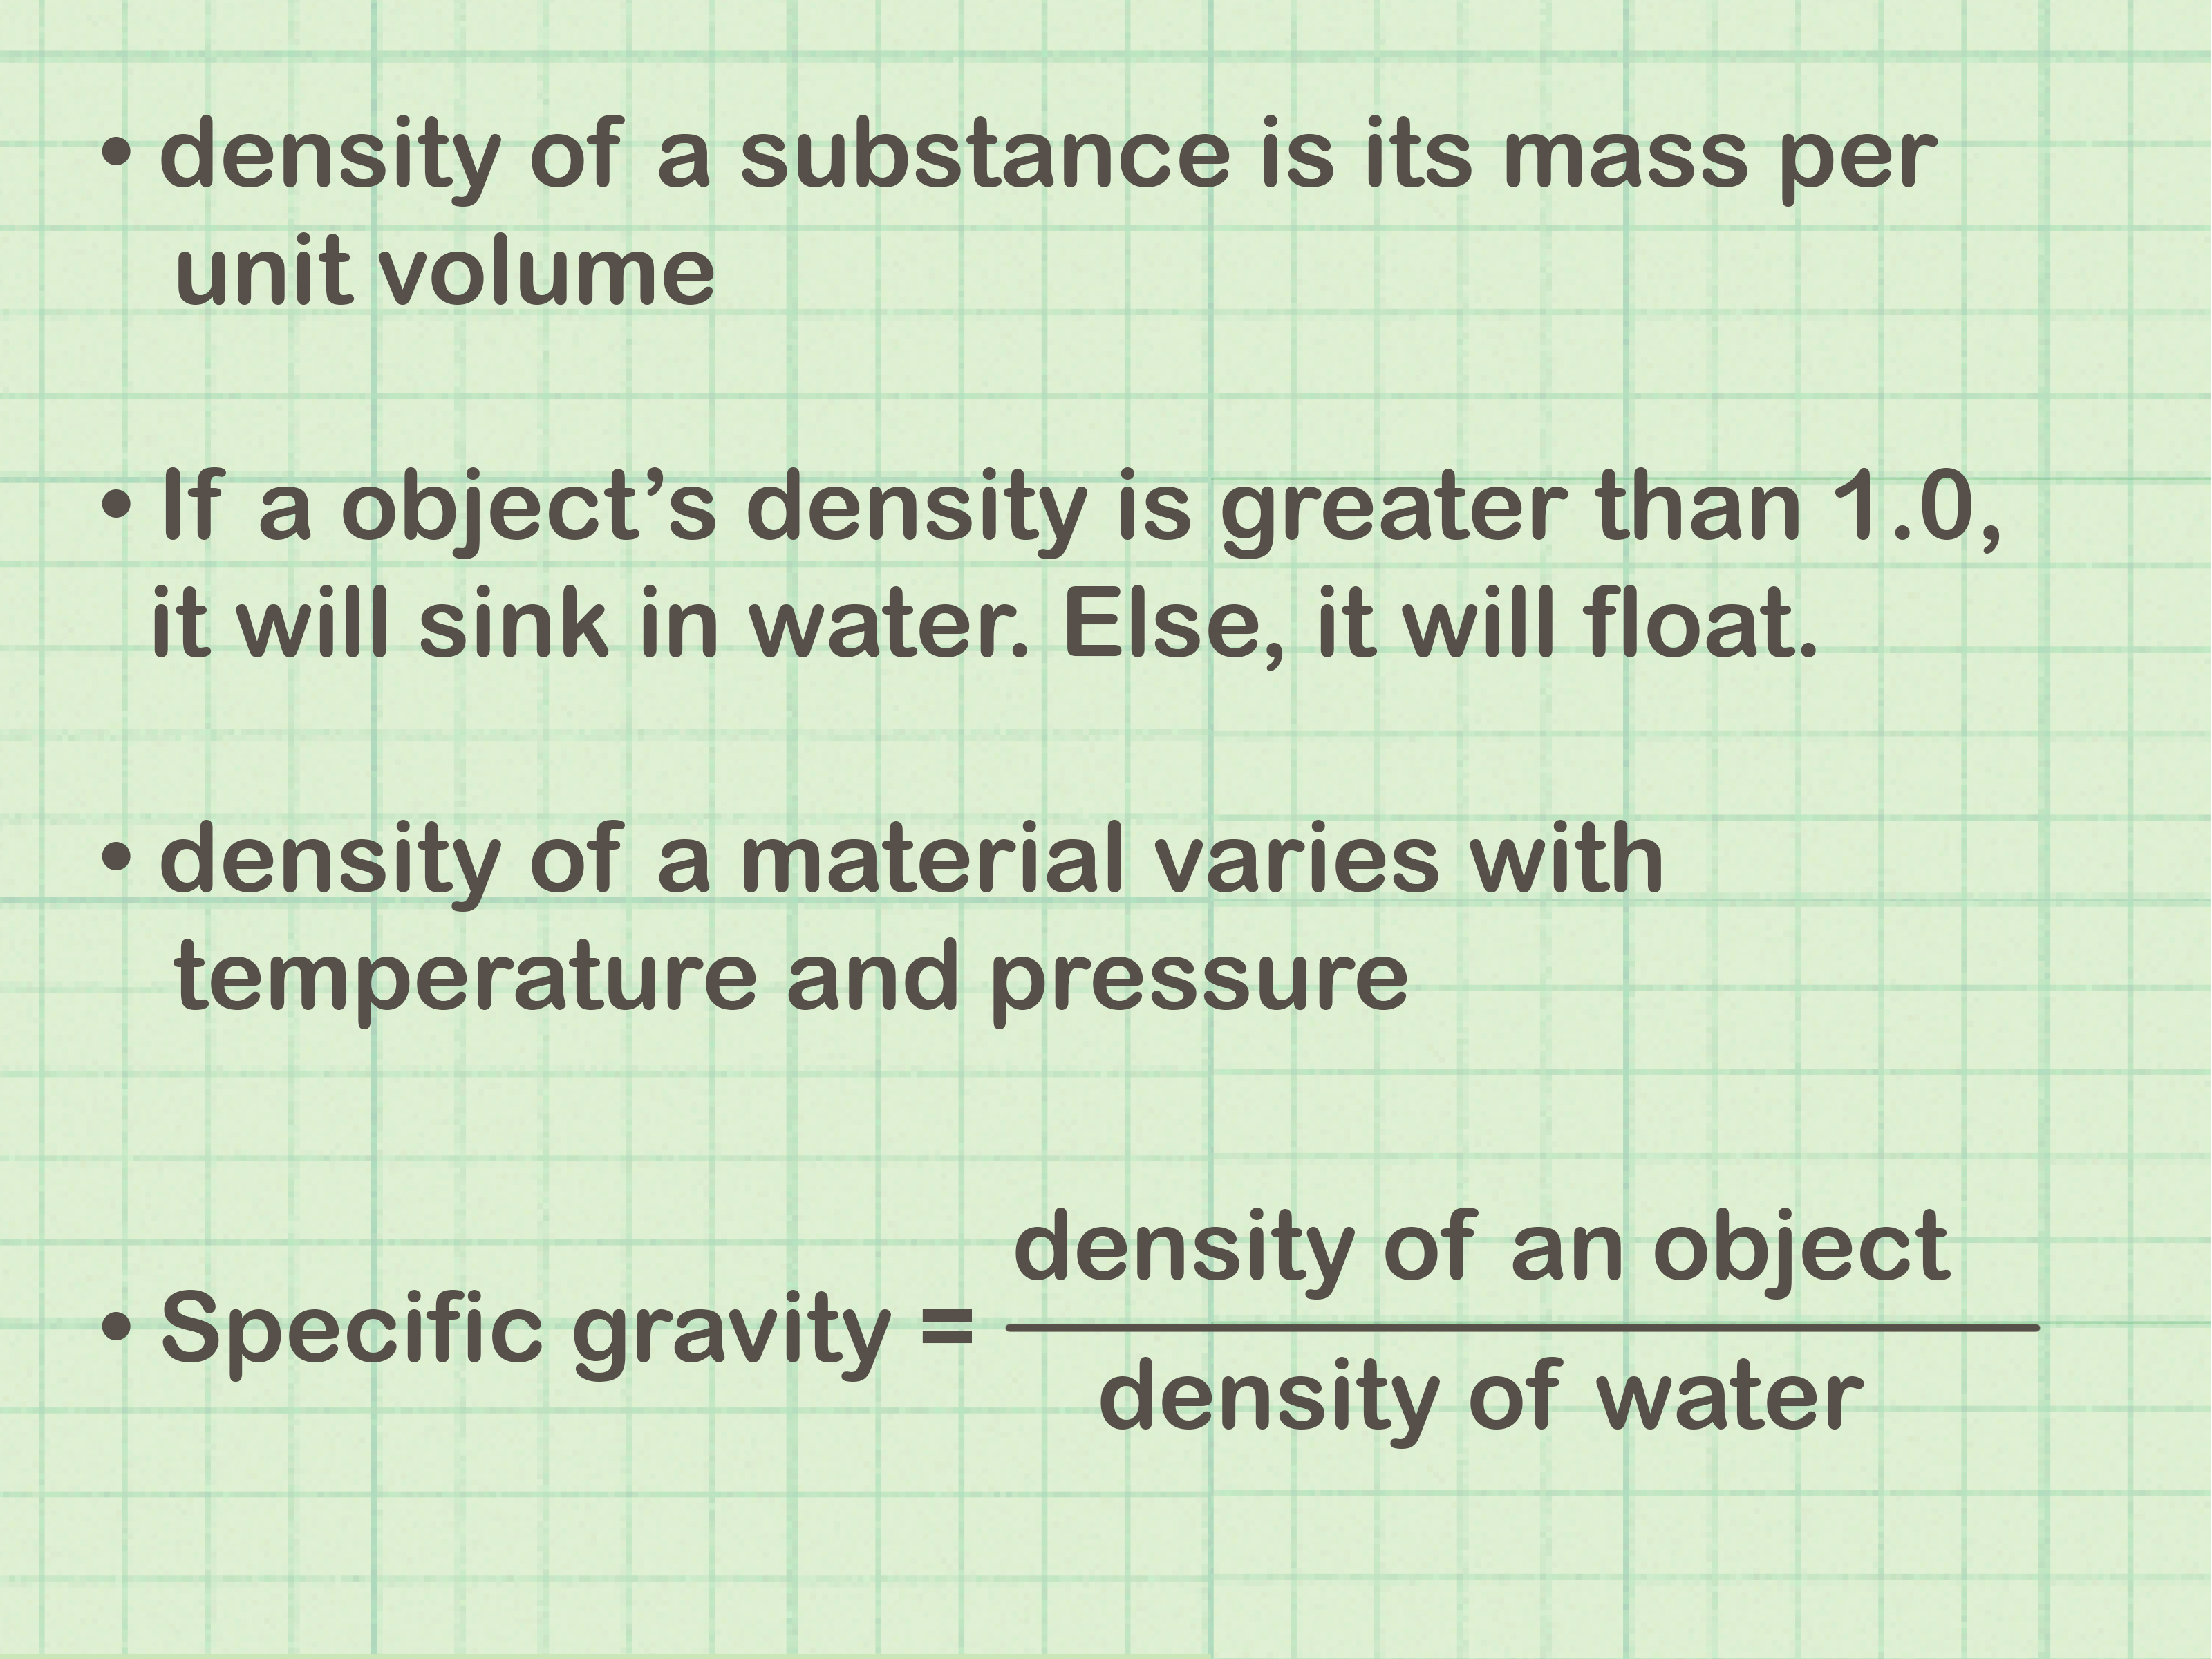
Density sounds like one of those science words that wears a tiny lab coat and refuses to smile. But the idea is surprisingly friendly: density tells you how much matter is packed into a certain amount of space. A bowling ball and a beach ball may be similar in size, but no one confuses them after trying to pick both up. The bowling ball has much more mass in about the same volume, so it is far denser. The beach ball, meanwhile, is mostly air and attitude.
Learning how to find density is useful in chemistry, physics, earth science, cooking, engineering, ocean science, and everyday problem-solving. Density helps explain why ice floats, why oil sits on top of water, why ships can carry enormous cargo, and why a tiny metal bolt may feel heavier than a large foam block. It also helps students identify unknown materials, compare liquids, check measurements, and understand the relationship between mass and volume.
The main formula is simple:
Density = Mass ÷ Volume
In symbols, it is usually written as D = m/V or ρ = m/V, where ρ is the Greek letter rho, commonly used for density. Once you know the mass of an object and the amount of space it occupies, you can calculate its density. The trick is measuring carefully, using matching units, and not letting your calculator do all the thinking while you stare into space like it owes you money.
What Is Density?
Density is the mass of a substance divided by its volume. Mass measures how much matter an object contains, while volume measures how much space it takes up. Put those together, and density tells you how tightly matter is packed.
A substance can have a characteristic density, meaning the density stays the same for that material under the same conditions, even if the sample size changes. For example, a small cube of aluminum and a larger block of aluminum should have about the same density if both are pure aluminum and measured under similar conditions. The larger block has more mass, but it also has more volume, so the ratio remains consistent.
This is why density can help identify materials. If an unknown solid has a density close to that of copper, aluminum, gold, or another known substance, density becomes a clue. It may not solve the mystery alone, but it gets you much closer than guessing based on “vibes,” which is not yet accepted as a formal lab method.
Common Density Units
Density units depend on the units used for mass and volume. In school labs, you will often see:
- g/cm³ for solids
- g/mL for liquids
- kg/m³ in SI units and physics problems
One helpful fact is that 1 milliliter equals 1 cubic centimeter. That means water with a density of about 1 g/mL also has a density of about 1 g/cm³. Water density can change slightly with temperature and dissolved substances, but 1 g/mL is a practical classroom value.
How to Find Density: 8 Steps
Step 1: Understand the Density Formula
Start with the basic equation:
Density = Mass ÷ Volume
This formula means you divide the mass of an object by the volume it occupies. If an object has a mass of 60 grams and a volume of 20 cubic centimeters, its density is:
60 g ÷ 20 cm³ = 3 g/cm³
The answer tells you that every cubic centimeter of that object has 3 grams of mass. That is the heart of density: mass per unit volume.
Step 2: Measure the Mass
Mass is usually measured with a balance or digital scale. For school science work, grams are common. Before measuring, make sure the scale reads zero. If you use a container, place the empty container on the scale first and press the tare button. This subtracts the container’s mass so you measure only the sample.
For example, suppose you are finding the density of a small metal cube. Place the cube on the scale and record its mass. If the display reads 78.6 g, write that value clearly. Do not round too early unless your teacher or problem instructions tell you to. Early rounding can make your final answer less accurate.
Step 3: Measure the Volume of a Regular Solid
If the object has a regular shape, such as a cube, rectangular prism, or cylinder, you can calculate volume using a geometry formula. For a rectangular solid, multiply length by width by height:
Volume = Length × Width × Height
If a block is 4 cm long, 3 cm wide, and 2 cm tall, its volume is:
4 cm × 3 cm × 2 cm = 24 cm³
For a cube, all sides are equal, so you multiply side × side × side. For a cylinder, use the formula V = πr²h, where r is the radius and h is the height. The important thing is to measure dimensions carefully and keep your units consistent.
Step 4: Measure the Volume of an Irregular Solid
Not every object is a neat little cube behaving politely for your homework. Some objects are irregular, like rocks, keys, marbles, or oddly shaped pieces of metal. For these, water displacement is often the easiest method.
Here is how it works:
- Fill a graduated cylinder with enough water to cover the object.
- Record the starting water level.
- Gently place the object into the water.
- Record the new water level.
- Subtract the starting level from the final level.
If the water rises from 40 mL to 55 mL, the object’s volume is:
55 mL − 40 mL = 15 mL
Because 1 mL equals 1 cm³, the object’s volume is also 15 cm³. Be careful not to splash water, trap air bubbles, or drop the object like it personally offended you.
Step 5: Measure the Volume of a Liquid
For liquids, use a graduated cylinder or another accurate measuring container. Place the cylinder on a flat surface and read the bottom of the meniscus, which is the curved surface of the liquid. Your eyes should be level with the measurement mark. Looking from above or below can create reading errors.
Suppose you measure 25 mL of a liquid. If the liquid’s mass is 20 g, then the density is:
20 g ÷ 25 mL = 0.8 g/mL
A liquid with a density less than water may float on water if it does not mix with it. That is one reason oil can form a layer above water. It is not magic. It is density doing its quiet little science performance.
Step 6: Divide Mass by Volume
Once you have mass and volume, plug the numbers into the formula. This is the main calculation step.
Example:
Mass = 120 g
Volume = 40 cm³
Density = 120 g ÷ 40 cm³ = 3 g/cm³
Always include units. A number without units is like a recipe that says “add 3.” Three what? Cups? Grams? Entire pumpkins? Units tell readers what your answer means.
Step 7: Check Your Units and Convert if Needed
Density units must match the mass and volume units you used. If mass is in grams and volume is in cubic centimeters, density is in g/cm³. If mass is in kilograms and volume is in cubic meters, density is in kg/m³.
Sometimes you need to convert units before calculating. For example, if mass is given in kilograms but the answer should be in grams per milliliter, convert kilograms to grams first. One kilogram equals 1,000 grams.
Example:
0.5 kg = 500 g
If the volume is 250 mL, then:
Density = 500 g ÷ 250 mL = 2 g/mL
Unit conversion may seem like the annoying side quest of science, but it prevents many wrong answers.
Step 8: Compare, Interpret, and Review Your Answer
After calculating density, ask whether your answer makes sense. If you find that a foam cup has a density higher than lead, something has gone wrong. Check your mass, volume, units, and arithmetic.
You can also compare your result to known densities. Water is about 1 g/mL under typical classroom conditions. Objects with density greater than water often sink, while objects with density less than water often float. However, shape, trapped air, and buoyancy also matter. A steel ship floats because its overall structure includes a lot of air-filled space, making its average density low enough to stay afloat.
Example Density Problems
Example 1: Finding the Density of a Solid Cube
A cube has a mass of 96 g. Each side measures 4 cm. Find its density.
First, calculate volume:
Volume = 4 cm × 4 cm × 4 cm = 64 cm³
Then divide mass by volume:
Density = 96 g ÷ 64 cm³ = 1.5 g/cm³
The cube’s density is 1.5 g/cm³.
Example 2: Finding the Density of a Liquid
A liquid sample has a mass of 45 g and a volume of 50 mL. Find its density.
Density = 45 g ÷ 50 mL = 0.9 g/mL
The liquid’s density is 0.9 g/mL. If it does not dissolve in water, it may float on water because it is less dense.
Example 3: Finding the Density of an Irregular Rock
A rock has a mass of 72 g. When placed in a graduated cylinder, the water level rises from 30 mL to 54 mL.
Find the rock’s volume:
54 mL − 30 mL = 24 mL
Convert to cubic centimeters:
24 mL = 24 cm³
Calculate density:
Density = 72 g ÷ 24 cm³ = 3 g/cm³
The rock’s density is 3 g/cm³.
Why Density Matters in Real Life
Density is not just a worksheet topic that appears, causes panic, and disappears after the quiz. It explains real-world behavior all around us.
Density Explains Floating and Sinking
An object tends to float in a fluid if its average density is less than the fluid’s density. Ice floats in liquid water because ice is less dense than liquid water. That is unusual because many solids are denser than their liquid forms. Water likes to be special, and honestly, it has earned the right.
Density Helps Identify Materials
Scientists and students can use density to help identify unknown substances. If two objects have the same volume but different masses, the heavier object has greater density. This is why a copper cube and an aluminum cube of the same size feel different in your hand.
Density Matters in Weather and Oceans
Air and water density are important in weather, ocean circulation, and climate science. Cold water is generally denser than warm water, and saltier seawater is denser than fresher water. These density differences help create layers and movement in the ocean.
Density Is Used in Design and Engineering
Engineers consider density when choosing materials for airplanes, buildings, cars, sports equipment, packaging, and electronics. A material may be strong but too dense for a lightweight design. Another material may be light but not strong enough. Density helps balance weight, performance, safety, and cost.
Common Mistakes When Finding Density
Using the Wrong Formula
The correct formula is density = mass ÷ volume. A common mistake is flipping the formula and dividing volume by mass. That gives the wrong quantity.
Forgetting Units
Density answers must include units. Write 2.7 g/cm³, not just 2.7. Units show exactly what was measured.
Mixing Unit Systems
Do not mix grams with cubic meters unless you know exactly what you are doing. Convert units so they match the density unit you need.
Reading the Meniscus Incorrectly
When measuring liquid volume, read the bottom of the meniscus at eye level. A tiny reading mistake can change your final density.
Ignoring Temperature
Temperature can affect density, especially for liquids and gases. Water, air, and many fluids expand or contract as temperature changes. In basic classroom problems, you may use standard values, but in careful experiments, temperature should be controlled or recorded.
How to Rearrange the Density Formula
The density formula can help you find more than density. If you know any two values, you can find the third.
To Find Density
D = m/V
To Find Mass
m = D × V
If density is 2 g/cm³ and volume is 10 cm³, then mass is:
2 g/cm³ × 10 cm³ = 20 g
To Find Volume
V = m/D
If mass is 50 g and density is 5 g/cm³, then volume is:
50 g ÷ 5 g/cm³ = 10 cm³
This formula triangle is useful, but do not rely on memorizing shapes alone. Understand the relationship: density compares mass to volume.
Experience-Based Tips for Learning How to Find Density
The first time many students learn density, they understand the formula but still get confused during the lab. That is normal. Density is simple on paper, but real measurements introduce tiny problems: water clings to objects, scales drift, cylinders are hard to read, and someone at the lab table always asks whether a rock is “emotionally dense.” Science class builds character.
One practical experience that helps is comparing objects with the same volume. Imagine holding two cubes that are exactly the same size: one made of wood and one made of metal. Without doing any math, your hand immediately knows they are different. The metal cube pulls downward with more mass packed into the same amount of space. That feeling is density before the numbers arrive. After weighing both cubes and calculating their volume, the formula simply proves what your hand already suspected.
Another helpful experience is using water displacement with an irregular object. A small stone may not have a measurable length, width, and height that fit a neat formula. But when it slides into a graduated cylinder, the water level rises. That rise is the stone’s volume. This method feels almost too clever the first time you see it, like the water is doing your geometry homework. The key is patience. Lower the object gently, make sure it is fully submerged, and check that no air bubbles are stuck to the surface.
Liquids provide another memorable lesson. If you measure equal volumes of water, vegetable oil, and corn syrup, they do not all have the same mass. Corn syrup is much more massive for the same volume, while oil is usually less dense than water. When poured carefully, some liquids form layers. This makes density visible. Instead of just seeing numbers on a worksheet, you see substances arrange themselves according to how much matter is packed into each milliliter.
A useful habit is to estimate before calculating. Ask yourself: should this material be more dense or less dense than water? If a metal sample gives you 0.2 g/cm³, pause. Most metals are much denser than water, so that result suggests a measurement or unit error. If a cork sample gives you a density greater than water, check whether you measured volume correctly. Estimation is like having a science seatbelt. It does not drive the car, but it helps prevent disaster.
When teaching or studying density, real objects beat abstract examples. Use a coin, rubber eraser, small plastic toy, marble, block of wood, or spoon. Measure mass, find volume, calculate density, and then predict whether the object will sink or float. The process turns density from a formula into a story: What is the object made of? How much space does it take up? How tightly is its matter packed? What happens when it meets water?
Finally, write every step. Many wrong density answers happen not because the student does not understand density, but because they skip organization. Label mass, label volume, show the formula, substitute values, divide, and include units. This simple structure makes the work easier to follow and easier to check. Density is not trying to trick you. It just wants mass, volume, division, and a little respect.
Conclusion
Finding density is one of the most useful basic science skills because it connects math with the physical world. The formula is short: density = mass ÷ volume. But behind that small equation is a powerful idea. Density explains why objects float or sink, why materials feel heavy or light for their size, why ocean water forms layers, and why engineers care so much about choosing the right material.
To find density, measure mass, measure volume, divide mass by volume, and keep your units clear. For regular solids, calculate volume with geometry. For irregular solids, use water displacement. For liquids, measure volume with a graduated cylinder and mass with a balance. Then interpret your answer instead of trusting the calculator blindly. A good density calculation should make sense in the real world.
Once you understand density, everyday objects become a little more interesting. Ice cubes, cooking oil, rocks, balloons, metal tools, and ocean water all start telling the same story: matter takes up space, and density tells us how tightly that matter is packed. Not bad for a formula small enough to fit on a sticky note.
Note: This article is written for educational web publishing and is based on established science principles from reputable measurement, science, and education references.













