
A leaky shower head may sound like a tiny household problem, but that steady drip-drip-drip has the emotional range of a horror movie soundtrack and the financial personality of a pickpocket. At first, it is just background noise. Then it becomes the thing you hear from the hallway, from bed, and possibly in your dreams. The good news? In many cases, you can fix a leaky shower head without calling a plumber, tearing open a wall, or giving your bathroom a dramatic renovation it never asked for.
This guide walks you through four easy solutions to try before you panic: tightening the shower head connection, cleaning mineral buildup, replacing worn washers or O-rings, and dealing with a faulty shower valve cartridge. These are common causes behind a dripping shower head, especially in homes with hard water, older fixtures, or shower heads that were installed with the enthusiasm of a raccoon holding a wrench.
Before you start, pay attention to where the water is leaking. Is it dripping from the face of the shower head after the shower has been off for a minute or two? Is water escaping where the shower head connects to the shower arm? Is the handle off, yet the shower keeps dripping for hours? Each clue points to a different fix. Let’s diagnose the drip and get your bathroom quiet again.
Why Is My Shower Head Leaking?
A shower head leak usually comes from one of four places: the threaded connection between the shower head and shower arm, mineral-clogged spray holes, a worn washer or O-ring, or the shower valve inside the wall. The first three are often simple DIY repairs. The fourth may still be doable, but it requires more care because it involves the faucet cartridge or valve stem that controls water flow.
There is also one important distinction: a shower head that drips briefly right after you turn off the water may not be broken. Many shower heads hold a small amount of water inside the fixture. Once the pressure drops, that leftover water drains out. If the dripping stops after a minute or two, you may simply be hearing the shower head empty itself. If it keeps dripping long after the handle is fully off, the problem is more likely inside the valve or cartridge.
Tools and Materials You May Need
You do not need a professional plumbing truck in your driveway to handle most shower head repairs. For many leaks, a few basic tools are enough:
- Adjustable wrench or channel-lock pliers
- Soft cloth or towel to protect the finish
- Plumber’s tape, also called PTFE or Teflon tape
- White vinegar
- Plastic bag and rubber band for soaking the shower head
- Old toothbrush or small cleaning brush
- Replacement washer or O-ring
- Screwdrivers or Allen wrench, depending on your shower handle
- Replacement cartridge if the valve is the problem
Always protect chrome, brushed nickel, matte black, and brass finishes before using pliers. A towel between the tool and the fixture can prevent scratches. Plumbing repairs are more satisfying when your shower head does not look like it fought a lawn mower.
Solution 1: Tighten and Reseal the Shower Head Connection
If water leaks where the shower head screws onto the shower arm, the connection may be loose, the plumber’s tape may be worn, or the threads may not be sealed properly. This is one of the easiest shower head leak repairs and should be your first stop.
Step 1: Turn Off the Shower
You usually do not need to shut off water to the entire house for this fix, because you are working beyond the shower valve. Still, make sure the shower handle is fully off. Place a towel over the drain so small parts do not disappear into plumbing darkness forever.
Step 2: Remove the Shower Head
Grip the shower head at the connecting nut and turn it counterclockwise. If it is stuck, wrap the nut with a cloth and use an adjustable wrench. Do not grip the shower arm coming out of the wall too aggressively. If that pipe twists inside the wall, your “easy repair” may invite a much less funny problem.
Step 3: Clean the Threads
Remove old plumber’s tape from the shower arm threads. Wipe away mineral deposits, dirt, and old sealant. The threads should be clean and dry before you add new tape. Plumber’s tape works best when it can sit smoothly in the threads rather than floating on top of old gunk.
Step 4: Apply Fresh Plumber’s Tape
Wrap the tape clockwise around the shower arm threads two to four times. Clockwise matters because that is the same direction the shower head turns when you reinstall it. If you wrap the tape backward, it may unravel as you tighten the fixture, which is the plumbing equivalent of putting on socks and then stepping into a puddle.
Step 5: Reattach and Test
Screw the shower head back on by hand. Tighten it gently with a wrench if needed, using a cloth to protect the finish. Turn the shower on and check the connection. If it still leaks, remove the shower head, reapply the tape more carefully, and try again. Avoid overtightening, because too much force can damage threads, washers, or the shower arm.
Solution 2: Clean Mineral Buildup from the Shower Head
Hard water minerals can clog spray holes and create pressure inside the shower head. When water cannot exit cleanly through the nozzles, it may leak from the faceplate, spray unevenly, or drip longer than normal after use. If your shower head looks crusty, cloudy, or uneven, mineral buildup is probably part of the story.
Option A: Clean It While Attached
Fill a plastic bag with white vinegar and secure it around the shower head with a rubber band. Make sure the spray face is submerged. Let it soak for a few hours, or overnight for heavy buildup. After soaking, remove the bag, run hot water through the shower head, and scrub the nozzles gently with an old toothbrush.
Option B: Remove and Soak the Shower Head
For a deeper clean, unscrew the shower head and place it in a bowl of white vinegar. Let it soak, then rinse it thoroughly. Check the inlet screen, if your model has one. A clogged screen can reduce flow and create strange spray patterns. Clean it carefully and reinstall it in the same position.
When Cleaning Works Best
This solution is most effective when the leak is connected to poor spray performance, visible mineral buildup, or a shower head that sputters instead of flowing evenly. Cleaning will not fix a failed valve cartridge, but it can solve leaks caused by blockage and improve water pressure at the same time. That is a rare home repair two-for-one, and we take those victories.
Solution 3: Replace the Washer or O-Ring
If the shower head leaks at the connection even after you apply fresh plumber’s tape, the washer or O-ring may be worn, cracked, flattened, or missing. These small rubber parts create a watertight seal inside the connection. Over time, heat, pressure, age, and mineral deposits can make them stiff or brittle.
Step 1: Remove the Shower Head
Unscrew the shower head from the shower arm. Look inside the female end of the shower head where it connects to the pipe. You should see a rubber washer or gasket seated inside. Some models also use an O-ring or screen washer.
Step 2: Inspect the Rubber Parts
A healthy washer should look flexible and sit flat. If it is cracked, warped, compressed, or falling apart, replace it. If it looks like a fossilized fruit snack, it has served its time with honor and should retire immediately.
Step 3: Match the Replacement
Take the old washer or O-ring to a hardware store so you can match the size. Shower heads vary, and a part that is almost the right size may still leak. When in doubt, check the manufacturer’s instructions or model number.
Step 4: Reinstall and Test
Seat the new washer flat inside the shower head. Reapply plumber’s tape to the shower arm threads if needed, then screw the shower head back on. Turn the water on and inspect the connection. If the leak is gone, congratulations: you fixed your shower with a rubber ring that probably cost less than a fancy coffee.
Solution 4: Replace the Shower Cartridge or Valve Stem
If water drips from the shower head when the handle is fully off, and it continues long after the shower should be dry, the shower head may not be the real problem. The valve behind the handle controls whether water flows or stops. If the cartridge, washer, valve stem, seats, or springs inside that valve are worn, water can sneak through and drip from the shower head.
How to Tell the Cartridge May Be the Problem
Several signs point to a cartridge or valve issue:
- The shower head drips for hours after the handle is off.
- The leak comes from the shower head face, not the threaded connection.
- The handle feels loose, stiff, or difficult to turn.
- Water temperature is hard to control.
- The shower leaks from the handle or trim plate.
Single-handle showers often use a cartridge. Two-handle and three-handle showers may use stems, washers, seats, or cartridges depending on the design. The repair process varies by brand, so identifying the faucet model matters.
Basic Cartridge Replacement Steps
First, shut off the water supply. Some showers have local shutoff valves behind the trim plate, but many homes require shutting off the main water supply. Open the shower valve to relieve pressure and drain leftover water.
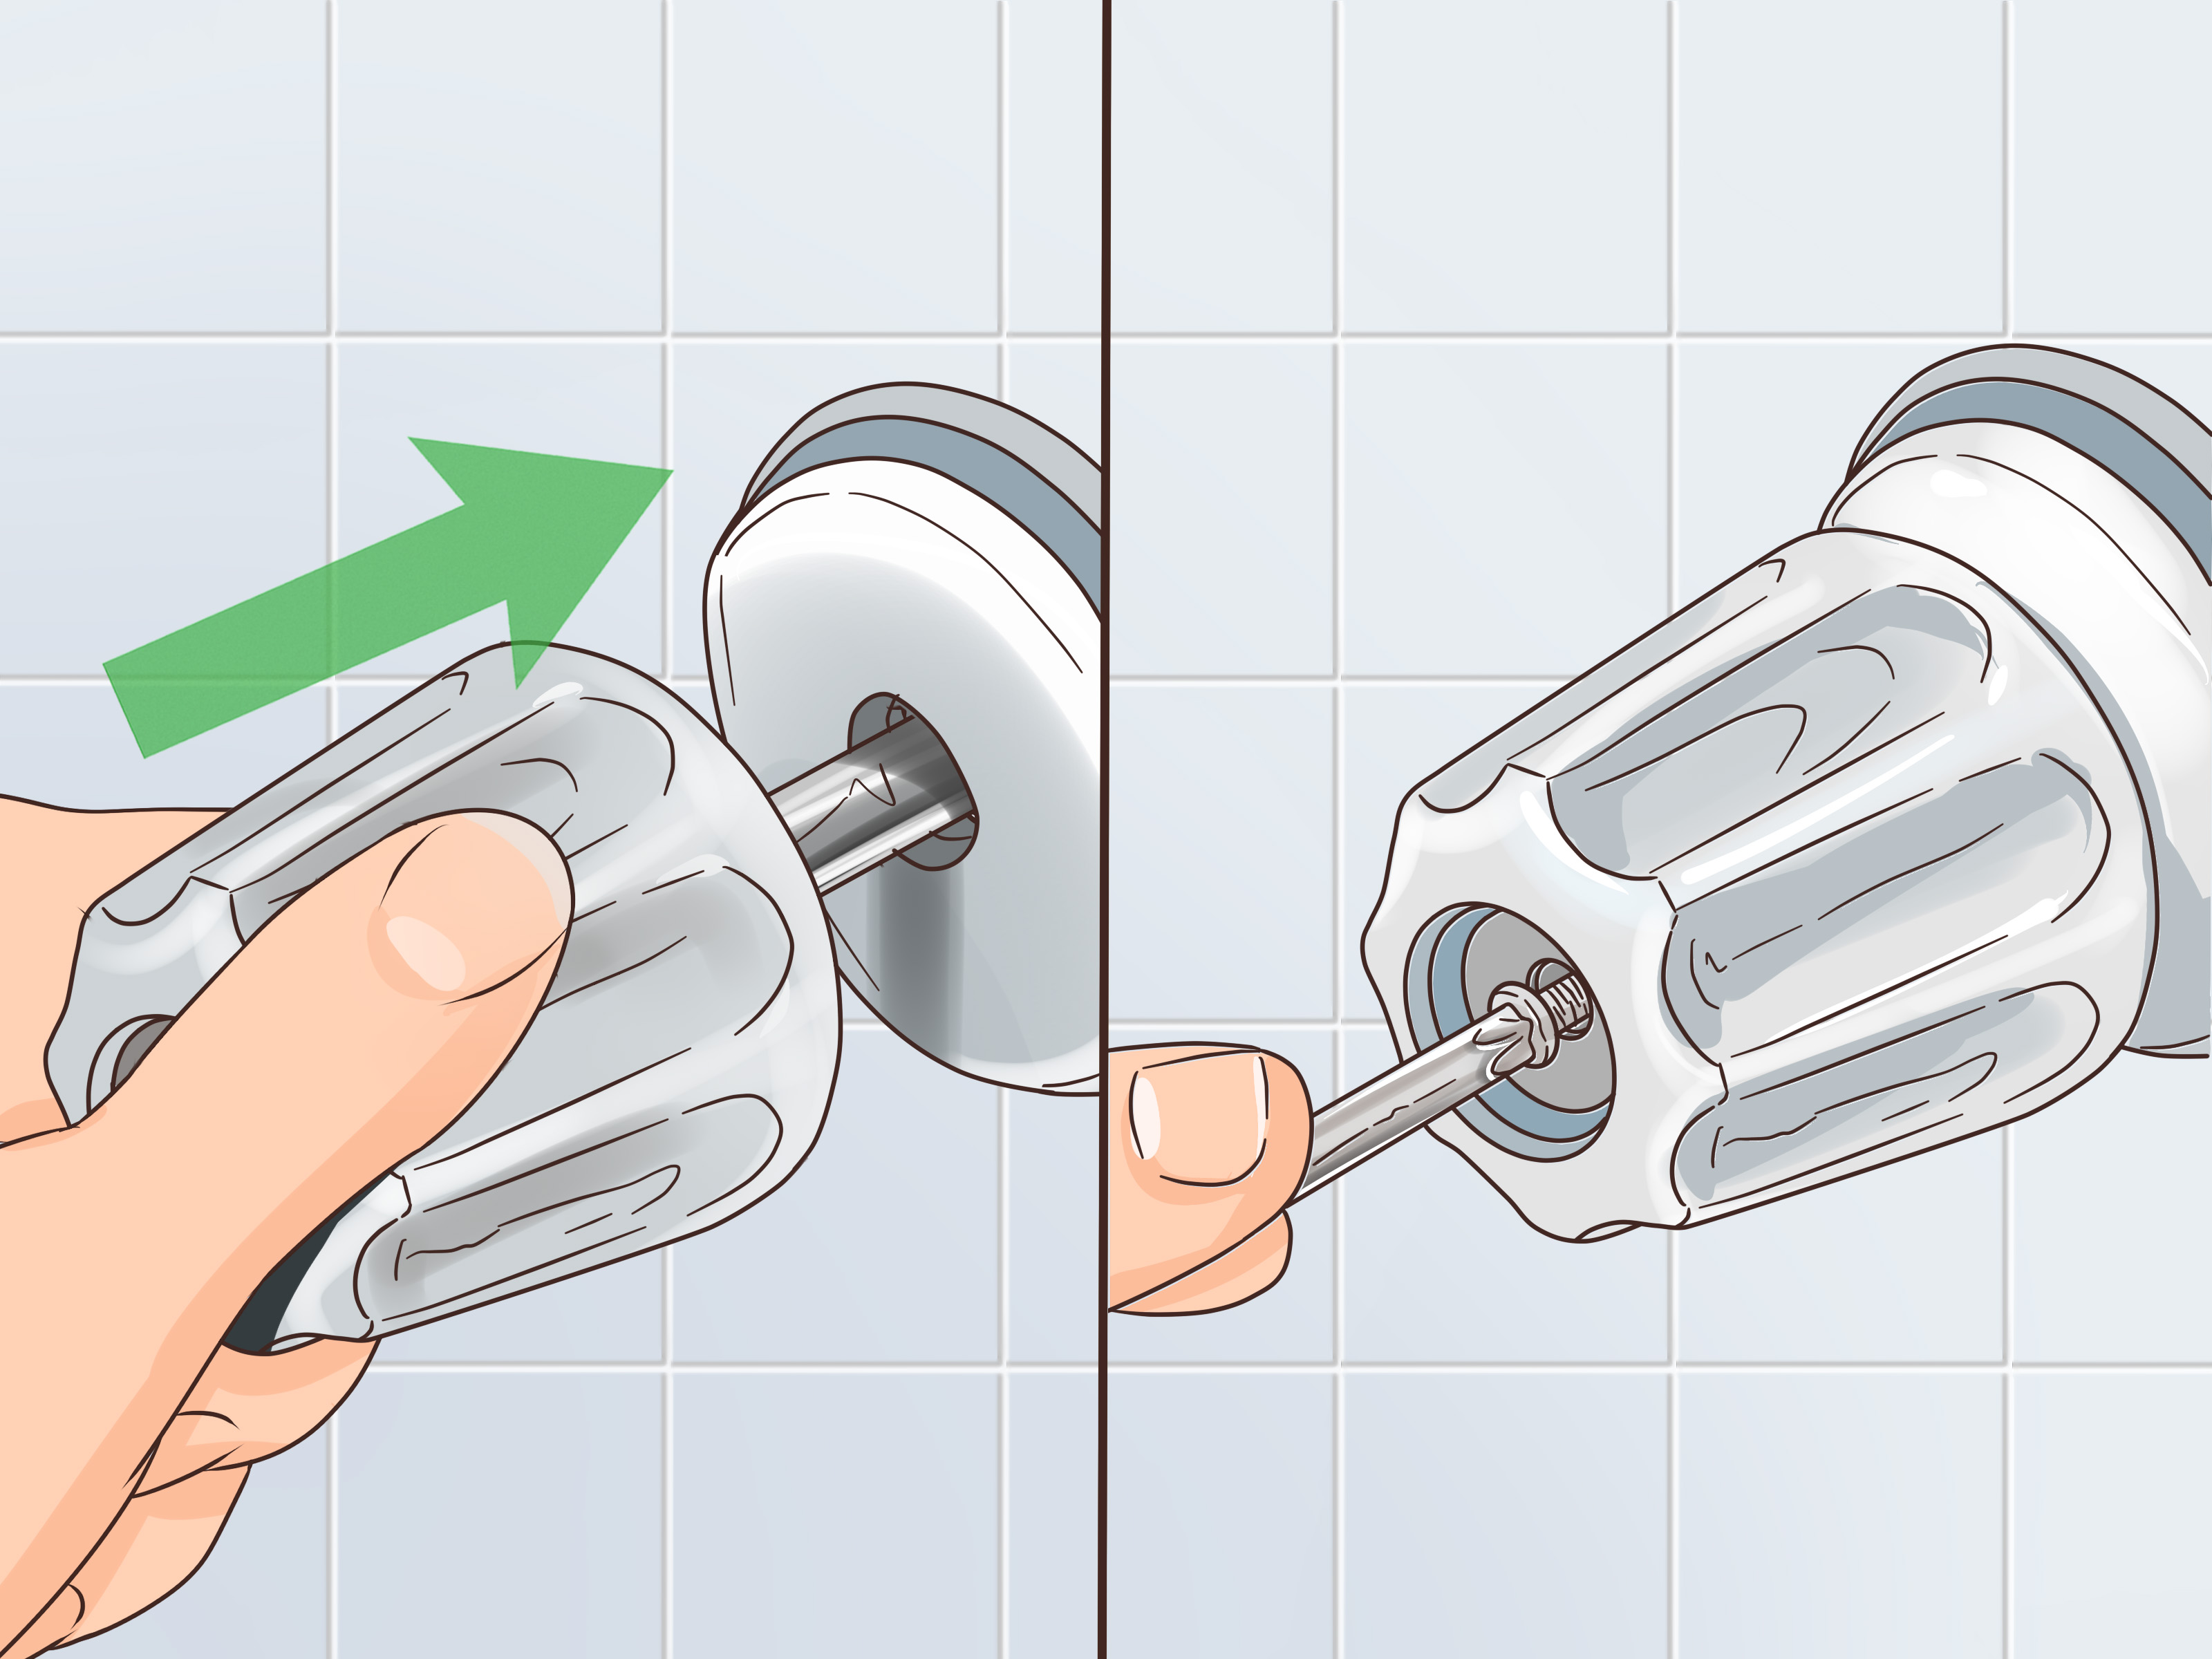
Next, remove the handle. This may require a screwdriver or Allen wrench. Take off the trim sleeve or escutcheon plate if needed. Keep screws and parts arranged on a towel in the order you removed them. Future-you will appreciate this small act of kindness.
Then remove the retaining clip, bonnet nut, or cartridge stop, depending on the faucet design. Pull the old cartridge straight out. Some cartridges slide out easily; others behave like they signed a lifetime lease. A cartridge puller can help with stubborn models.
Before installing the new cartridge, compare it with the old one. The length, shape, ports, and tabs should match. Apply plumber’s grease only if the manufacturer recommends it. Insert the cartridge in the correct orientation, reinstall the clip or nut, reassemble the handle, and turn the water back on slowly.
When to Call a Plumber
Call a licensed plumber if the cartridge is stuck, the valve body is corroded, water leaks inside the wall, the shower has no accessible shutoff, or you are uncomfortable removing trim and valve parts. Also call a pro if you replace the cartridge and the leak continues. A hidden plumbing issue is not a great place to practice optimism.
Quick Leak Diagnosis Guide
Leak at the Shower Arm Connection
Try fresh plumber’s tape, clean threads, careful tightening, and a new washer. This is usually the simplest fix.
Uneven Spray or Dripping from the Face
Clean mineral buildup with vinegar and scrub the nozzles. Also check the screen washer for debris.
Dripping Only for a Minute After Use
This may be normal drainage from water stored inside the shower head. Monitor it before replacing parts.
Constant Drip When the Handle Is Off
The faucet cartridge, valve stem, seats, springs, or internal washers may need replacement.
Common Mistakes to Avoid
The first mistake is overtightening. People often assume tighter means better, but plumbing does not always reward brute force. Too much pressure can damage threads, crack plastic fittings, flatten washers, or loosen the shower arm inside the wall.
The second mistake is wrapping plumber’s tape in the wrong direction. Always wrap clockwise when looking at the threaded end of the shower arm. This helps the tape stay in place as the shower head is screwed on.
The third mistake is ignoring the washer. Plumber’s tape seals threads, but many shower head connections also depend on a washer. If the washer is damaged, tape alone may not save the day.
The fourth mistake is blaming the shower head for a valve leak. If water keeps dripping when the shower is off, the valve is probably letting water through. Replacing the shower head may look nice, but the drip will keep performing its tiny annoying concert.
How to Prevent Future Shower Head Leaks
Clean your shower head every few months if you have hard water. A vinegar soak can reduce mineral buildup and keep spray holes clear. Wipe the nozzles regularly, especially if they are rubber, because many modern shower heads are designed so deposits can be rubbed away by hand.
When installing a new shower head, use plumber’s tape correctly and avoid cross-threading. Start the connection by hand before using a wrench. If it does not turn smoothly, back it off and try again. Cross-threading can damage the connection and cause leaks that are much harder to fix.
Pay attention to small leaks early. A tiny shower leak can waste water and gradually damage parts. It is much easier to replace a washer today than to deal with a soaked wall cavity later. Your bathroom may be small, but it has a flair for expensive drama when ignored.
of Real-World Experience: What Actually Helps When Fixing a Leaky Shower Head
In real homes, leaky shower head repairs rarely happen in perfect conditions. The bathroom is usually too small, the lighting is dramatic in the wrong way, and the shower head has not been removed since someone installed it during a previous presidential administration. So the first experience-based tip is simple: slow down before you twist anything. Most DIY mistakes happen in the first five minutes, when people grab pliers, clamp down on shiny metal, and start turning with heroic confidence. Protect the finish with a towel, support the shower arm, and apply steady pressure instead of sudden force.
Another helpful habit is to take photos before and during disassembly. If you remove a shower handle to access the cartridge, snap pictures of each layer: handle, screw, trim plate, retaining clip, cartridge position. This is especially useful if the repair gets interrupted. Plumbing projects have a magical ability to attract phone calls, missing tools, and family members asking why the water is off. Photos make reassembly much easier.
When dealing with plumber’s tape, less is often better than more. Many beginners wrap the threads until the pipe looks like a tiny mummy. Too much tape can bunch up, prevent the fitting from seating correctly, or create a poor seal. Two to four neat wraps are usually enough for a standard shower arm. Keep the tape flat, pull it snug, and avoid covering the opening at the end of the pipe. You want to seal threads, not send tape confetti into the shower head.
For mineral buildup, patience beats aggression. Vinegar needs time to dissolve deposits. Scraping hard with metal tools can damage spray nozzles or scratch the finish. A soft brush, warm water, and a soak are usually safer. If the shower head has rubber nozzles, rub them gently while water runs through the fixture. You may see small flakes of mineral buildup break loose, and the spray pattern may improve almost immediately.
One of the most common “aha” moments is realizing the leak is not from the shower head at all. If water drips continuously when the handle is off, replacing the shower head may not change anything. The valve is still allowing water through. In that case, the repair moves from the visible fixture to the faucet cartridge or valve stem behind the handle. This is still manageable for many homeowners, but it requires the right replacement part. Bringing the old cartridge to the store is one of the smartest things you can do. Guessing based on looks alone can lead to buying a part that almost fits, which is the most frustrating kind of wrong.
Finally, know when to stop. If the shower arm feels loose inside the wall, if the cartridge will not budge, if water appears behind the trim plate, or if you cannot fully shut off the water, call a plumber. DIY is great when the risk is low and the fix is clear. It is less charming when water is traveling behind tile. A good repair is not just about saving money; it is about knowing which problems are simple, which are sneaky, and which ones deserve professional backup.
Conclusion
Fixing a leaky shower head often starts with simple detective work. A leak at the connection usually needs fresh plumber’s tape, clean threads, or a new washer. A messy spray pattern may need a vinegar soak to remove mineral buildup. A constant drip when the shower is off usually points to the cartridge or valve inside the wall. By matching the symptom to the right solution, you can avoid wasting time, water, and money.
The best part is that many shower head leaks are beginner-friendly repairs. You do not need to remodel the bathroom or speak fluent plumber. You need patience, the right small parts, and the humility to stop tightening before something breaks. Try the easy fixes first, test your work carefully, and call a professional when the leak moves beyond the fixture. Your shower will be quieter, your water bill will be happier, and your bathroom will finally stop practicing percussion at 2 a.m.













