
Snake mites are tiny, stubborn, blood-feeding parasites that can turn a calm reptile room into a tiny horror movie with scales. The most common culprit in captive snakes is often called the snake mite, a dark speck-sized pest that hides around the eyes, chin, heat pits, vent, under scales, inside cage seams, and anywhere else it can avoid eviction. If your snake is soaking more than usual, rubbing on decorations, shedding poorly, acting restless, losing appetite, or showing little black or reddish dots crawling on its body or in the water bowl, mites may be the problem.
The good news: snake mites can be eliminated. The less glamorous news: you have to treat the snake, the enclosure, the accessories, and your habits at the same time. A single bath may knock down the visible bugs, but it will not fix eggs, hidden life stages, contaminated hides, or wandering mites looking for their next scaly buffet. Think of mite removal as a campaign, not a quick swipe with a paper towel.
Note: This guide is educational and based on established reptile-veterinary care principles. Because mite products can harm reptiles when used incorrectly, contact a reptile-experienced veterinarian before applying medications, insecticides, flea products, or home remedies to your snake.
What Are Snake Mites?
Snake mites are external parasites that feed on reptile blood. They are usually visible to the naked eye, but they are small enough to look like pepper flakes, moving freckles, or suspicious dust with legs. They thrive in captive environments because cages offer warmth, hiding places, and repeated access to a host. Mites can cause irritation, anemia, dehydration, skin inflammation, secondary infections, appetite loss, stress, and abnormal shedding. Heavy infestations are not just annoying; they can become a serious health threat.
They also spread easily. A mite can crawl from one enclosure to another, hitchhike on tools, hide in porous decorations, or arrive with a new reptile that looked perfectly healthy at the store. This is why quarantine is not “extra.” It is the reptile-keeping version of locking the front door.
How to Get Rid of Mites on Snakes: 15 Steps
1. Confirm the Signs Before You Panic-Clean Everything
Start by checking your snake carefully. Look around the eyes, mouth corners, chin groove, heat pits, neck folds, vent area, and under the belly scales. Also inspect the water bowl. Mites often appear as tiny black, brown, or reddish dots floating in the water after a snake soaks. A magnifying glass can help. If the dots move, congratulations: your snake did not grow decorative pepper.
Common snake mite symptoms include frequent soaking, restless movement, rubbing against cage items, poor sheds, reduced appetite, dull skin, redness, tiny bite marks, and visible mites crawling on the snake or enclosure. Some skin infections and shedding problems can look similar, so do not assume every rough patch is mites.
2. Call a Reptile Veterinarian
A reptile-savvy veterinarian can confirm the infestation and recommend safe treatment for your snake’s species, size, age, and condition. This matters because products that work for one animal may be risky for another. Some antiparasitic medications and pesticides can be dangerous if applied at the wrong strength, on the wrong species, or too often.
Seek veterinary help urgently if your snake is weak, pale, dehydrated, not eating, breathing abnormally, has infected-looking skin, or is heavily infested. A severe mite load can lead to blood loss and secondary illness. In other words, do not wait until your snake looks like it has been through a tiny vampire convention.
3. Quarantine the Affected Snake Immediately
Move the affected snake away from healthy reptiles. Ideally, use a separate room with separate tools, feeding tongs, gloves, trash bags, water bowls, and cleaning supplies. Handle healthy animals first, then the mite-affected snake last. Wash hands thoroughly and change clothing if needed before touching other reptiles.
Quarantine should continue long enough to break the mite life cycle and ensure no new mites appear. Many reptile veterinarians and experienced keepers recommend several weeks of isolation after the last visible mite, and new reptiles should generally be quarantined for months before joining a collection.
4. Set Up a Simple Temporary Hospital Enclosure
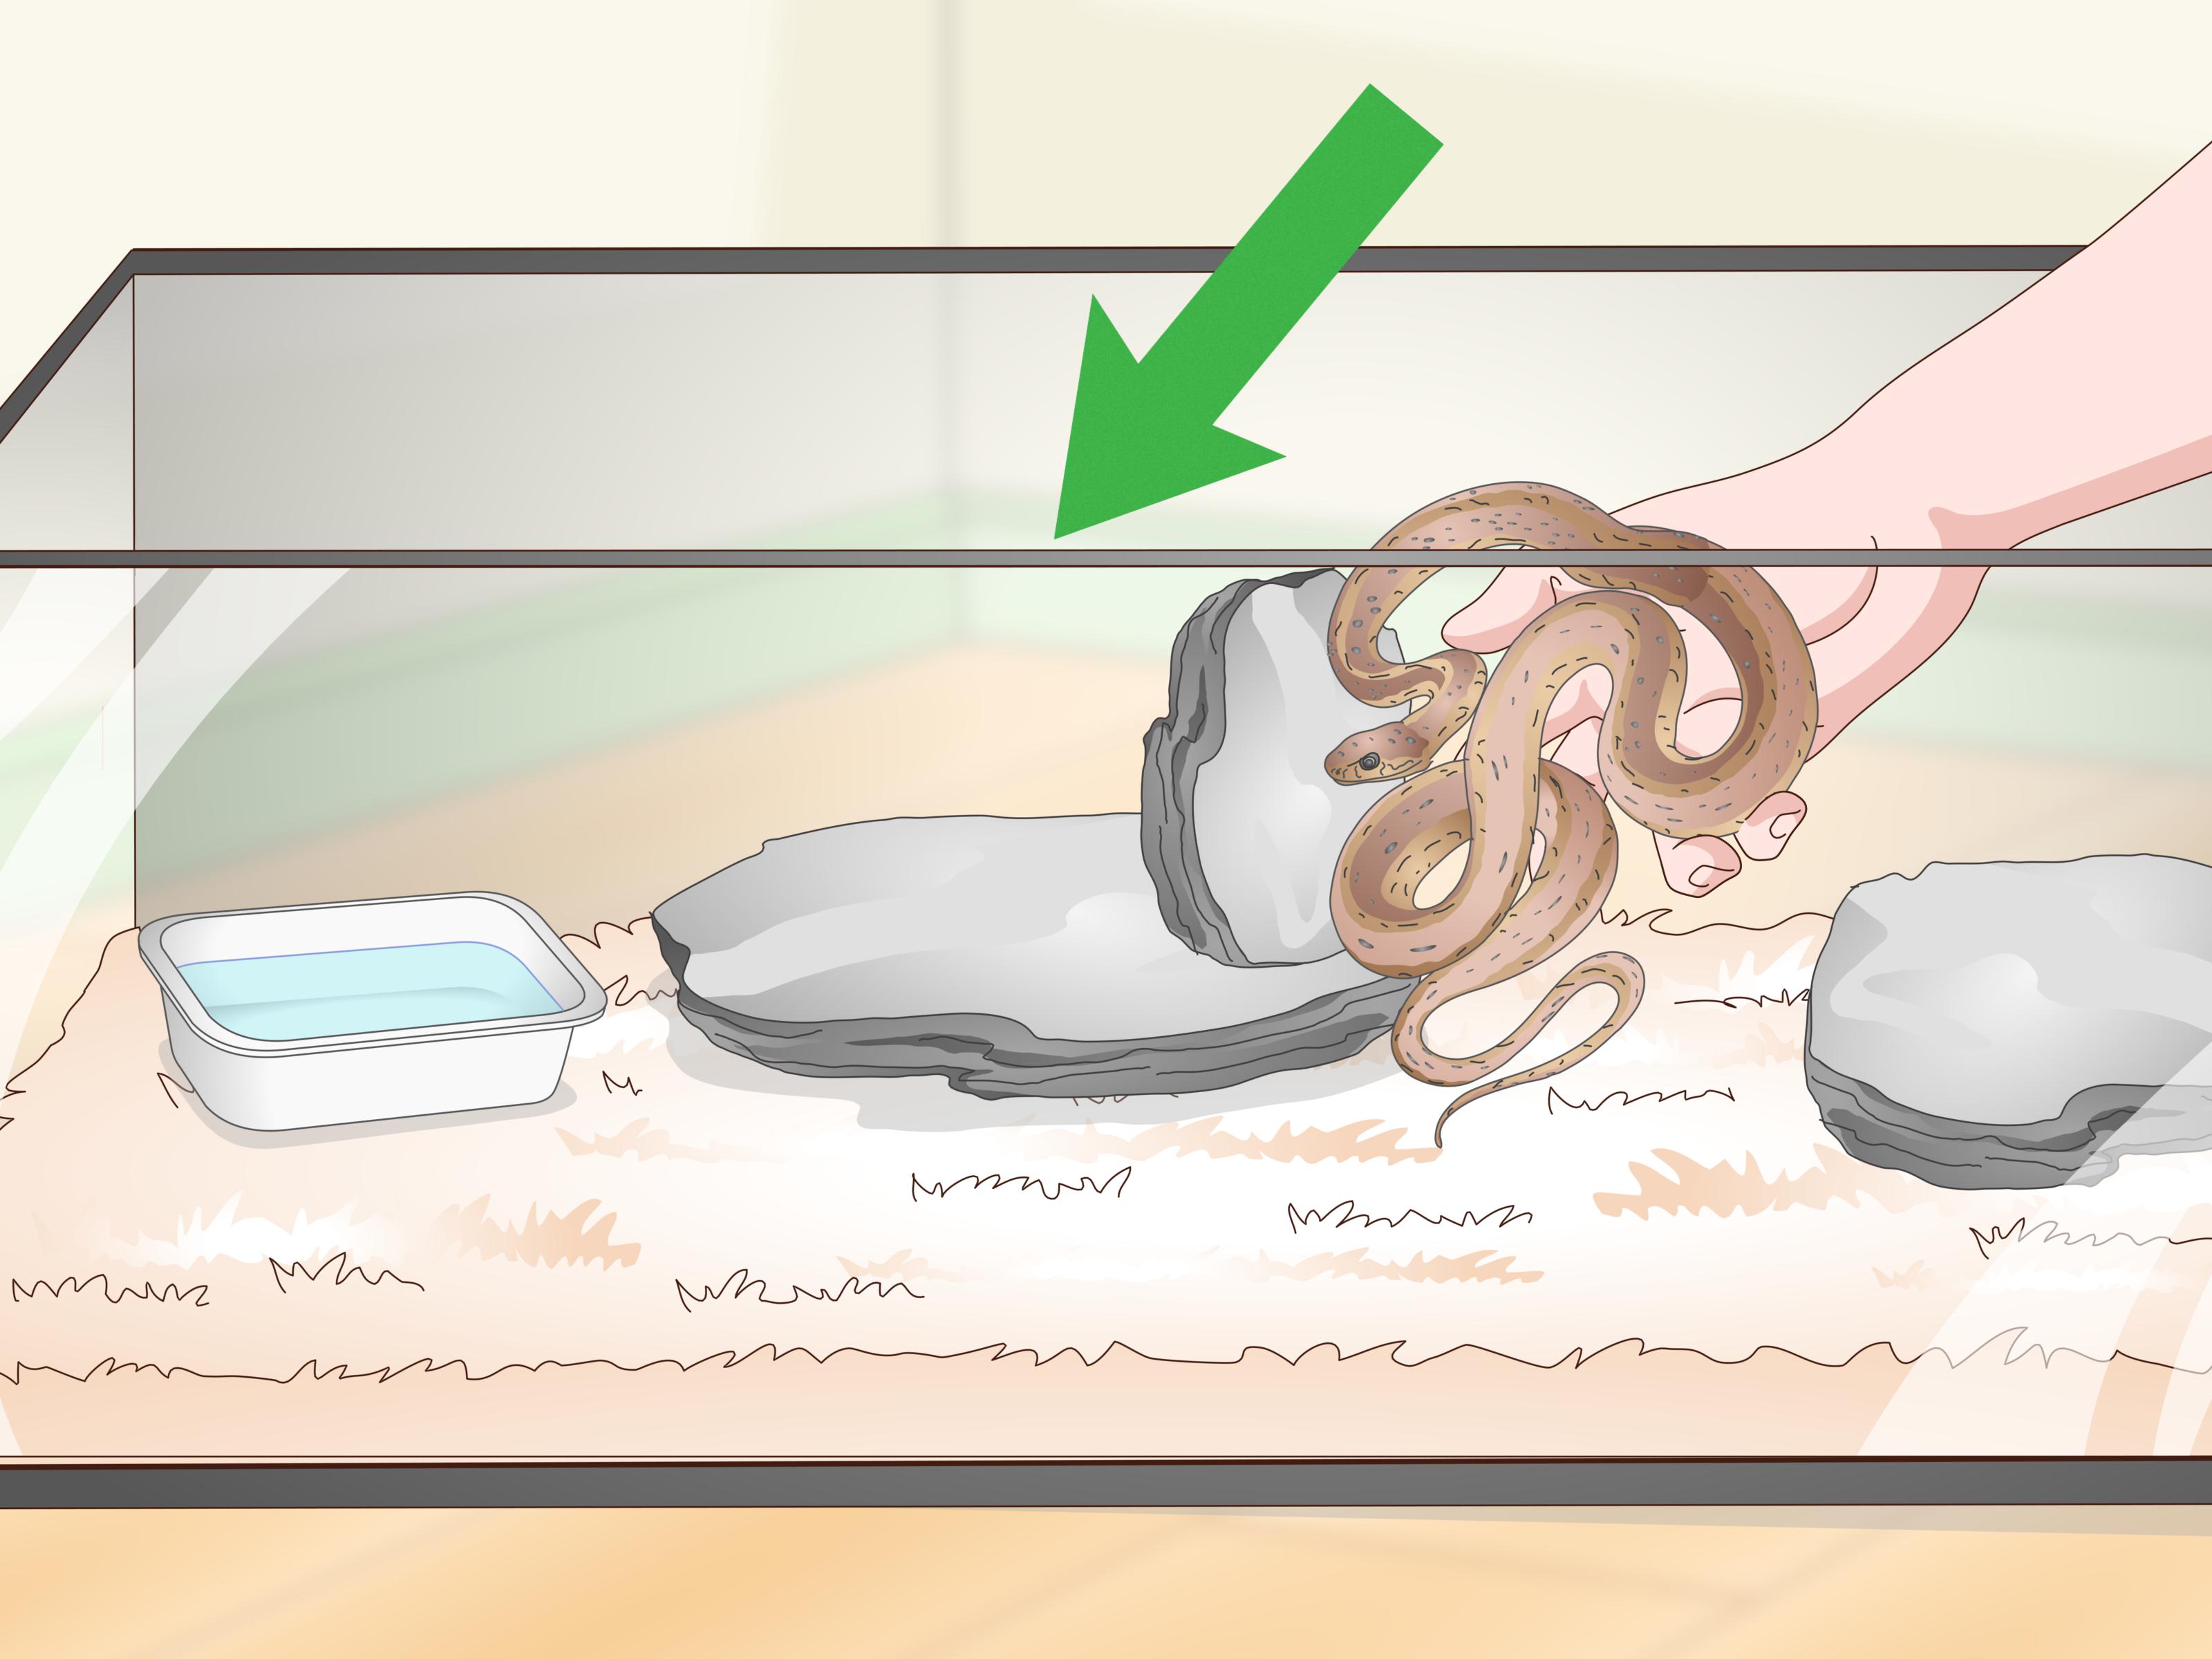
Place your snake in a secure, escape-proof, easy-to-clean temporary enclosure. A plastic tub with proper ventilation, secure locks, controlled heat, clean water, and paper towels works well for many snakes. Keep the setup simple: paper towel substrate, one clean hide, one water bowl, and correct temperature and humidity for the species.
A hospital enclosure makes mites easier to spot and removes the mansion of hiding places they love. Fancy bioactive setups, cork bark, moss, wood, and deep substrate are wonderful when your snake is healthy; during mite treatment, they become five-star mite resorts.
5. Give a Supervised Warm-Water Soak
A shallow soak in lukewarm water can help drown or loosen many mites on the body. Use water that feels mildly warm, not hot, and keep it shallow enough that your snake can rest safely with its head above water. Never leave the snake unattended. For many snakes, 15 to 30 minutes is enough, but follow your veterinarian’s advice.
Soaking is useful, but it is not a complete treatment. Mites may move to the head, eyes, chin, or other protected areas. Eggs and hidden mites in the enclosure will remain untouched. A bath is a helpful first strike, not the entire war plan.
6. Gently Wipe Away Visible Mites
After soaking, use a damp paper towel, soft cloth, or cotton swab to gently wipe visible mites from the snake’s body. Be extremely careful around the eyes, nostrils, mouth, and heat pits. Do not scrape scales, pick aggressively, or use sharp tools.
If the snake has irritated skin or many bite marks, your veterinarian may recommend a reptile-safe antiseptic approach. Do not freestyle with household chemicals, essential oils, alcohol, or mouthwash. Your snake is not a bathroom countertop and should not be treated like one.
7. Use Only Vet-Approved Mite Treatment on the Snake
This is the step where many well-meaning owners get into trouble. Never apply dog or cat flea treatments, pesticide sprays, mite powders, essential oils, or “natural” remedies directly to your snake unless a reptile veterinarian specifically approves them. Reptiles absorb chemicals differently from mammals, and toxicity can cause tremors, seizures, breathing problems, burns, neurological signs, or death.
Your vet may recommend a topical or systemic acaricide, a controlled bathing protocol, or another species-appropriate treatment. Follow the exact schedule. More product does not mean better results; it usually means more risk. With snakes, “extra strength” can quickly become “extra emergency.”
8. Strip the Main Enclosure Completely
Remove everything from the original enclosure: substrate, hides, branches, rocks, water dishes, plants, décor, background panels, thermometers, humid hides, and feeding tools. Mites hide in seams, under rims, inside decorations, behind cage tracks, in screen lids, and under loose bark.
Bag disposable materials immediately and take them out of the reptile area. Do not carry open substrate through the room like you are spreading reptile confetti. Seal it, remove it, and clean the path if any debris drops.
9. Throw Away Porous Substrate and Questionable Décor
Discard loose substrate, moss, bark, cardboard, natural wood, cork, and any porous items that cannot be thoroughly cleaned and disinfected. These materials are difficult to sanitize because mites and eggs can hide deep in cracks and fibers.
If you have an expensive naturalistic setup, this part hurts. But keeping contaminated décor can restart the infestation after you think you have won. When mites are involved, sentimentality is how the sequel gets made.
10. Wash Hard Items With Hot Soapy Water
Scrub the enclosure, lid, tracks, vents, hides, bowls, and nonporous decorations with hot water and dish soap. Remove all organic debris before disinfecting. Disinfectants work poorly when dirt, feces, shed skin, and old substrate are still present.
Use brushes, cotton swabs, or pipe cleaners for seams and corners. Pay attention to sliding glass tracks, lid rims, fake rock crevices, and screw holes. Mites are excellent at finding tiny hiding places, mostly because they are tiny and apparently very committed to being irritating.
11. Disinfect Safely and Rinse Thoroughly
After washing, disinfect nonporous surfaces with a reptile-safe disinfectant or a properly diluted bleach solution recommended by your veterinarian. Work in a well-ventilated area, wear gloves, and never mix bleach with ammonia, vinegar, or other cleaners. Allow appropriate contact time, then rinse thoroughly and let everything dry completely before reuse.
No chemical smell should remain before the snake returns. Reptiles have sensitive respiratory systems, and fumes can be harmful. Sun-drying, when practical, can help dry and freshen cleaned items, but it is not a replacement for proper washing and disinfection.
12. Address the Area Around the Cage
Snake mites can wander. Vacuum or clean shelves, floors, racks, walls near the enclosure, and nearby equipment. Empty the vacuum contents immediately into a sealed bag. Wipe down feeding tongs, hooks, tubs, transport containers, and any shared supplies.
If your veterinarian recommends an environmental mite product, use it exactly as directed and keep the snake away until the enclosure is safe, dry, and free of fumes. Do not place pest strips or strong insecticides inside a reptile enclosure unless specifically directed by a qualified reptile veterinarian. Long-term exposure to pesticides can be deadly.
13. Rebuild the Enclosure With Disposable Substrate
During treatment, use paper towels or newspaper as substrate. They are inexpensive, easy to replace, and make mites easy to spot. Keep décor minimal and cleanable. Provide correct heat, humidity, water, and security, but skip the decorative jungle until the infestation is truly gone.
Change the paper frequently. Each change is also an inspection opportunity. Look for moving dots, mite feces, shed fragments, and dead mites. Record what you see so you can tell whether treatment is working.
14. Repeat Treatment Through the Mite Life Cycle
One cleaning session rarely solves a mite infestation. Eggs and hidden stages may survive, then reappear days or weeks later. Follow your veterinarian’s schedule for rechecks, repeated cleaning, and any approved medication. Depending on the severity, treatment may take three to six weeks or longer.
Do not stop the first day you see no mites. That is like leaving a movie when the villain falls down but the music is still suspicious. Keep inspecting, cleaning, and isolating until the full treatment plan is complete and your vet is satisfied with the result.
15. Prevent Mites From Coming Back
Prevention is easier than eradication. Quarantine every new snake or reptile before it enters your main reptile room. Use separate tools during quarantine. Inspect new animals under good lighting. Avoid sharing hides, tubs, water bowls, or feeding tools between enclosures unless they are fully cleaned and disinfected.
Buy animals from reputable breeders or rescues with clear health practices. Keep enclosures clean, reduce clutter, and inspect regularly during water changes and feeding days. Mites are easiest to beat when you catch them early, before they have built a thriving underground empire behind the water bowl.
Common Mistakes to Avoid
Using Cat or Dog Flea Products Without Veterinary Approval
This is one of the most dangerous mistakes. Some mammal flea products are too concentrated for reptiles or contain ingredients that may be toxic to snakes. Even products discussed in reptile circles should be used only with professional guidance.
Treating Only the Snake
If the enclosure is not cleaned and disinfected, mites can climb right back onto the snake. The habitat is often the real battlefield. Treating only the animal is like washing your hands and then grabbing the same muddy shovel.
Keeping Porous Decorations Too Soon
Wood, cork, moss, and bark can hide mites and eggs. Save natural décor for after the infestation is gone. During treatment, boring is beautiful. Paper towels may not win interior design awards, but they help you win the mite war.
Stopping Treatment Early
Mites have a life cycle. If you stop when the adult mites disappear, eggs or immature stages may develop and restart the problem. Finish the full treatment and observation period.
Forgetting About Other Reptiles
If one snake has mites, every reptile in the room may be at risk. Check all animals, isolate affected ones, and ask your veterinarian whether other reptiles need examination or preventive treatment.
When to See a Vet Immediately
Contact a reptile veterinarian quickly if your snake has a heavy mite load, refuses food repeatedly, appears weak, is losing weight, has wrinkled or dehydrated skin, shows infected bite wounds, has swelling, wheezing, mouth discharge, abnormal posture, or repeated bad sheds. Also call if you have already tried treatment and mites keep returning.
Veterinary care is especially important for young snakes, elderly snakes, recently imported animals, rescues, and snakes with other health issues. Mites are stressful, and stress can uncover or worsen hidden problems.
Experience-Based Notes: What Mite Treatment Is Really Like
Anyone who has dealt with snake mites learns one lesson fast: the emotional enemy is not the mite; it is impatience. The first day usually feels productive. You spot the mites, move the snake, soak it, strip the enclosure, scrub everything, and feel like a reptile-care superhero. Then, three days later, you see one tiny dot moving on a paper towel and suddenly question every life choice that led to reptile ownership. This is normal. Mite treatment often works in waves because the hidden stages do not all vanish at once.
A practical approach is to treat the situation like a checklist, not a crisis. Keep a notebook or phone note with dates: first mite spotted, vet contacted, snake soaked, enclosure cleaned, product used, paper changed, mites seen, no mites seen. This record prevents guessing. It also helps your veterinarian adjust the plan if mites persist. Without notes, every day blends into “I think I cleaned that yesterday?” which is how mistakes sneak in.
Another real-world tip is to simplify everything. A temporary enclosure may look plain, but plain is powerful. A paper towel floor lets you see mites immediately. A single hide is easier to clean than a castle, three logs, two plants, and a decorative skull named Gary. Keep the snake comfortable, but do not give mites a theme park.
Handling order matters too. If you keep multiple reptiles, care for healthy animals first and the affected snake last. Wash hands between enclosures. Do not use the same hook, towel, tub, or feeding tongs across cages. It feels fussy until you realize mites can hitchhike like tiny unpaid interns. Good hygiene keeps a one-cage problem from becoming a reptile-room problem.
Owners also discover that “natural” does not always mean safe. Oils, strong-smelling home remedies, alcohol, essential oils, and random internet recipes can irritate skin, interfere with breathing, or cause toxicity. Even olive oil, sometimes mentioned for suffocating mites, should be used carefully and not on weak or compromised animals without veterinary direction. A stressed snake does not need a spa experiment; it needs a safe, targeted plan.
Finally, prevention becomes a habit after one infestation. New snakes go into quarantine. Supplies stay separate. Enclosures get inspected during water changes. Substrate bags are stored cleanly. Reptile expos and new purchases are approached with enthusiasm, but also with the cautious expression of someone who has scrubbed cage tracks at midnight. Mites are beatable, but they reward shortcuts. Be steady, be thorough, and let boring cleanliness do its heroic little job.
Conclusion
Getting rid of mites on snakes takes patience, consistency, and a full-enclosure strategy. The winning formula is simple: identify the problem early, involve a reptile veterinarian, quarantine the affected snake, use safe treatment, remove contaminated materials, deep-clean the habitat, repeat the process through the mite life cycle, and prevent future outbreaks with quarantine and good hygiene.
Snake mites may be tiny, but they are not mysterious. They need a host, hiding places, and time. Remove those advantages, and you can take back your enclosure. Your snake gets peace, your reptile room gets control, and you get the quiet satisfaction of defeating an enemy smaller than a sesame seed.













