
If you have ever stared at your reflection at 11:47 p.m. and thought, “Tomorrow I would like to wake up looking effortlessly beachy instead of aggressively horizontal,” welcome. Overnight waves are one of the easiest ways to get soft, pretty texture without dragging out a curling iron at sunrise. They are also kinder to your hair than daily heat styling, which means less damage, less drama, and fewer mornings spent negotiating with flyaways like a hostage mediator.
The trick is not magic. It is method. The best overnight wavy hair techniques use slightly damp hair, gentle tension, a little product, and a sleeping setup that does not turn your pillow into a frizz machine. Below, you will find four easy methods to get wavy hair overnight, along with prep tips, common mistakes, and real-world experiences that make the difference between “cute waves” and “what exactly happened here?”
Why Overnight Waves Work So Well
Hair holds shape better when it dries in a pattern. That is why braids, twists, buns, and rollers can create waves while you sleep. You are basically giving your strands a job assignment for the night. By morning, your hair has dried into that shape and needs only a little fluffing, separating, or texturizing to look polished.
Overnight styling also works because it plays the long game. Instead of blasting your hair with heat for 20 minutes, you let time do the heavy lifting. That is especially helpful if your hair is fine, color-treated, dry, or prone to breakage. In other words, your hair gets the memo without getting roasted.
Before You Start: The Best Prep for Wavy Hair Overnight
1. Start with damp, not soaking wet, hair
This is the golden rule. If your hair is too wet, it may still be damp by morning, which can flatten the style and leave you with weird bends instead of waves. If it is too dry, the shape may not hold. Aim for hair that is about 70 to 85 percent dry.
2. Use a lightweight styling product
A little mousse, wave spray, curl cream, or light leave-in conditioner can help hold the pattern overnight. Fine hair usually likes mousse or a texturizing spray. Thick or coarse hair tends to do better with a smoothing cream or lightweight curl cream. Use enough to help, not enough to turn your hair into a crunchy art project.
3. Detangle gently
Before braiding or twisting, gently remove knots with a wide-tooth comb. Start at the ends and work upward. Tugging through damp hair is a fast way to create breakage, and broken ends do not exactly scream glossy mermaid waves.
4. Choose soft accessories
Use silk or satin scrunchies, soft rollers, or fabric ties whenever possible. These reduce friction and help prevent dents. A satin pillowcase or bonnet can also make a big difference, especially if your hair frizzes when you so much as look at a cotton pillow.
Method 1: Classic Braids for Soft, Natural Waves
If overnight waves had a hall of fame, braids would be the first inductee. They are easy, affordable, beginner-friendly, and incredibly flexible depending on the kind of wave you want.
How to do it
- Start with clean or second-day damp hair.
- Apply a small amount of mousse or wave-enhancing product.
- Part your hair down the middle for two braids, or create one loose braid down the back for a softer result.
- Braid loosely for relaxed waves or more tightly for a stronger crimped effect.
- Secure the ends with soft hair ties and go to sleep.
- In the morning, undo the braids, separate the waves with your fingers, and finish with a light texturizing spray.
Who it is best for
This method is great for straight to wavy hair, medium to long hair, and anyone who wants easy, everyday texture. Two braids usually create more even waves, while one braid gives a looser, more casual finish.
Pro tip
If you want volume at the roots, braid a bit higher and avoid making the style too flat against the head. French braids or Dutch braids can also create a more lifted result.
Method 2: Twisted Mini Buns for Beachy Texture
If braids give you organized waves, mini buns give you that “I woke up in a stylish coastal cottage and definitely did not hit snooze three times” texture. This method creates relaxed bends with a slightly tousled finish.
How to do it
- Part damp hair into four to six sections, depending on thickness.
- Add a bit of mousse or styling cream.
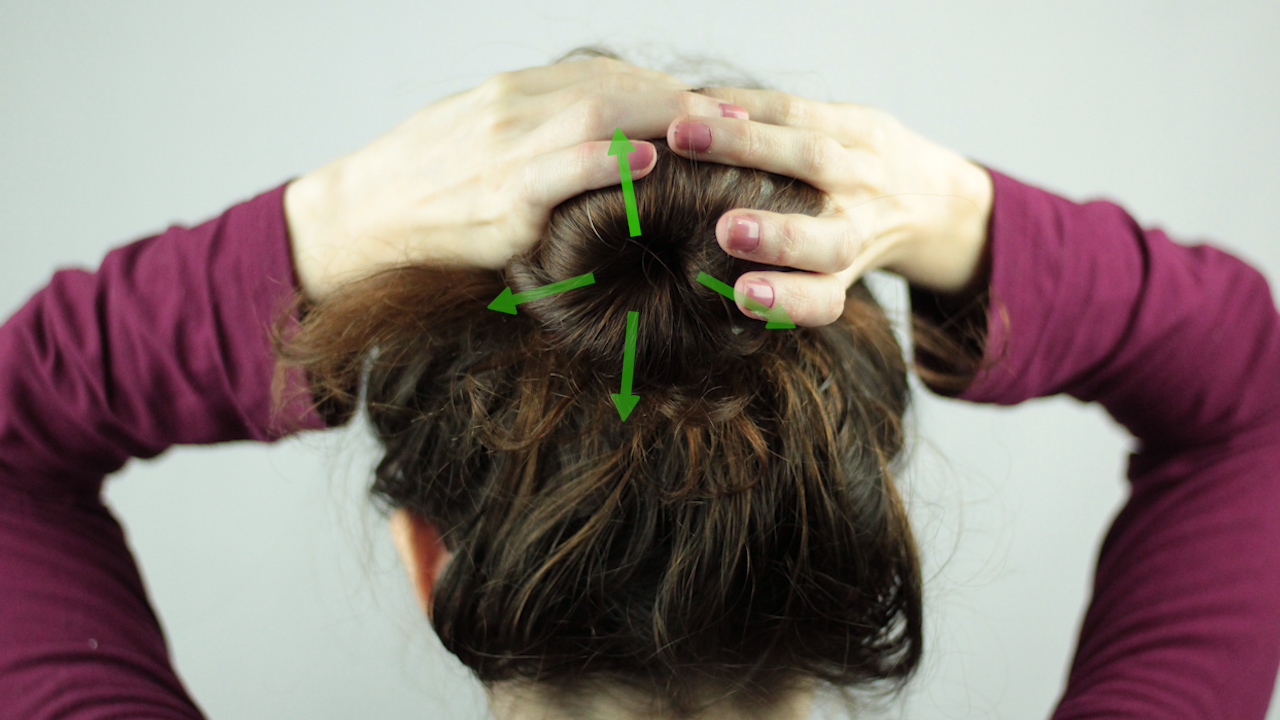
- Twist each section away from your face until it coils into a mini bun.
- Pin or secure each bun loosely with a soft scrunchie.
- Sleep on it, then release and finger-comb in the morning.
Who it is best for
This technique works beautifully on medium to thick hair and on people who want undone waves instead of uniform curls. It is also a good option for layered hair because the shorter pieces often blend more naturally into the final shape.
Pro tip
Keep the buns comfortable. Tight buns can pull at the scalp, cause dents, and make sleeping feel like a punishment for wanting nice hair. Loose and secure is the goal.
Method 3: Heatless Ribbon or Robe Tie Wraps for Polished Waves
This is the method that exploded for a reason. Wrapping your hair around a soft ribbon, heatless curling rod, or robe tie can create smooth, polished waves that look far more high-maintenance than they actually are. It is the hairstyle equivalent of ordering takeout and plating it like you cooked.
How to do it
- Place the ribbon or rod over the top of your head like a headband.
- Part your damp hair into two sections.
- Starting near the front, wrap each section around the ribbon, adding more hair as you go.
- Secure the ends with scrunchies.
- Sleep carefully, then unwrap in the morning.
- Shake out the waves and soften them with your fingers or a tiny bit of hair oil on the ends.
Who it is best for
This method is excellent for medium to long hair, especially if you want smoother, more defined S-shaped waves. It often creates a more polished result than braids or buns.
Pro tip
Do not wrap the hair too tightly near the roots unless you want serious lift. For a softer finish, begin a little lower and keep the tension moderate. If your hair slips easily, a bit of mousse helps it stay put.
Method 4: Foam Rollers or Flexi Rods for Defined Waves
If you like a more defined wave that borders on loose curl territory, foam rollers or flexi rods are your best friends. They are especially useful when you want your overnight style to last past lunch and into day two or even day three.
How to do it
- Work with slightly damp, detangled hair.
- Divide your hair into sections based on how much volume you want.
- Wrap each section around a foam roller or flexi rod, rolling away from your face for a flattering shape.
- Secure the roller and repeat.
- Sleep on them and remove in the morning.
- Separate gently for fuller, softer waves.
Who it is best for
This is a great choice for fine hair that struggles to hold a wave, as well as longer hair that needs more structure. It can also help create a more uniform style for special occasions.
Pro tip
Use larger rollers if you want looser waves and smaller ones if you want more bounce. Also, do not brush the result right away unless you are aiming for full vintage glamour. Finger-separating is safer.
How to Choose the Right Overnight Wavy Hair Method
- For loose natural waves: Try one or two braids.
- For beachy, tousled texture: Go with twisted mini buns.
- For polished, smooth waves: Use a ribbon or robe tie wrap.
- For longer-lasting, defined waves: Pick foam rollers or flexi rods.
Your hair type matters too. Fine hair usually benefits from lighter products and more structured methods like rollers or ribbon wraps. Thick, coarse, or naturally textured hair often does better with creams, twists, and braids that preserve moisture while shaping the hair. If your hair is very straight and resistant, a touch of mousse can make a huge difference.
Common Mistakes That Ruin Overnight Waves
Using too much product
Heavy creams, too much oil, or half a bottle of mousse can leave hair limp, sticky, or flat. Overnight waves need grip, not grease.
Sleeping with hair that is too wet
This is the fastest route to disappointment. If the hair is still damp when you take the style down, you may get saggy waves or random kinks instead of a soft finish.
Making the style too tight
Tight braids or buns can create harsh bends, discomfort, and unnecessary tension on the scalp. Overnight styling should feel secure but sleepable.
Brushing the waves out aggressively
A brush can turn beautifully defined waves into fluff faster than you can say “why did I do that?” Use your fingers or a wide-tooth comb very lightly if needed.
Ignoring the pillow situation
A cotton pillowcase can create friction, frizz, and flattening, especially if you move around a lot at night. Switching to satin or silk is one of those small upgrades that actually earns its hype.
How to Make Overnight Waves Last Longer
Once your waves are in place, the goal is to keep them alive beyond breakfast. Mist a little lightweight hairspray or texturizing spray through the mid-lengths and ends. Avoid over-touching the hair all day. If your roots get oily, use dry shampoo at the scalp instead of piling more product onto the waves themselves.
At night, loosely gather your hair into a high ponytail, soft braid, or bonnet to preserve the texture. That way, your day-two hair still looks intentional rather than like it lost a fight with the wind.
What If Your Hair Still Will Not Hold a Wave?
Do not panic. Some hair types need a little trial and error. Try one adjustment at a time: use less moisture, add more mousse, switch to a more structured method, or make the sections smaller. Hair that is freshly washed and silky can be stubborn, while second-day hair often behaves better. It is not you. It is chemistry, texture, and a tiny bit of hairstyle diplomacy.
Real-World Experiences With Overnight Wavy Hair
One of the most common experiences people have with overnight waves is discovering that the method matters less than the setup. Someone with fine, pin-straight hair may try loose braids and wake up with almost nothing, then switch to foam rollers and suddenly have waves that last until dinner. Another person with naturally thick hair may find rollers too structured but get beautiful, relaxed movement from two low braids and a little curl cream. The lesson is simple: the first method is not always the forever method.
Another very real experience is the damp-hair learning curve. Plenty of people assume wetter hair means a better hold, but the opposite often happens. Hair that is too wet can stay damp deep inside the braid, bun, or wrap, which leads to flat roots and misshapen ends by morning. Once people start letting their hair air-dry partway before styling, the results usually improve immediately. It is a small adjustment that often creates the biggest payoff.
Comfort is also a bigger part of success than most guides admit. A style can be technically perfect and still fail if it keeps you awake all night. That is why many people end up abandoning stiff clips, tight buns, or awkward placements near the crown. In real life, soft scrunchies, lower tension, and a satin pillowcase often win over complicated setups that look impressive on camera but feel ridiculous at 2 a.m. Practical beauty is still beauty.
People with layered hair often report another funny surprise: the waves may look messy while first taking the style down, but a minute or two of finger-shaping changes everything. The shorter layers create bounce and movement once the hair settles. That is why rushing the final step can sabotage the result. Overnight waves usually need a little finishing, whether that means separating the sections, adding texture spray, smoothing the ends with a tiny bit of serum, or flipping the part for more lift.
There is also the day-two discovery, which might be the best part of all. Many people notice that their overnight waves look good in the morning and even better a few hours later. The shape relaxes, the volume settles into place, and the overall effect becomes softer and more natural. It is one of the rare beauty situations where patience actually improves the outcome. For busy mornings, that is a gift.
Some people use overnight waves only for special events, but many end up treating them as a weekly routine. They wash, prep, braid or wrap, sleep, and then enjoy two or three lower-effort hair days. That routine can save time, reduce heat exposure, and make mornings feel much less chaotic. It is especially helpful for students, professionals, parents, or literally anyone who does not want to duel with a hot tool before coffee.
And yes, there are occasional fails. Sometimes one side falls flat. Sometimes the ends flip in a weird direction. Sometimes you discover that sleeping like a spinning rotisserie chicken has consequences. But even then, overnight waves are forgiving. A little dry shampoo, a half-up style, or a quick touch-up on a few front pieces usually rescues the look. The beauty of this technique is not perfection. It is low-effort texture that feels modern, soft, and wearable.
In the end, the most consistent experience people share is this: once they find the right combination of dampness level, product, and method, overnight wavy hair becomes incredibly easy. Not magical, not flawless, not guaranteed to make you look like a shampoo commercial in one night. But easy, practical, and surprisingly effective. And honestly, waking up with decent hair before your first sip of coffee feels a little magical anyway.
Conclusion
If you want to get wavy hair overnight, the best approach is to work with your hair type instead of against it. Start with slightly damp hair, use a lightweight product, pick a method that matches your desired wave pattern, and keep the style gentle enough to sleep in comfortably. Braids, mini buns, ribbon wraps, and rollers all work well for different reasons, and each one gives you a heatless way to create texture while you sleep. Once you dial in the method that suits your hair, waking up with soft, effortless waves becomes less of a dream and more of a very pretty habit.













