
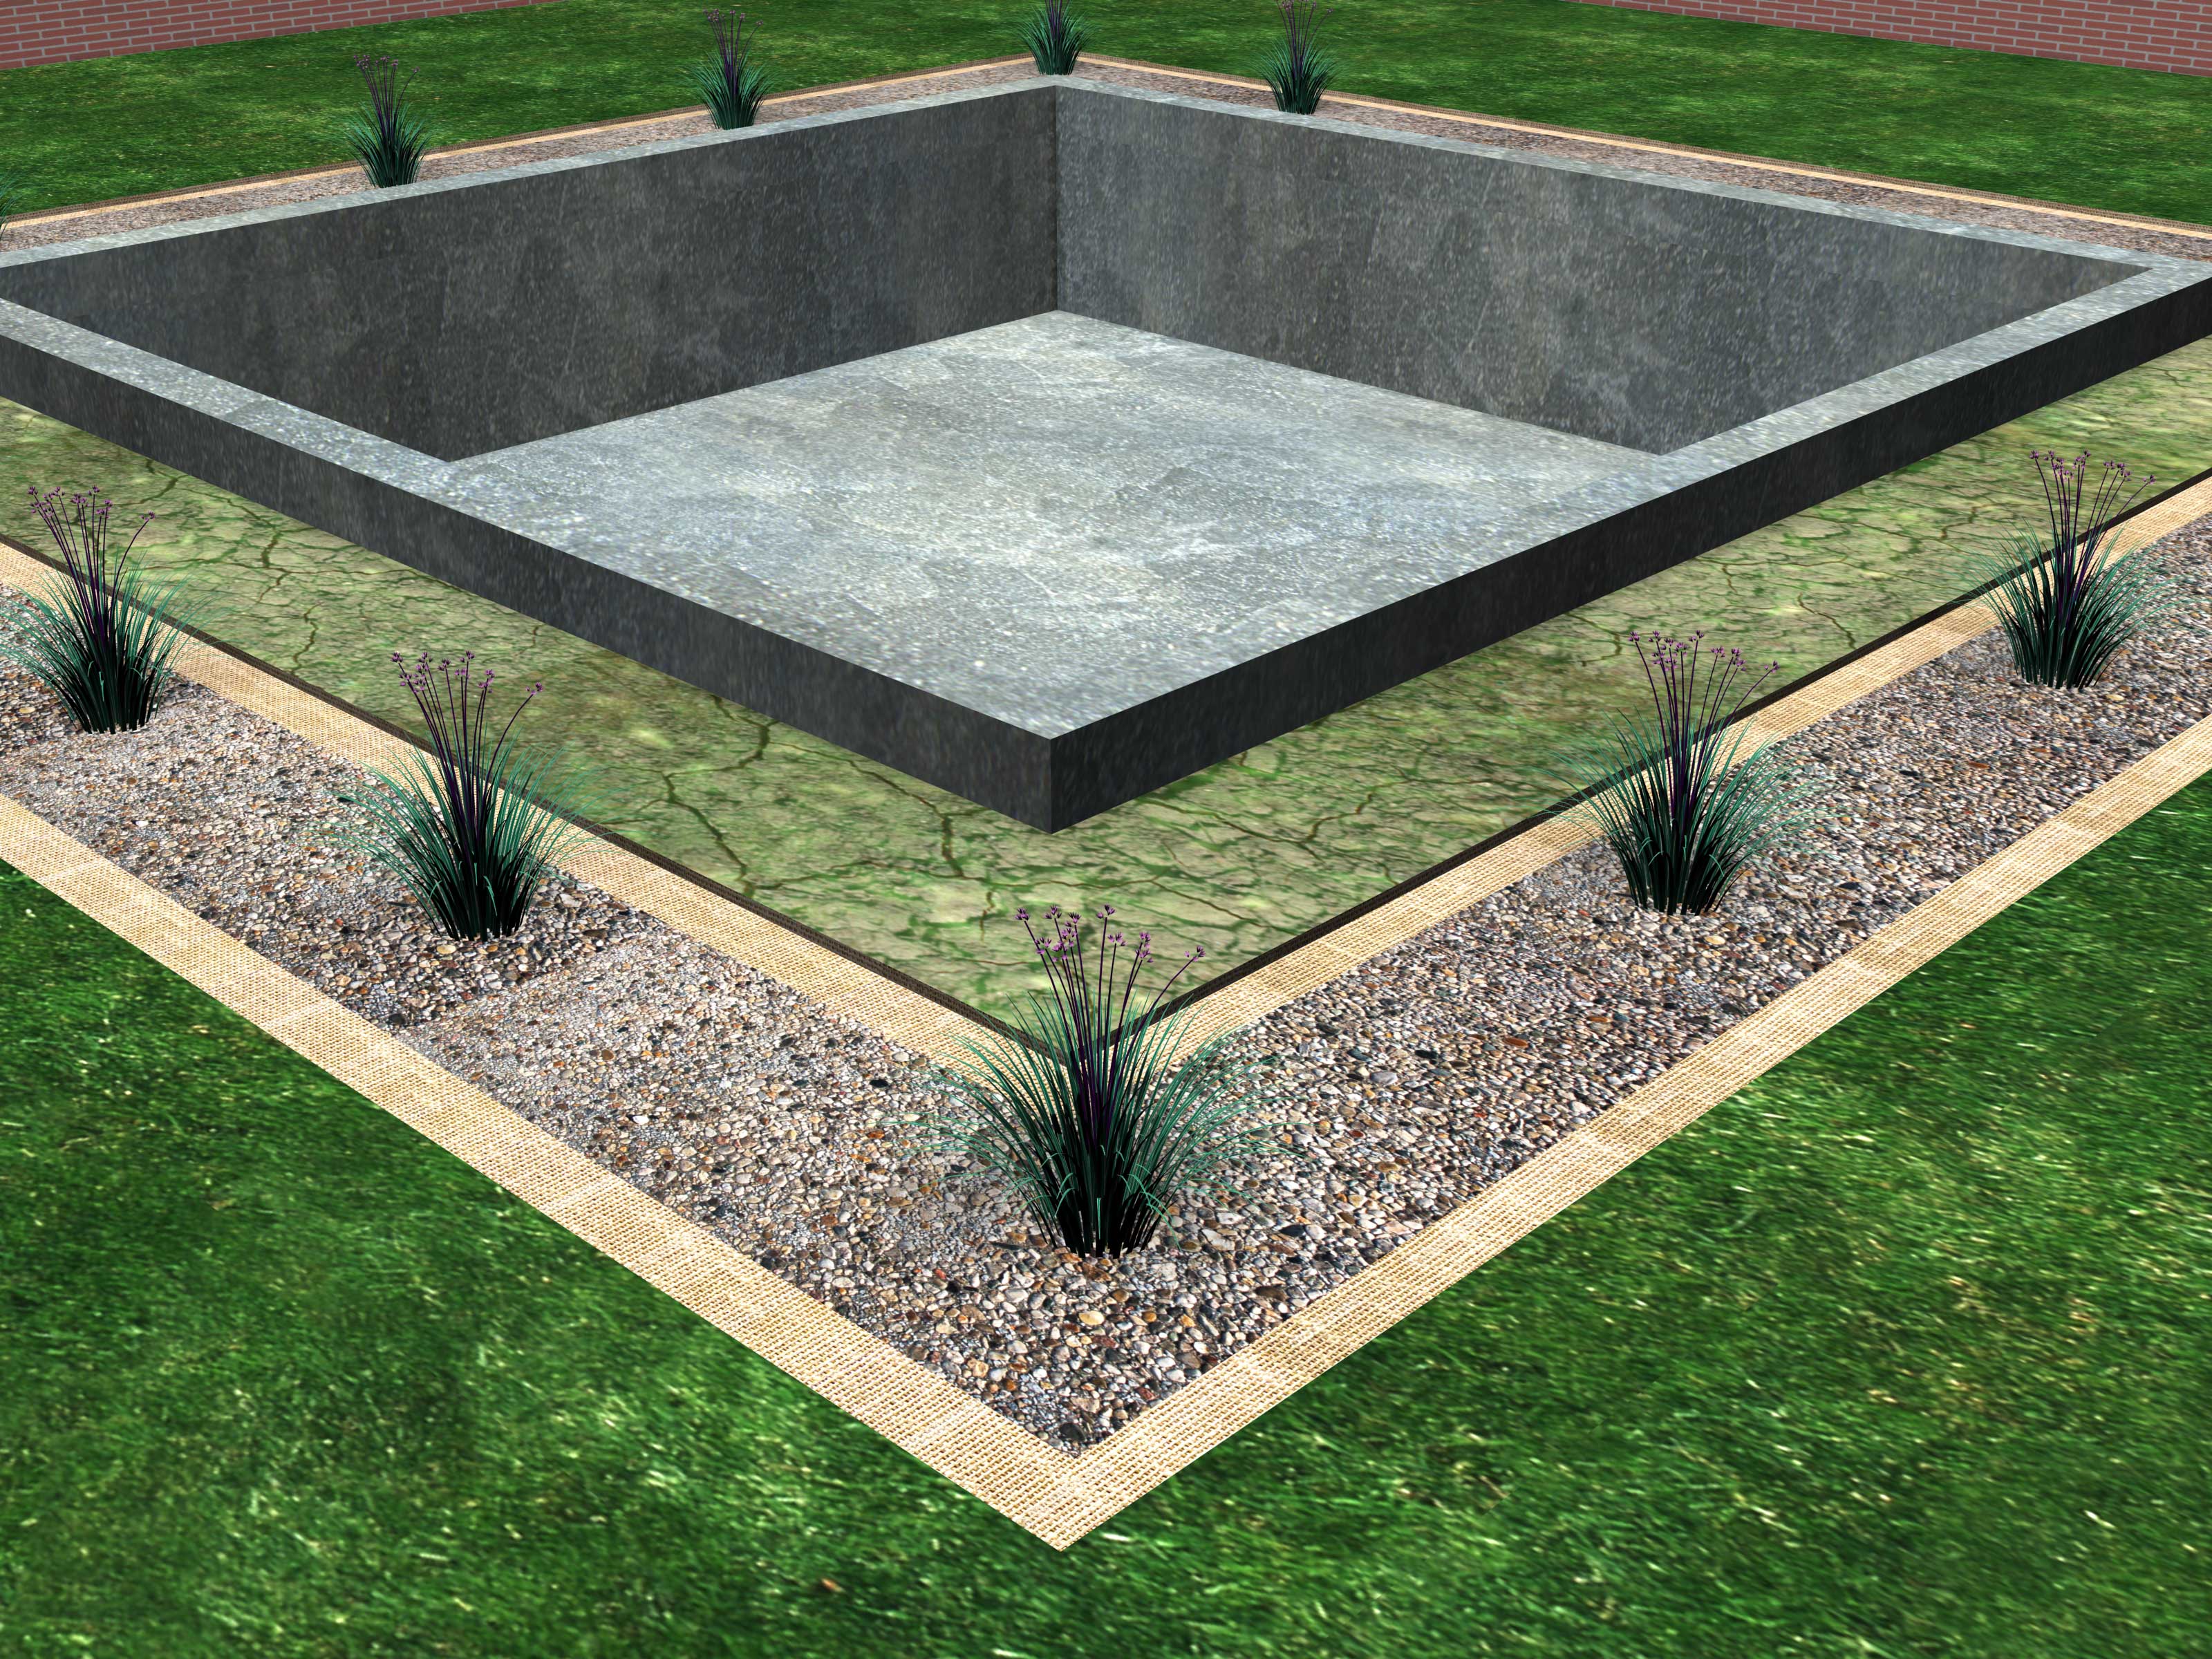
Water is charming when it is in a lake, refreshing when it is in a glass, and deeply annoying when it is sneaking into your basement like it pays rent. If rainwater pools around your house, seeps through basement walls, softens soil near footings, or turns your crawl space into a swampy surprise, your home may need a proper foundation drainage system.
Installing drainage around a house foundation is one of the most practical ways to protect your home from basement leaks, foundation settlement, mold-friendly moisture, and soil erosion. The basic idea is simple: collect water before it presses against the foundation, then send it somewhere safer. The actual work, however, requires planning, digging, gravel, pipe, filter fabric, slope, and a healthy respect for your lower back.
This guide explains how to install a drainage system around the foundation of a house, including when to use a French drain, how footing drains work, what materials you need, and which mistakes can turn a weekend project into a muddy courtroom drama between you and gravity.
What Is a Foundation Drainage System?
A foundation drainage system is a set of materials installed around or near a home’s foundation to move water away from the structure. The most common exterior system is a perimeter French drain, also called a footing drain or drain tile system. Despite the name, “drain tile” is usually not tile anymore. It is typically a perforated pipe surrounded by clean gravel and wrapped in filter fabric.
Water in the soil flows into the gravel trench, enters the perforated pipe, and travels by gravity toward a safe discharge point. That outlet might be daylight on a slope, a dry well, a storm drainage system approved by your local authority, or a sump pit that pumps water away from the foundation.
French Drain vs. Footing Drain
A French drain is a broad term for a gravel-filled trench with a perforated pipe that redirects water. A footing drain is a French drain installed at or near the bottom of the foundation footing. Footing drains are more involved because they often require digging down several feet, sometimes to basement depth.
For shallow yard drainage, a French drain may only be 18 to 24 inches deep. For serious foundation water problems, the system usually needs to intercept water at the footing level. That is where many homeowners decide the project has officially left “DIY fun” and entered “call a contractor before someone discovers an ancient gas line” territory.
Signs You Need Drainage Around Your Foundation
You may need a foundation drainage system if you notice water pooling next to the house after storms, damp basement walls, musty odors, peeling paint, white mineral deposits on masonry, mold growth, swollen trim, or recurring sump pump activity. Outside, warning signs include sunken soil near the foundation, muddy flower beds, erosion channels, overflowing gutters, or downspouts that dump water directly beside the wall.
Sometimes the problem is not underground water at all. Many wet basements start with surface water. Poor grading, clogged gutters, short downspouts, and compacted soil can direct roof runoff straight toward the foundation. Before digging a trench deep enough to qualify as a small archaeological site, fix the simple things first.
Start With Surface Drainage First
A foundation drain works best when it is not forced to handle every gallon of rain that hits your roof and yard. Start by checking the grade around the home. Soil should slope away from the foundation, not toward it. A practical target is a drop of about 6 inches over the first 10 feet where space allows. If space is limited, use swales, surface drains, or hardscape grading to move water away.
Next, inspect the gutters and downspouts. Clean the gutters, repair sagging sections, and extend downspouts at least several feet away from the foundation. For underground downspout drains, discharge water to a proper outlet, never into the footing drain. Connecting roof runoff directly to a foundation drain can overload the system and introduce leaves, grit, and roof debris where you really do not want them.
Before You Dig: Permits, Utilities, and Safety
Before any excavation, call 811 in the United States so underground utilities can be marked. This is not optional unless your hobby is accidentally finding gas, electric, cable, or water lines with a shovel. Contact your local building department as well. Foundation drainage rules vary by city, county, soil type, flood zone, and whether the home has a basement, crawl space, or slab foundation.
You may need a permit if the work involves deep excavation, sump discharge, storm sewer connection, dry well installation, or changes to site grading. Never discharge water onto a neighbor’s property, public sidewalk, septic field, or unstable slope. Water is polite only when properly invited.
Tools and Materials You Will Need
The exact shopping list depends on the layout, soil, depth, and outlet. For a typical exterior French drain or footing drain, you may need perforated 4-inch drain pipe, solid non-perforated pipe for discharge runs, elbows, tees, cleanout fittings, washed gravel or crushed stone, nonwoven geotextile filter fabric, a shovel, trenching spade, wheelbarrow, level, string line, stakes, tape measure, tamper, utility knife, gloves, safety glasses, and possibly a rented trencher or mini excavator.
Use clean, washed stone rather than dirty gravel full of fines. Fine sediment clogs pipe perforations and reduces drainage performance over time. Filter fabric is equally important because it separates soil from the gravel bed. Without it, the trench can slowly become a dirt burrito, and not the useful kind.
How to Plan the Drainage Route
Walk around the house during or shortly after a rainstorm and note where water collects. Mark low spots, downspout locations, basement leak areas, window wells, patios, walkways, and retaining walls. Your goal is to create a route that collects water near the foundation and carries it downhill to a legal discharge point.
The outlet matters as much as the trench. A drain without a good outlet is just an expensive underground bathtub. Ideally, the pipe should discharge to daylight on a slope at least 10 feet from the foundation, depending on local rules and site conditions. If the property is flat, you may need a dry well, catch basin, storm sewer connection, or sump pump system.
Plan for Cleanouts
Add cleanouts at corners, long runs, and high points. A cleanout is a vertical pipe access point with a removable cap. It lets you flush or inspect the system later. Future-you will appreciate this. Future-you has enough problems.
Step-by-Step: How to Install a Drainage System Around the Foundation
Step 1: Mark the Trench Line
Use marking paint, stakes, or flags to outline the trench. Keep the route as straight and smooth as possible. Avoid large tree roots, utility lines, septic components, and areas where heavy vehicles may crush the pipe. If you are installing a drain at footing depth, consider hiring a professional excavator because deep trenches can collapse and are dangerous without proper shoring.
Step 2: Establish the Slope
Drainage depends on gravity. A common target for yard French drains is about 1 inch of drop for every 10 feet of pipe. Some foundation systems may be level around the footing but must slope or connect to a low collection point. Use a string line and level, laser level, or transit to confirm the trench bottom sends water toward the outlet.
Do not guess the slope by eye. Your eye is optimistic. Water is not.
Step 3: Excavate the Trench
Dig the trench wide enough to hold the pipe, gravel, and fabric. A typical 4-inch pipe needs room for several inches of stone around it. For shallow French drains, trenches often range from 12 to 18 inches wide and 18 to 24 inches deep. For footing drains, the trench may need to reach the bottom of the footing, which can be much deeper.
Keep excavated soil away from the trench edge to reduce collapse risk. If you expose the foundation wall, inspect it for cracks, failed parging, open joints, or damaged waterproofing. Drainage helps manage water, but it does not magically repair a cracked wall.
Step 4: Repair and Waterproof the Foundation Wall
If the wall is exposed, this is the time to fix defects. Patch cracks with appropriate masonry repair products, seal pipe penetrations, and apply dampproofing or waterproofing as required by local code and the severity of the water problem. Many homes benefit from a dimple drainage membrane over the exterior wall, which creates an air gap and directs water down to the footing drain.
Think of the drainage pipe as the escape route and the waterproofing as the raincoat. A raincoat without an escape route can still get overwhelmed, and an escape route without a raincoat may let moisture linger against the wall.
Step 5: Line the Trench With Filter Fabric
Lay nonwoven geotextile filter fabric along the bottom and sides of the trench. Leave enough extra fabric on both sides to fold over the top after the pipe and gravel are installed. The fabric should wrap the gravel envelope, not just the pipe. This helps keep soil, silt, and roots from migrating into the drainage stone.
Step 6: Add a Gravel Bedding Layer
Pour a layer of clean, washed gravel into the trench. For many systems, 2 to 6 inches of gravel under the pipe is typical, depending on depth and code requirements. Rake it smooth while maintaining the correct slope. The pipe should sit on stone, not directly on mud.
Step 7: Install the Perforated Drain Pipe
Place the perforated pipe on the gravel. Many manufacturers recommend placing holes downward so water rising through the gravel enters the pipe efficiently. Connect pipe sections with appropriate fittings, and use solid pipe when carrying collected water away from the foundation to the discharge point.
At corners, use smooth fittings rather than sharp bends where possible. Add cleanout tees with vertical risers and caps. Confirm the pipe follows the planned slope. A belly in the pipe can collect sediment and create a clog.
Step 8: Cover the Pipe With More Gravel
Cover the pipe with clean gravel. For footing drains, code-based details often call for several inches of stone around and above the pipe, along with filter membrane protection. For yard French drains, 3 to 12 inches above the pipe may be used depending on design. The goal is to create a free-draining stone zone that lets water flow to the pipe while keeping soil out.
Step 9: Wrap the Fabric Over the Gravel
Fold the excess filter fabric over the top of the gravel so it overlaps. This creates a protected drainage bundle. Do not wrap the pipe tightly like a mummy and then surround it with soil. The gravel is part of the system, and the fabric should protect the gravel from soil contamination.
Step 10: Connect to the Outlet
Run solid pipe from the collection system to the outlet. The outlet may be a daylight discharge, dry well, catch basin, sump pit, or approved storm connection. Install a rodent guard or hardware cloth at exposed pipe ends to discourage small animals from converting your drain into a tiny woodland apartment.
Make sure the outlet remains visible and serviceable. Buried or blocked outlets are a common reason drainage systems fail. If your system discharges to a sump pit, use a reliable sump pump, a check valve, and a discharge line that sends water well away from the foundation.
Step 11: Test the System
Before backfilling, run water through the system with a hose. Check whether water flows toward the outlet, whether pipe sections hold alignment, and whether any low spots remain. Some drainage pipe connections are not watertight by design, so do not panic over minor leakage in the trench. What matters is that water moves in the correct direction and exits where planned.
Step 12: Backfill and Restore the Grade
Backfill carefully. Do not dump large rocks, construction debris, or heavy clay directly onto the pipe. Compact soil in lifts where appropriate, but avoid crushing the drainage assembly. Finish by grading the surface so water continues to move away from the house. Replace sod, mulch, stone, or landscaping, but do not build raised beds that trap water against siding or foundation walls.
Common Mistakes to Avoid
The biggest mistake is installing a drain with nowhere to drain. A French drain must lead to a suitable outlet. The second mistake is using dirty gravel or skipping filter fabric, both of which invite clogs. The third mistake is forgetting slope. Even a beautifully installed drain can fail if water has to flow uphill, because water remains stubbornly unimpressed by wishful thinking.
Other mistakes include tying downspouts directly into footing drains, discharging water near the house, burying the outlet, using crushed pipe in traffic areas, ignoring window wells, and digging next to a foundation without understanding structural risk. If the trench is deep, the soil is unstable, or the foundation is old stone or brick, bring in a professional.
How Much Does Foundation Drainage Cost?
Costs vary widely. A shallow DIY French drain may cost a few hundred dollars in materials for a short run, while a full exterior footing drain around a basement can cost thousands or even tens of thousands of dollars when excavation, waterproofing, backfill, landscaping, and permits are included. Major cost factors include trench depth, access for equipment, soil type, foundation depth, outlet design, waterproofing materials, and whether patios, decks, sidewalks, or driveways must be removed and replaced.
For budgeting, measure the total drain length, estimate pipe and fabric, calculate gravel volume, and add fittings, cleanouts, outlet materials, equipment rental, disposal, and restoration. Always include a contingency. Drainage projects have a way of finding extra chores hiding underground.
Maintenance After Installation
A drainage system is not a “set it and forget it forever” feature. Inspect outlets at least once a year and after major storms. Clear leaves, sediment, mulch, nests, and ice. Flush cleanouts if water slows down. Keep gutters clean and downspouts extended. Recheck grading every few years because backfilled soil settles over time.
If you see new wet spots, recurring basement moisture, or water backing up from the outlet, investigate quickly. Small drainage problems are easier to fix before they become foundation problems with invoices that require emotional support.
Real-World Experience: Practical Lessons From Foundation Drainage Projects
One of the most useful lessons from foundation drainage work is that water problems rarely come from one single villain. Homeowners often assume the solution is a dramatic excavation, but many basement moisture issues begin above ground. A clogged gutter, a downspout elbow that popped off during winter, or a flower bed sloping toward the wall can send hundreds of gallons of water toward the foundation during a storm. Before digging, watch how water behaves in real rain. The yard will tell you the story if you are willing to stand outside in a jacket and look slightly suspicious to the neighbors.
Another experience-based tip: do not underestimate soil. Sandy soil drains quickly, while heavy clay can hold water like a stubborn sponge. In clay areas, a trench may collect water faster than it releases it, so the outlet becomes especially important. If the discharge point is weak, the drain can become saturated and ineffective. That is why dry wells need proper sizing, daylight outlets need enough fall, and sump systems need dependable pumps. The pipe is only one part of the chain.
Access also changes everything. Installing a foundation drain around a new house is much easier because the foundation is already exposed. Retrofitting an existing house can involve removing shrubs, decks, stairs, patios, fences, air-conditioning pads, and the mysterious concrete slab that every older home seems to have in exactly the wrong place. Plan for restoration before demolition begins. Otherwise, the drainage system may work beautifully while the yard looks like it hosted a very small monster truck rally.
Cleanouts are another detail that separates thoughtful installations from future headaches. Many older drains fail not because the original idea was bad, but because nobody can access the system for flushing or inspection. A cleanout at each major turn gives you a fighting chance against sediment and roots. Keep the cleanout caps visible or mapped. Burying them under mulch may look tidy today, but in three years you may be poking the ground with a screwdriver like a pirate searching for extremely boring treasure.
Finally, know when to stop DIY-ing. A shallow yard drain is manageable for many handy homeowners. A deep excavation beside a basement wall is a different animal. Trench collapse, undermined footings, damaged utilities, and improper discharge can create serious safety and legal problems. If the project requires digging to footing depth, working near an old foundation, connecting to municipal drainage, or solving chronic basement flooding, a drainage contractor, waterproofing specialist, structural engineer, or local building official can save money in the long run.
The best drainage systems are not the flashiest. They are simple, serviceable, code-aware, and boring in the best possible way. Water enters the gravel, finds the pipe, flows downhill, exits safely, and never becomes part of your basement décor. That is the dream: a dry foundation, a quiet sump pump, and no surprise indoor puddles wearing a fake mustache.
Conclusion
Installing a drainage system around the foundation of a house is one of the smartest upgrades you can make when water is threatening your basement, crawl space, or foundation soil. Start with grading and gutters, plan a safe outlet, use clean gravel and filter fabric, install perforated pipe with proper slope, and protect the system with cleanouts and regular maintenance.
For minor yard drainage, a DIY French drain may be realistic. For deep footing drains, structural concerns, old foundations, or persistent basement leaks, professional help is often worth it. Done correctly, a foundation drainage system keeps water moving where it belongs: away from your house, away from your walls, and far away from your weekend plans.














