
Note: This article is based on practical U.S. DIY plumbing guidance, manufacturer installation recommendations, and common bathtub waste-and-overflow best practices.
Installing a tub drain sounds like one of those jobs that should involve a licensed plumber, three mysterious wrenches, and someone named Earl saying, “Well, there’s your problem.” But in many cases, a careful homeowner can replace or install a bathtub drain with basic tools, a compatible drain kit, and enough patience not to argue with a rubber gasket.
A tub drain does more than make bathwater disappear. It connects the drain flange inside the tub to the drain shoe underneath, ties into the overflow assembly, and sends water toward the P-trap. If one part is loose, poorly sealed, crooked, or installed with the wrong sealant, water may leak under the tub, behind the wall, or into the ceiling below. That is not “vintage charm.” That is plumbing drama.
This guide explains how to install a tub drain in 10 steps, including tools, materials, sealing tips, common mistakes, and real-world lessons from the kind of bathroom project that always starts with “This should only take an hour.”
Before You Start: Know What You Are Installing
Most standard bathtubs use a waste-and-overflow assembly. The visible drain opening at the bottom of the tub connects to a drain shoe. The overflow opening near the top of the tub connects to an overflow elbow and faceplate. These two water paths meet at a waste tee and continue into the trap.
Some drains use a lift-and-turn stopper, toe-touch stopper, trip-lever stopper, pop-up stopper, push-pull stopper, or simple strainer. The installation process is similar, but the stopper mechanism may differ. Always match the new tub drain assembly to your bathtub type, pipe material, drain size, and access situation.
Tools and Materials You May Need
- New bathtub drain kit or waste-and-overflow assembly
- Tub drain wrench, drain key, or smart dumbbell wrench
- Screwdriver
- Adjustable pliers or channel-lock pliers
- Plumber’s putty or 100% silicone sealant, depending on tub material and manufacturer instructions
- Replacement overflow gasket
- Clean rags or paper towels
- Plastic putty knife
- Bucket or towel
- Flashlight
- Safety glasses and gloves
One important warning before you grab the putty: plumber’s putty is commonly used under metal drain flanges on porcelain, enamel, or fiberglass tubs, but many manufacturers recommend silicone instead for acrylic tubs and certain plastic drain components. When in doubt, follow the drain kit instructions. The tiny instruction sheet may look like it was folded by a squirrel, but it matters.
How to Install a Tub Drain in 10 Steps
Step 1: Inspect the Existing Tub Drain and Access Area
Start by figuring out what you are working with. Look at the drain stopper style, overflow plate, and any access panel behind or below the tub. In some bathrooms, you can reach the drain assembly from a closet wall, basement, crawl space, or removable panel. In others, the plumbing is hidden like buried treasure.
If you are replacing only the drain flange and stopper, you may not need full access below the tub. If you are replacing the entire tub drain assembly, including the overflow tube, drain shoe, tee, and tailpiece, access is much more important. Check for signs of previous leaks, corrosion, cracked pipes, loose fittings, moldy odors, or water stains.
Step 2: Remove the Old Stopper and Overflow Plate
Remove the stopper according to its design. A lift-and-turn stopper may have a set screw under the knob or cap. A toe-touch stopper may unscrew from the drain body. A trip-lever assembly is usually connected to linkage behind the overflow plate, so remove the overflow screws and gently pull the linkage out.
Do not yank the linkage like you are starting a lawn mower. Older brass parts can bend, break, or get stuck. Place screws and small parts in a container so they do not roll into the drain, because gravity loves comedy.
Step 3: Unscrew and Remove the Old Drain Flange
Insert a tub drain wrench or drain key into the drain opening and turn counterclockwise. If the flange is old, it may resist because the plumber’s putty has hardened or the threads are corroded. Gentle heat from a hair dryer can help soften old putty. Avoid overheating the tub surface, especially with acrylic or fiberglass.
If the crossbars inside the drain are broken, you may need an expanding drain key or extractor. Work slowly. Damaging the tub opening or drain shoe can turn a simple bathtub drain replacement into a much larger project.
Step 4: Clean the Drain Opening Thoroughly
Once the old flange is out, clean the drain opening. Remove old plumber’s putty, silicone, mineral buildup, rust flakes, and soap residue. A plastic putty knife helps scrape without scratching the tub. Wipe the area dry with a clean rag.
This step is not glamorous, but it is the difference between a watertight seal and a slow leak that waits until you are on vacation to introduce itself. The drain flange needs a clean, smooth surface to seal properly.
Step 5: Dry-Fit the New Tub Drain Assembly
Before applying sealant, dry-fit the new parts. Thread the new drain flange into the drain shoe by hand. Check that the overflow elbow lines up with the overflow opening and that the waste tee connects cleanly to the drain shoe and overflow tube. Make sure slip nuts, washers, gaskets, and compression fittings are facing the correct direction.
Dry-fitting prevents a classic DIY mistake: applying putty, tightening halfway, discovering something is backward, then inventing new vocabulary. If the tailpiece must be trimmed, measure carefully and remove burrs after cutting so the pipe seats properly.
Step 6: Apply Plumber’s Putty or Silicone Under the Drain Flange
Roll plumber’s putty into a rope about the thickness of a pencil and press it evenly under the lip of the drain flange. The goal is a continuous ring with no gaps. If your tub or drain kit calls for silicone instead, apply a neat bead under the flange according to the manufacturer’s directions.
Do not put plumber’s putty on the rubber gasket underneath the tub. The gasket belongs between the drain shoe and the underside of the tub. The putty or silicone seals the visible flange against the inside surface of the tub. The gasket seals from below. They are teammates, not substitutes.
Step 7: Install and Tighten the Drain Flange
Place the drain flange into the tub drain opening and thread it into the drain shoe. Turn it by hand first to avoid cross-threading. Once it catches smoothly, tighten it with a tub drain wrench. The flange should sit flat and snug against the tub surface.
As you tighten, excess putty should squeeze out evenly around the flange. That is normal. Wipe it away with a rag or plastic scraper. If the flange tilts, backs out, or refuses to tighten, stop and inspect the alignment below the tub. Forcing misaligned threads can damage the drain shoe.
Step 8: Install the Overflow Gasket and Faceplate
Install the overflow gasket between the overflow elbow and the outside wall of the tub. Many overflow gaskets are tapered; the thicker portion often goes at the bottom because the tub wall curves away from the overflow pipe. However, designs vary, so follow the kit instructions.
Hold the overflow elbow in position and attach the faceplate from inside the tub. Tighten the screws evenly. Do not overtighten. The faceplate should compress the gasket enough to seal, but not so much that it distorts or splits. If your drain has a trip-lever or pop-up linkage, install and adjust it now so the stopper opens and closes correctly.
Step 9: Connect the Drain Shoe, Overflow Tube, Tee, and Trap
Under or behind the tub, assemble the drain shoe, overflow tube, waste tee, and tailpiece. Slip-joint connections usually use a nut and washer. Make sure each washer faces the correct direction, with the tapered side seated into the fitting. Hand-tighten first, then use pliers for a small additional turn if needed.
More force is not always better. Overtightening plastic slip nuts can crack them. Overtightening metal fittings can deform washers. A secure, aligned connection beats a gorilla-grip connection every time.
Step 10: Test for Leaks Like You Mean It
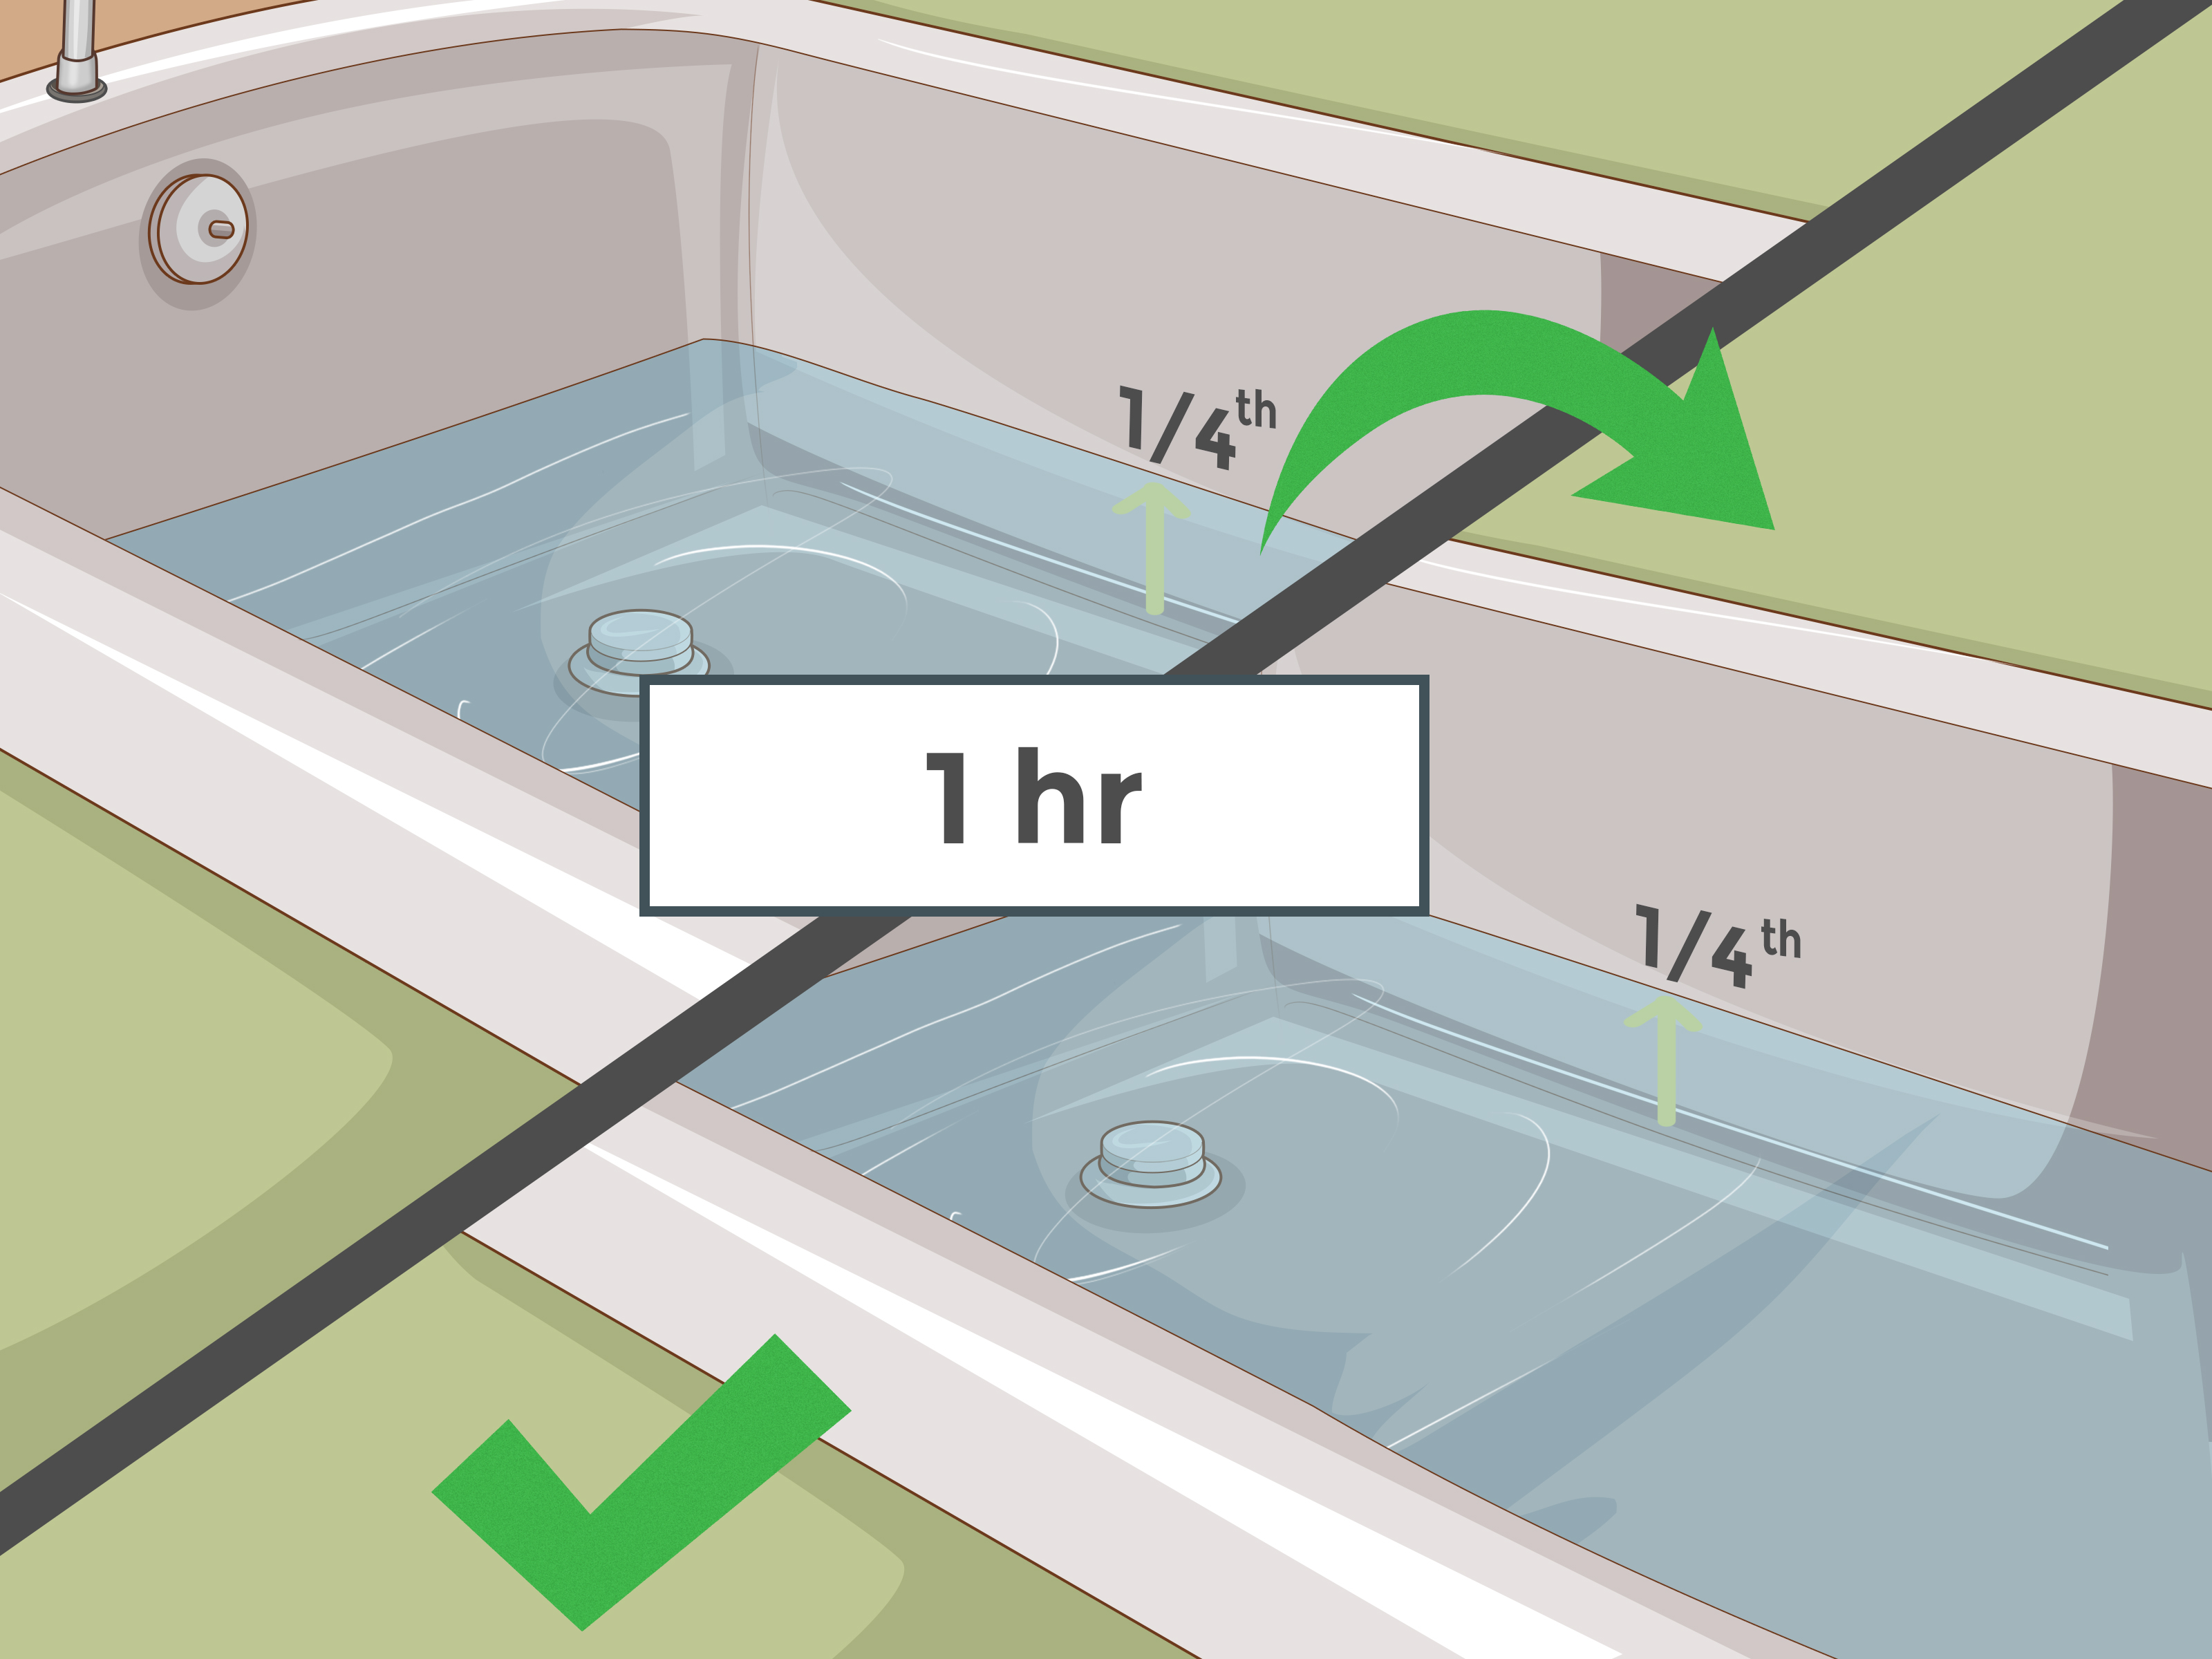
Testing is where many DIYers get impatient. Do not simply run water for five seconds and declare victory. First, run water directly into the drain while watching the connections below or behind the tub. Then close the stopper and fill the tub with several inches of water. Let it sit, then release the water and inspect again.
Next, test the overflow by filling the tub high enough for water to enter the overflow opening. Watch carefully for drips around the overflow gasket, tee, and trap connection. Use a dry paper towel around fittings to detect moisture. A tiny leak now can become a ceiling stain later, and ceiling stains are the bathroom’s way of sending hate mail.
Common Mistakes to Avoid
Using the Wrong Sealant
Plumber’s putty is useful because it stays soft and seals well under many drain flanges, but it is not right for every material. Acrylic tubs and some plastic drain parts may require silicone. Always check the tub and drain kit instructions before sealing.
Forgetting the Overflow Gasket
A worn or missing overflow gasket is a sneaky leak source. Water may only escape when the Water may only escape when the tub is filled high, so the problem can hide for months. If you are installing a tub drain, replace the overflow gasket while everything is open.
Cross-Threading the Drain Flange
The drain flange should start by hand. If it feels rough immediately, back it out and try again. Cross-threading can ruin the drain shoe and create a poor seal.
Skipping the Full Water Test
Drain leaks are not always obvious with a quick rinse. Test the stopper, drain flow, overflow, and all visible connections. A careful test is cheaper than drywall repair.
How to Choose the Right Tub Drain Kit
Choose a kit that matches your tub style, pipe material, finish, stopper preference, and installation access. Chrome is common, brushed nickel is popular, matte black is fashionable, and oil-rubbed bronze is for people who enjoy making every bathroom decision sound like a medieval candle shop.
Look for a drain kit that includes the drain flange, stopper, overflow plate, overflow gasket, drain shoe, tee, tailpiece, slip nuts, and washers if you are replacing the full assembly. If you are only updating trim, a universal trim kit may be enough. Measure before buying, especially on older tubs.
When to Call a Plumber
Installing a tub drain can be a DIY project, but some situations deserve professional help. Call a plumber if the drain pipes are badly corroded, the tub is cast iron and difficult to access, the trap must be relocated, the floor or wall must be opened, local code requires specific materials, or you find active water damage.
You should also call a pro if the new drain will not align with the existing plumbing. Drain alignment is not a “close enough” situation. Pipes under stress can leak later, and leaks under tubs are experts at staying hidden until they become expensive.
Maintenance Tips After Installation
Once your new bathtub drain is installed, keep it clean and functional. Use a hair catcher to reduce clogs. Avoid relying on harsh chemical drain cleaners, which can damage some pipes and finishes. Clean the stopper regularly, especially if it collects hair and soap scum. Check the overflow plate screws occasionally to ensure they remain snug.
If the tub begins draining slowly, remove the stopper and clean the opening before assuming the whole drain has failed. Many “broken drain” problems are really hair, soap buildup, or a stopper adjusted too low.
Real-World Experience: What Installing a Tub Drain Teaches You
The first thing you learn while installing a tub drain is that bathroom plumbing was apparently designed by someone with very small hands and a strong belief in inconvenience. Even when the job is simple on paper, the working space can be tight, the lighting can be poor, and the old drain may cling to the tub as if it has emotional attachment issues.
One practical lesson is to spend more time preparing than turning wrenches. Lay out every part of the new tub drain assembly before removing the old one. Compare the old drain shoe, overflow tube, gasket shape, and stopper style to the new kit. Many homeowners discover halfway through the job that their new drain is technically “universal,” which in plumbing language sometimes means “universally close, but not quite.”
Another experience-based tip is to photograph everything before disassembly. Take pictures of the overflow plate, stopper linkage, pipe connections, gasket positions, and trap alignment. These photos become your personal instruction manual when the printed instructions show a diagram that looks like it was drawn during an earthquake.
The drain flange is another place where experience matters. Old flanges can be stubborn. If the drain does not move, do not immediately attack it with maximum force. First, clean the area, apply gentle heat if appropriate, and use the correct drain removal tool. Breaking the crossbars inside the drain can make removal harder, not easier. Patience is cheaper than replacement plumbing.
Sealing also teaches humility. Too little plumber’s putty can leave gaps. Too much is messy but usually manageable. Uneven putty is the real troublemaker. A smooth, continuous rope under the drain flange creates even compression when tightened. If silicone is required, apply it neatly and avoid smearing it across the tub like cake frosting. This is a drain, not a birthday party.
Overflow gaskets deserve more respect than they get. Many bathtub leaks blamed on the bottom drain actually come from the overflow. The gasket may be old, compressed, cracked, or installed backward. Because overflow leaks usually appear only when the tub is filled high, people often miss them during quick testing. A proper overflow test is essential: fill the tub until water enters the overflow, then inspect behind or below the tub with a flashlight.
Access is the biggest difference between an easy tub drain installation and a weekend saga. If there is an access panel, the project feels civilized. If there is no access panel, you may need to work mostly from above or consider opening a wall. In older homes, adding an access panel can be a smart upgrade, especially if the bathroom has a history of drain problems.
Finally, the best habit is to test in stages. Run a little water. Check. Fill the tub. Check. Drain the tub. Check. Test the overflow. Check again. Use dry paper towels around fittings because they reveal small drips faster than your eyes will. If everything stays dry, celebrate responsibly. Maybe not with a full bubble bath immediately, but at least with the quiet satisfaction of knowing your tub drain is installed, sealed, and no longer plotting against your subfloor.
Conclusion
Learning how to install a tub drain is really about understanding alignment, sealing, and patience. The visible drain flange may look like the star of the show, but the supporting cast matters just as much: the drain shoe, overflow gasket, tee, tailpiece, washers, and trap all need to work together.
Follow the 10 steps carefully: inspect the setup, remove the old stopper, unscrew the drain flange, clean the opening, dry-fit the assembly, apply the correct sealant, tighten the flange, install the overflow, connect the pipes, and test thoroughly. Do that, and your bathtub can drain properly without leaking into places water should never visit.
Good plumbing is not magic. It is clean surfaces, correct parts, snug fittings, smart testing, and the wisdom to stop before “just one more turn” becomes “why is this cracked?” With the right approach, installing a tub drain is a manageable DIY project that can refresh your bathroom, prevent leaks, and give you bragging rights every time someone takes a bath.
{ "meta_title": "How to Install a Tub Drain in 10 Easy Steps", "meta_description": "Learn how to install a tub drain step by step with tools, sealing tips, leak testing advice, and common DIY mistakes to avoid.", "sapo": "Installing a tub drain does not have to feel like wrestling an octopus under your bathtub. This guide breaks the project into 10 clear steps, from removing the old drain and cleaning the opening to sealing the flange, fitting the overflow gasket, connecting the drain assembly, and testing for leaks. You will learn which tools to use, when plumber’s putty or silicone makes sense, how to avoid cross-threading, and why the overflow gasket deserves more attention than it usually gets. Whether you are replacing a worn-out bathtub drain or installing a new waste-and-overflow assembly, this practical guide helps you work cleaner, smarter, and with fewer surprise puddles.", "keywords": [ "how to install a tub drain", "bathtub drain installation", "tub drain replacement", "bathtub drain assembly", "plumber's putty for tub drain", "overflow gasket installation", "bathroom plumbing DIY" ]}/pre> 













