
A resin confetti tray is what happens when a practical home accessory gets invited to a birthday party and refuses to leave. It is glossy, colorful, customizable, and surprisingly beginner-friendly when you follow the right steps. Whether you want a cheerful coffee table catchall, a handmade gift, a party-serving tray, or a desk organizer that makes paper clips look emotionally supported, this DIY resin tray project delivers big personality without requiring a professional workshop.
The idea is simple: place colorful confetti or tiny paper pieces inside a tray, pour a clear two-part epoxy resin over the top, let it cure, and enjoy a smooth, glass-like finish. The details, however, matter. Resin rewards patience, careful measuring, a level surface, good ventilation, and a tiny bit of bubble management. It also punishes rushing, guessing, and saying, “Eh, that looks equal enough,” while pouring hardener at 11 p.m. Learn from the craft universe: resin is not pancake batter.
This guide explains how to make a resin confetti tray DIY from start to finish, including materials, safety tips, step-by-step instructions, design ideas, troubleshooting, and real-world maker experience. The result is a tray that looks boutique-worthy but still says, “Yes, I made this, and yes, I am now emotionally attached to it.”
What Is a Resin Confetti Tray?
A resin confetti tray is a decorative tray with confetti sealed under a layer of clear epoxy resin. The tray may be wood, acrylic, lacquered, ceramic, or metal, as long as the inside is sealed and has raised edges that can hold the resin. The confetti can be paper, metallic foil, tissue paper, cardstock, biodegradable paper shapes, tiny sequins, or themed party pieces.
The clear resin acts like a glossy protective coating. Once cured, it creates depth, shine, and a smooth surface that traps the confetti in place. The tray can be used as a coffee table accent, jewelry holder, perfume tray, office organizer, entryway catchall, or party display. If you plan to use it near food, use plates, napkins, cups, or wrapped snacks rather than placing food directly on the resin unless your specific resin is certified for food contact after full curing.
Why This DIY Resin Tray Is a Great Beginner Project
Many resin projects require molds, pigments, multiple pours, sanding, doming, or complicated color effects. A confetti tray is more forgiving because the tray itself provides structure. You do not need to demold anything, and you do not have to create a perfect ocean wave, galaxy swirl, or faux marble effect on the first try. The confetti does the visual heavy lifting while the resin brings the shine.
This project also lets you personalize almost every detail. Use rainbow confetti for a party look, metallic gold for a glam bar cart tray, pastel circles for a nursery dresser, black-and-white pieces for modern decor, school colors for a graduation gift, or red, white, and blue confetti for a summer celebration. The tray can be playful, elegant, minimalist, chaotic, or somewhere between “design magazine” and “my craft drawer exploded beautifully.”
Materials You Will Need
Basic Supplies
- One tray with raised edges, preferably sealed wood, acrylic, lacquered, metal, or ceramic
- Two-part clear epoxy resin and hardener
- Confetti, cardstock pieces, tissue paper shapes, sequins, or foil accents
- Disposable measuring cups with marked lines
- Wooden stir sticks or silicone mixing tools
- Nitrile gloves
- Protective eyewear
- Plastic table cover, silicone mat, or wax paper to protect the workspace
- Small craft knife, tweezers, or toothpicks for adjusting floating pieces
- Level tool
- Dust cover, such as a cardboard box or plastic storage bin
Optional Supplies
- Heat gun for removing bubbles
- Small butane torch, used only if allowed by your resin instructions and never near flammable materials
- Clear-drying craft glue or decoupage medium for sealing paper confetti
- Painter’s tape for protecting tray edges
- Fine-grit sandpaper for fixing rough spots between layers
- Decorative handles or drawer pulls if you are upgrading a plain frame or tray
Safety First: Resin Is Fun, But It Is Still Chemistry
Before you open the bottles, read the instructions and Safety Data Sheet for the exact resin you purchased. Different brands have different mixing ratios, cure times, ventilation requirements, and safety recommendations. Some craft resins are low odor, while others require stronger protective gear.
Always work in a well-ventilated area. Open windows if possible, use airflow to move fumes away from your face, and avoid working in a tiny closed room. Wear nitrile gloves because uncured resin can irritate skin and is extremely sticky. Protective eyewear is smart because splashes are rare but unpleasant. If your workspace has poor ventilation, or if your resin instructions recommend it, use a properly rated respirator.
Keep resin away from children, pets, food preparation surfaces, and anything you do not want permanently glossy. If you are a teen crafter, ask an adult to help with mixing, pouring, ventilation setup, and any heat tool. Resin is creative, but it is not a casual slime activity. Treat it like a craft with grown-up rules and a very shiny personality.
Step-by-Step Instructions for Making a Resin Confetti Tray
Step 1: Choose the Right Tray
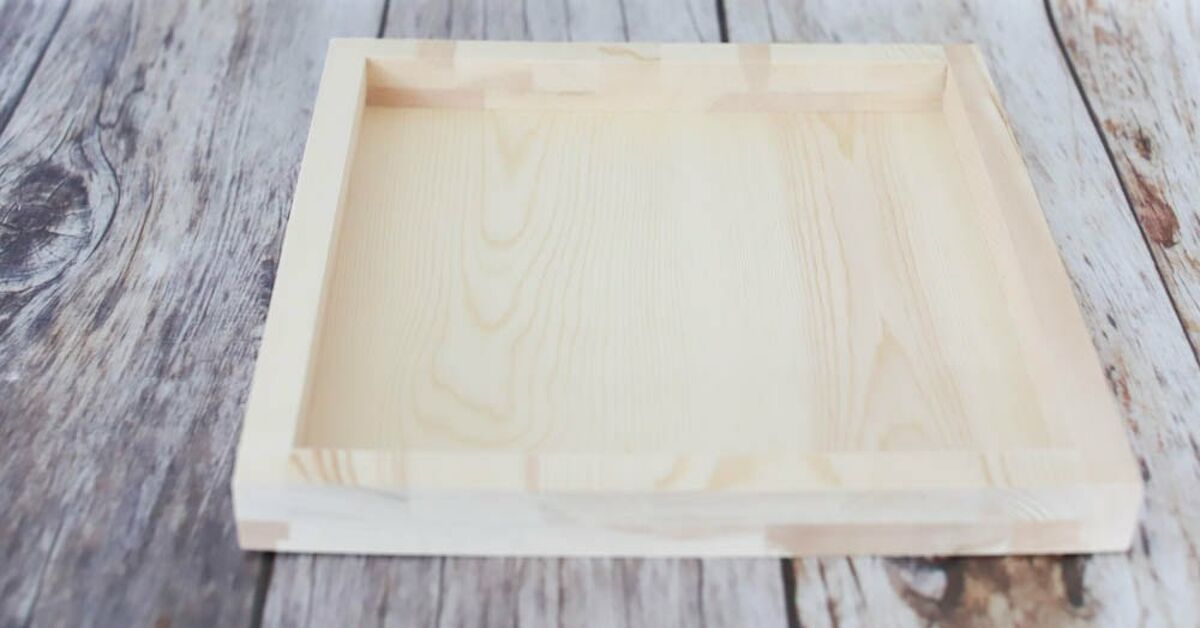
Pick a tray with sides high enough to hold a thin layer of resin. The inside bottom should be flat, sealed, and free of cracks. A white tray makes bright confetti pop, while a black tray creates a dramatic modern contrast. Clear acrylic trays can look especially fun because the confetti appears to float.
Avoid trays with gaps, unsealed seams, or raw porous wood unless you seal them first. Resin can leak through tiny spaces with the enthusiasm of a toddler finding markers. If you are unsure, pour a small amount of water into the tray and let it sit for a few minutes. Dry it completely afterward. If water leaks, resin will definitely try to escape.
Step 2: Clean and Level the Surface
Wipe the tray with a lint-free cloth to remove dust, crumbs, pet hair, glitter from 2019, or any mysterious craft-room debris. If the tray has oils or fingerprints, clean it with a method safe for that material and let it dry completely.
Place the tray on a protected table and use a level to check that it sits evenly. Resin is self-leveling, which is wonderful when your surface is level and rude when it is not. If one corner is lower, resin will drift there and create an uneven finish. Use folded cardboard, craft sticks, or small shims under the tray to correct the angle before pouring.
Step 3: Plan Your Confetti Design
Spread the confetti inside the tray before mixing resin. This is your chance to decide whether you want a sparse sprinkle, a full mosaic, a color gradient, a border, initials, stripes, or a wild “party cannon at brunch” effect. For a cleaner look, keep pieces in a single layer. For a chunky party style, overlap some pieces, but remember that stacked paper can trap air and may create more bubbles.
Paper confetti may darken or bleed slightly when wet with resin. Test a few pieces first by brushing them with clear glue or a drop of mixed resin. If the color runs, seal the confetti with a thin coat of clear-drying craft glue or decoupage medium and let it dry before using it in the tray.
Step 4: Protect the Edges
If your tray has beautiful painted sides or handles, apply painter’s tape around the top edge or outer areas where drips might happen. Resin has a talent for finding places you did not invite it. Taping saves cleanup time and protects the finished look.
If you are adding handles to a wooden frame or tray, attach them before the resin pour. Measure carefully, drill pilot holes if needed, and make sure the screws do not poke through the bottom of the tray. Handles make the project feel polished, but they should be secure before the resin goes in.
Step 5: Calculate How Much Resin You Need
For a shallow tray coating, you usually need enough resin to cover the bottom and slightly submerge the confetti. Many resin kits include coverage charts. Follow the manufacturer’s guide whenever available. If you are estimating, measure the tray’s interior length and width, then decide how deep the resin layer should be. A thin layer often works best for a decorative confetti tray.
Mixing too little resin is annoying because you may need to make a second batch while the first starts settling. Mixing far too much wastes money and creates a hot, fast-curing cup of regret. When in doubt, make a modest batch and prepare your supplies so you can mix a second small amount if necessary.
Step 6: Measure Resin and Hardener Exactly
Put on gloves and read the ratio on your resin kit. Some craft epoxies use a 1:1 ratio by volume, while others use different ratios by volume or weight. Do not assume. Pour resin and hardener into separate measuring cups if that helps you confirm accuracy, then combine them into a clean mixing cup.
Accurate measuring is one of the biggest secrets to a hard, clear finish. Too much resin or too much hardener can leave the surface soft, sticky, cloudy, or uneven. Resin does not appreciate freestyle math.
Step 7: Mix Slowly and Thoroughly
Stir the resin and hardener slowly for the full time recommended by the manufacturer, often two to five minutes. Scrape the sides and bottom of the cup as you mix. The goal is a fully blended mixture without whipping in extra bubbles.
A helpful method is the two-cup mix. Stir in the first cup, then pour the mixture into a second clean cup and stir again with a fresh stick. This reduces the chance of unmixed resin clinging to the cup walls and ending up in your tray. It is a tiny extra step that can save the whole project.
Step 8: Pour the Resin Over the Confetti
Pour the resin slowly into the tray, starting near the center and letting it spread outward. Use a stir stick to guide resin toward the corners. Do not dump it all at once like gravy on mashed potatoes. Slow pouring gives you more control and helps reduce trapped air.
As the resin spreads, some confetti pieces may float or shift. Use tweezers, a toothpick, or a plastic craft knife to nudge them back into position. Work calmly. Resin gives you a limited working time, but panic is not a tool.
Step 9: Remove Bubbles Carefully
Small bubbles are normal. Let the tray sit for a few minutes so bubbles can rise to the surface, then use a heat gun briefly and gently if your resin instructions allow it. Keep the heat moving and do not overheat one spot. Too much heat can scorch resin, wrinkle paper, or push confetti around.
If you are using flammable embellishments, alcohol inks, or delicate tissue confetti, avoid open flame. A toothpick can pop stubborn bubbles near confetti pieces. You can also breathe gently through a straw from a safe distance, but avoid getting too close to uncured resin.
Step 10: Cover and Cure
Place a dust cover over the tray. A cardboard box, clean plastic bin, or cake carrier can protect the surface from dust while allowing enough space so nothing touches the resin. Leave the tray undisturbed for the cure time listed on your resin package. Many projects need at least 24 to 48 hours before handling, and some resins need several days to reach a full cure.
Temperature and humidity can affect curing. Resin generally behaves best in a warm, dry room within the temperature range recommended by the manufacturer. If the room is too cold, curing may slow down and the finish may remain tacky longer.
Step 11: Inspect the Finish
Once cured, check the surface. If it is smooth and hard, remove any painter’s tape and enjoy your tray. If you see a few rough spots, bubbles, or shallow areas, you can lightly sand the surface with fine-grit sandpaper, wipe away dust, and pour a thin clear topcoat. A second clear layer can also add depth and make the confetti look suspended under glass.
Design Ideas for a Custom Resin Confetti Tray
Rainbow Party Tray
Use multicolor paper circles, stars, and rectangles on a white tray. This is perfect for birthdays, craft rooms, playrooms, and anyone whose decorating style can be described as “joy with handles.”
Gold and White Celebration Tray
Combine white, cream, gold foil, and pearl confetti. This design works beautifully for weddings, New Year’s Eve, bridal showers, or vanity trays.
School Spirit Tray
Use two or three school colors and add letter stickers sealed under resin. It makes a thoughtful graduation gift or dorm room catchall.
Minimalist Speckled Tray
Use tiny black, white, and neutral pieces on a clear or beige tray. The finished look resembles modern terrazzo, but with less tile cutting and fewer emotional negotiations with grout.
Holiday Confetti Tray
Try red and pink hearts for Valentine’s Day, pastel eggs for spring, orange and black for Halloween, or metallic snowflakes for winter. Make sure any seasonal pieces are flat enough to sit under the resin layer.
Common Mistakes and How to Avoid Them
| Mistake | What Happens | How to Fix or Prevent It |
|---|---|---|
| Guessing the resin ratio | Sticky or soft resin | Measure exactly according to the package directions. |
| Mixing too quickly | Extra bubbles | Stir slowly and scrape the cup thoroughly. |
| Using unsealed paper | Color bleeding or darkening | Test first and seal paper confetti if needed. |
| Pouring on an uneven table | Resin pools to one side | Level the tray before mixing resin. |
| Leaving the tray uncovered | Dust and hair in the finish | Cover with a clean box or bin while curing. |
| Handling too soon | Fingerprints or dents | Wait until the resin is fully cured. |
How to Care for Your Finished Resin Confetti Tray
Clean the tray with a soft damp cloth. Avoid abrasive scrubbers, harsh solvents, dishwashers, and long soaking. Resin is durable, but it is not invincible. Do not place very hot pans, mugs, or candles directly on the surface unless your resin specifically states it can handle that heat level.
Use the tray indoors or in shaded spaces. Prolonged direct sunlight may cause some resins or paper confetti to yellow or fade over time. If you want the tray to last, treat it like a decorative piece, not a cutting board, outdoor table, or emergency coaster for lava-temperature coffee.
Can You Use Real Party Confetti?
Yes, but test it first. Some party confetti is made from tissue paper, foil, plastic film, or printed paper. Tissue paper may become translucent. Printed paper may bleed. Metallic pieces may float. Plastic pieces may curl. A quick test with a few pieces and a spoonful of resin can prevent surprises.
Cardstock confetti is often easier to control because it stays flatter and holds color better. If you want a layered look, combine cardstock with a few metallic accents rather than using only lightweight foil. Flat pieces usually produce the smoothest finish.
Can You Make This Project Without Resin?
You can make a confetti tray with decoupage medium or clear varnish, but it will not have the same thick, glass-like depth as epoxy resin. Decoupage is easier, cheaper, and less chemical-heavy, but it usually creates a thinner protective layer. Resin is best when you want a glossy, durable, high-end finish that makes the confetti look sealed under glass.
Maker Experience Notes: What Beginners Learn From This DIY Resin Confetti Tray
The first thing most beginners learn is that resin projects are won before the pour. The actual pouring part feels dramatic, but preparation decides the outcome. When the tray is clean, level, sealed, and protected, the resin has a much better chance of curing beautifully. When the workspace is cluttered, the cup is sticky, the cat is curious, and the confetti is still in the bag, things become a tiny craft circus.
Another common experience is realizing that less confetti can look better than more confetti. It is tempting to cover every inch of the tray with color, especially when the confetti bag is sitting there like a cheerful dare. But resin adds shine and depth, so even a medium sprinkle can look full once it is sealed. If the pieces overlap too much, colors may blend, bubbles can hide underneath, and the surface may need more resin than expected. A balanced layout often looks cleaner and more expensive.
Beginners also learn to respect the mixing stage. The cup may look clear after thirty seconds, but resin and hardener need thorough blending. Scraping the sides and bottom of the cup is not optional decoration; it is the difference between a cured surface and a sticky mystery patch. Many crafters use a timer because resin mixing time feels longer than it is. Two or three minutes of slow stirring can feel like a full documentary, but it pays off.
Bubbles are another rite of passage. A few tiny bubbles do not ruin a handmade tray, but large trapped bubbles can distract from the design. The best approach is prevention: stir slowly, pour slowly, avoid burying air under stacks of confetti, and let the resin rest briefly before using heat. Heat tools should be used gently. Beginners often think more heat equals fewer bubbles, but too much heat can create new problems, including ripples, scorched spots, or confetti that starts traveling around the tray like it booked a vacation.
Patience during curing may be the hardest part. The tray will look finished long before it is ready to touch. Resist the urge to poke it. A fingerprint in half-cured resin is not a design feature, even if you try to call it “organic texture.” Let the resin cure according to the package instructions, then give it extra time if the room is cool or humid.
The best experience, though, is the reveal. Once cured, the tray feels smooth, bright, and personal. It turns ordinary confetti into a permanent little celebration. That is the charm of this project: it captures the energy of a party without requiring you to vacuum confetti out of the couch for the next three weeks. It is practical enough to use every day and cheerful enough to make a plain table look like it has weekend plans.
Final Thoughts
Making a DIY resin confetti tray is a satisfying project because it combines simple materials with a polished result. You do not need advanced resin skills, expensive equipment, or a studio full of supplies. You need a good tray, accurate measuring, a safe workspace, colorful confetti, and enough patience to let the resin cure without poking it every ten minutes.
The finished tray can be playful, elegant, seasonal, modern, or completely over-the-top. Use it for jewelry, candles, keys, coffee table styling, wrapped treats, desk supplies, or party decor. More importantly, use it as proof that beginner resin crafts can look impressive when you slow down and follow the process.
If your first tray is not perfect, do not panic. Handmade projects have personality. A tiny bubble or slightly shifted confetti piece is not failure; it is evidence that a real person made something shiny instead of buying another beige object from a shelf. And honestly, the world has enough beige objects.










