
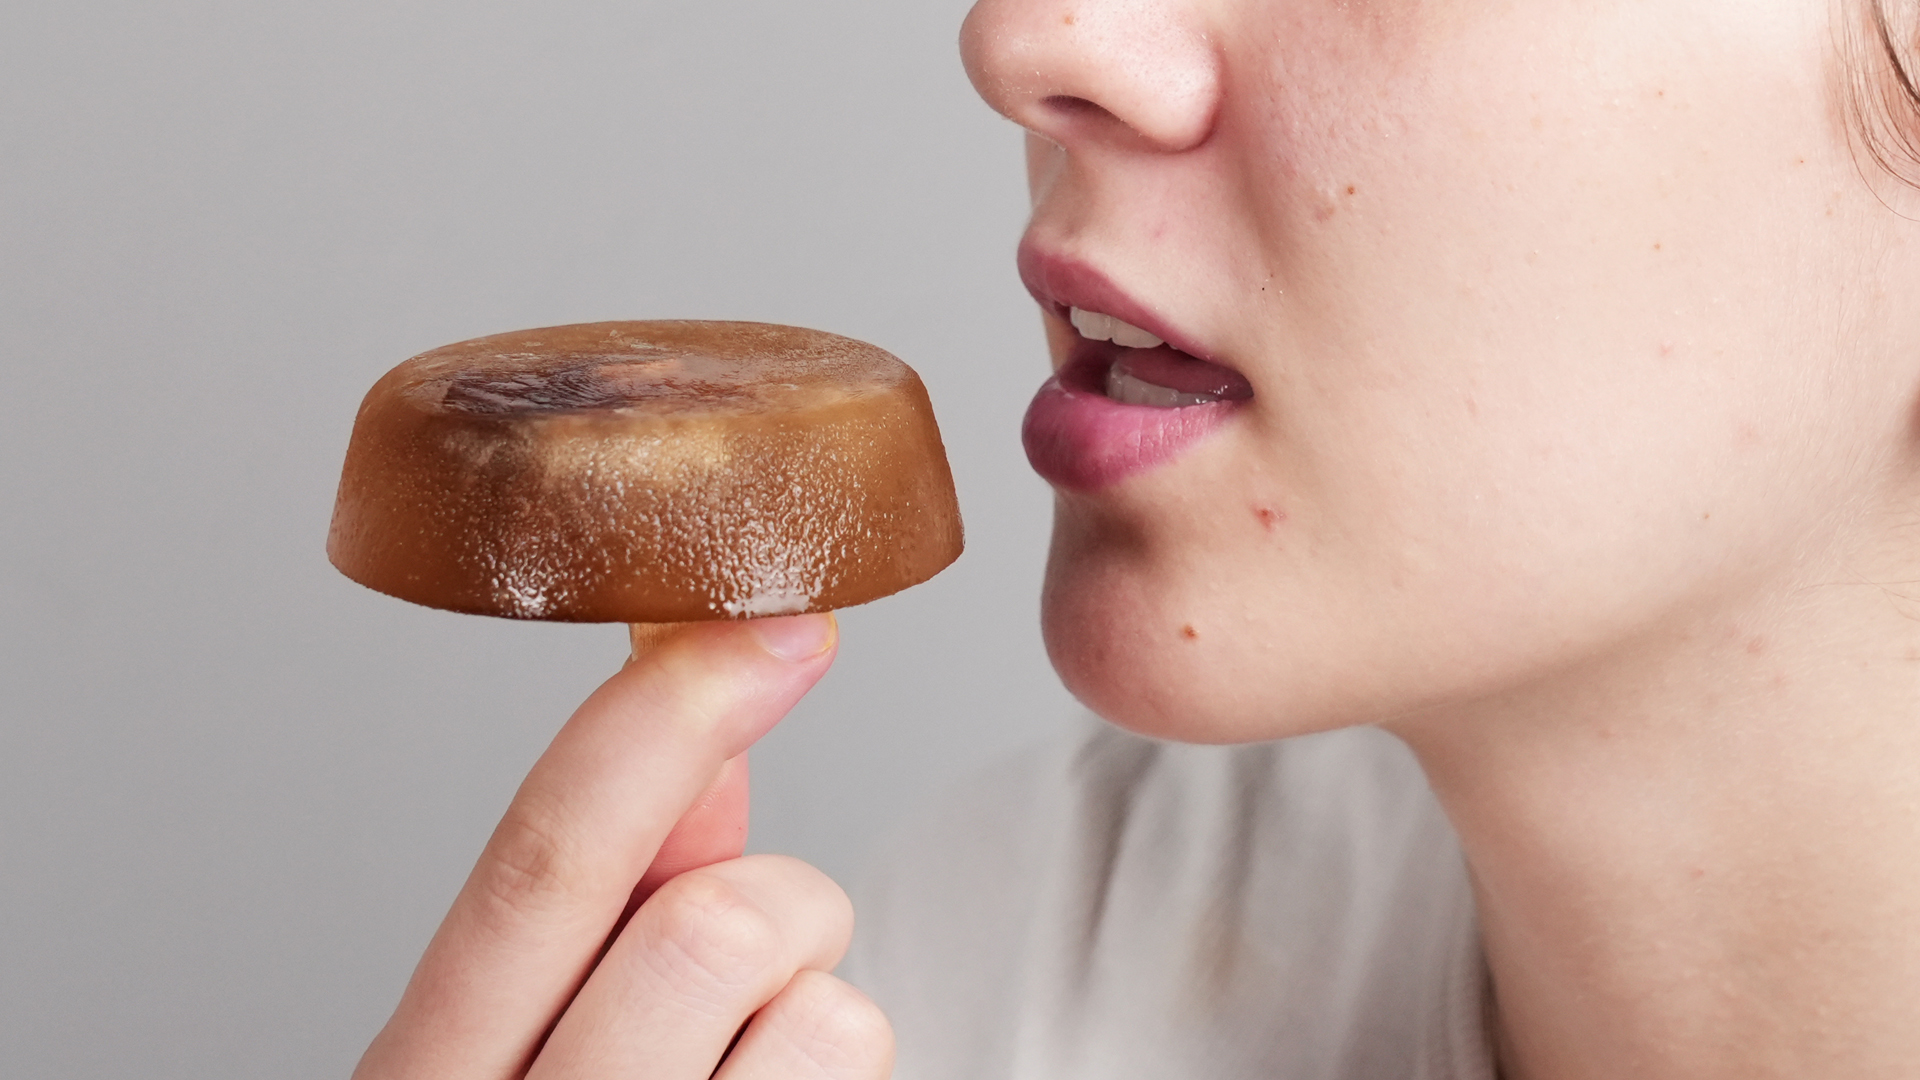
Cola popsicles are the kind of frozen treat that make summer feel like it has its own soundtrack: fizz, freezer door, happy silence. They are simple, nostalgic, inexpensive, and just dramatic enough to make a regular afternoon feel like a backyard party. The best part? You do not need a culinary degree, a fancy ice cream machine, or a kitchen that looks like a cooking-show set. You need cola, popsicle molds, a little patience, and the courage to not drink the mixture before it freezes.
This guide explains how to make cola popsicles in nine clear steps, with smart tips for texture, flavor, sweetness, storage, and serving. While the recipe is easy, small choices matter. Letting soda go slightly flat can reduce icy bubbles. Adding a splash of citrus can brighten the flavor. Using the right molds helps the pops release cleanly. And freezing long enough prevents the classic tragedy of pulling out a popsicle stick attached to nothing but your broken dreams.
Whether you call them cola freezer pops, soda popsicles, Coke popsicles, Pepsi popsicles, or homemade ice pops, the method is wonderfully flexible. Use regular cola for the classic sweet taste, caffeine-free cola for a kid-friendlier option, or zero-sugar cola if you prefer a lighter version. You can keep the recipe plain or add cherries, lime, vanilla, or a swirl of sweetened condensed milk for a cola-float effect.
Why Cola Popsicles Work So Well
Cola already contains several elements that make it a fun frozen dessert base: sweetness, acidity, caramel notes, and bubbles. When frozen, that familiar soda flavor becomes cooler, sharper, and more refreshing. The only catch is texture. Soda is mostly water, so if you freeze it straight from the can, it can become hard and icy. That is not a disaster, but a few simple tricks can make the result smoother and more enjoyable.
Sugar helps homemade popsicles freeze with a less rock-hard texture. Citrus juice adds brightness. A tiny pinch of salt can make the cola flavor taste more rounded. And if you want a creamier result, adding a small amount of dairy or coconut milk turns the treat into something closer to a cola float on a stick. In other words, cola popsicles are easy enough for beginners but customizable enough for people who enjoy “testing batches,” also known as eating snacks for science.
Ingredients for Homemade Cola Popsicles
This basic recipe makes about 8 popsicles, depending on the size of your molds.
- 2 1/2 cups cola, regular or caffeine-free
- 1 tablespoon fresh lime juice or lemon juice
- 1 to 2 tablespoons simple syrup, optional, for a softer and sweeter pop
- 1/8 teaspoon vanilla extract, optional
- Pinch of salt, optional
- Maraschino cherries, fresh cherries, or lime slices, optional
Optional Simple Syrup
To make quick simple syrup, combine 2 tablespoons sugar with 2 tablespoons hot water. Stir until dissolved, then cool before adding it to the cola. You do not have to use simple syrup, especially if your cola is already sweet enough, but it can help reduce the “solid ice cube” texture.
Equipment You Need
- Popsicle molds or small paper cups
- Wooden popsicle sticks, if your mold does not include handles
- Liquid measuring cup with a spout
- Spoon or small whisk
- Freezer-safe tray, optional but helpful
If you do not own popsicle molds, do not panic. Small paper cups work beautifully. Fill them with the cola mixture, cover the tops with foil, poke a stick through the center, and freeze. Congratulations: you have defeated the mold industry with stationery supplies.
How to Make Cola Popsicles: 9 Steps
Step 1: Choose the Right Cola
Start with a cola you actually enjoy drinking. Freezing does not magically turn a boring soda into a gourmet dessert. Regular cola gives the most classic flavor and usually the best texture because sugar helps soften the ice. Caffeine-free cola is a smart choice if you are serving these later in the day or sharing with younger family members. Zero-sugar cola can work too, but it may freeze harder because it does not contain the same sugar structure as regular soda.
If you want a deeper flavor, try a Mexican-style cola made with cane sugar, a craft cola, or a cherry cola. For a lighter pop, use half cola and half sparkling water, but remember that less sugar usually means a harder freeze.
Step 2: Let the Cola Go Slightly Flat
Pour the cola into a large measuring cup and let it sit for 10 to 20 minutes. This gives some carbonation time to calm down. You do not need the soda to become completely flat, but reducing the bubbles helps prevent foaming in the molds and can create a cleaner frozen texture.
Freshly opened soda can expand and fizz as you pour it, which sometimes leaves awkward gaps in the mold. Slightly flat cola behaves better. Think of it as sending the soda to a brief meditation retreat before its freezer transformation.
Step 3: Add Flavor Boosters
Stir in the lime juice or lemon juice. This small amount makes a big difference because freezing dulls sweetness and flavor. Citrus wakes everything up and keeps the popsicles from tasting flat. If you like vanilla cola, add a tiny splash of vanilla extract. A pinch of salt may sound strange, but it can make the caramel flavor in cola taste fuller.
At this stage, taste the mixture. It should taste slightly stronger and sweeter than a drink you would normally sip. Frozen foods taste less intense than room-temperature foods, so a bold mixture becomes a balanced popsicle.
Step 4: Adjust the Sweetness
If the mixture tastes sharp or thin, stir in 1 tablespoon of simple syrup. Taste again, then add a second tablespoon only if needed. Do not go wild with extra sugar unless you want a popsicle that behaves like a sticky syrup statue. The goal is balance: sweet enough to taste like a treat, not so sweet that your freezer files a complaint.
For a fruitier version, you can use cherry syrup or grenadine instead of simple syrup. Add just a teaspoon or two at first, then taste. These syrups can quickly take over the flavor.
Step 5: Add Fruit or Fun Mix-Ins
Drop one cherry, a thin lime slice, or a few small pieces of fruit into each mold. Keep mix-ins small so they freeze evenly and do not make the popsicles difficult to eat. Cherries pair especially well with cola, while lime adds a classic soda-shop flavor. Orange slices, raspberries, or even tiny pieces of pineapple can also work if you want a playful twist.
Avoid adding large chunks of fruit because they can freeze into hard icy pockets. If you want more fruit flavor, use a small amount of fruit puree instead of big pieces.
Step 6: Pour the Cola Mixture Carefully
Pour the cola mixture into the molds, leaving about 1/4 inch of space at the top. Liquids expand as they freeze, and cola is no exception. Overfilling may lead to sticky overflow, which is fun for absolutely no one except possibly the ants.
If foam forms on top, let the molds sit for a minute and then gently skim off the foam with a spoon. You can also tap the molds lightly on the counter to release trapped bubbles.
Step 7: Insert the Sticks
If your molds come with built-in handles, place them on top now. If you are using wooden sticks, freeze the molds for about 45 to 60 minutes first, then insert the sticks when the mixture is partially frozen and slushy. This helps the sticks stand upright instead of leaning like tiny wooden tourists in a windstorm.
For paper cups, cover each cup with foil and push a stick through the center. The foil holds the stick in place while the cola freezes.
Step 8: Freeze Until Solid
Freeze the popsicles for at least 6 hours, or preferably overnight. Smaller molds may freeze faster, while larger molds need more time. Your freezer temperature, mold shape, sugar level, and added ingredients can all affect freezing time.
Do not rush this step. A cola popsicle that looks frozen on the outside may still be soft in the center. Overnight freezing gives you the best chance of a clean pull and a sturdy pop.
Step 9: Unmold and Serve
To remove the popsicles, run the outside of the mold under cool or slightly warm water for 10 to 20 seconds. Gently wiggle the stick and pull. Do not yank like you are starting a lawn mower. If it resists, give it a few more seconds under water.
Serve immediately. Cola popsicles melt faster than creamy ice pops, especially on hot days, so have napkins ready. Actually, have extra napkins. Cola has a talent for finding elbows, shirts, and furniture.
Flavor Variations for Cola Popsicles
Cherry Cola Popsicles
Add 1 to 2 teaspoons of cherry syrup or grenadine to the cola mixture and place one cherry in each mold. This version tastes like a frozen cherry cola from an old-school diner.
Vanilla Cola Popsicles
Add 1/8 teaspoon vanilla extract to the base recipe. For a creamier version, stir in 2 tablespoons sweetened condensed milk. The mixture may look slightly cloudy, but it freezes into a fun cola-float-style pop.
Lime Cola Popsicles
Use fresh lime juice and add a very thin lime wheel to each mold. This version tastes crisp, bright, and extra refreshing.
Cola Float Popsicles
Fill each mold three-quarters full with the cola mixture. Add a spoonful of softened vanilla ice cream or sweetened condensed milk near the top, then swirl gently with a skewer. Freeze until solid. This is the dessert version of “I deserve something nice today.”
Helpful Tips for Better Texture
Homemade cola popsicles are naturally icier than dairy-based pops, but that can be part of their charm. If you want them less icy, use regular cola instead of zero-sugar cola, add a little simple syrup, and freeze them undisturbed. Avoid opening the freezer repeatedly during the first few hours because temperature changes can affect texture.
For smoother pops, do not shake the cola before using it. Too much foam can create air pockets. Also, make sure your molds are clean and dry before filling. Water droplets inside the mold can create icy patches on the surface.
How to Store Cola Popsicles
Once frozen solid, you can keep the popsicles in their molds for a few days. For longer storage, unmold them and wrap each pop tightly in plastic wrap or place them in freezer-safe bags. Press out extra air to reduce freezer burn. Label the bag with the date if you enjoy being organized, or if your freezer is where leftovers go to become archaeological mysteries.
For best flavor and texture, enjoy homemade cola popsicles within two to four weeks. They may remain safe longer if kept frozen, but quality can decline over time. Ice crystals, dull flavor, and freezer odors are signs that your pops have overstayed their welcome.
Food Safety Notes
Because cola popsicles are simple and low-risk compared with dairy, meat, or egg-based recipes, they are easy to handle safely. Still, clean habits matter. Wash your hands, use clean molds, and rinse any fresh fruit before adding it. If you use dairy, such as milk, cream, yogurt, or ice cream, keep the mixture cold and freeze it promptly.
Do not leave filled molds sitting on the counter for a long time, especially in hot weather. If you are making popsicles with children, set up the ingredients first, then fill and freeze right away. The faster the mixture gets into the freezer, the better the final quality.
Common Mistakes to Avoid
Using Too Much Carbonation
Fresh, fizzy cola can foam up and leave bubbles or gaps in the popsicle. Letting the soda sit briefly before pouring solves most of this problem.
Overfilling the Molds
Leave a little room at the top. The mixture expands as it freezes, and sticky overflow can make unmolding messy.
Pulling Too Soon
If the popsicle has not frozen all the way through, the stick may slide out by itself. Freeze for at least 6 hours, but overnight is safer.
Expecting a Creamy Texture from Plain Soda
Plain cola popsicles are refreshing and icy. If you want creamy, add a small amount of dairy, coconut milk, or softened vanilla ice cream.
Serving Ideas
Cola popsicles are great on their own, but you can also serve them with bowls of popcorn, burgers, grilled sandwiches, or summer fruit. For parties, arrange them in a chilled tray filled with crushed ice. You can even make a mini popsicle bar with bowls of chopped cherries, lime zest, sprinkles, and crushed cookies for dipping the tips after unmolding.
For a playful dessert, place a cola popsicle in a glass and pour a small amount of chilled cola over it. As the pop melts, it flavors the drink and keeps it cold. It is part beverage, part dessert, and part excuse to use a fancy straw.
Experience Notes: What I Learned Making Cola Popsicles at Home
The first thing you learn when making cola popsicles is that soda has a personality. Juice politely enters a mold and freezes without much drama. Cola, on the other hand, foams, bubbles, expands, and acts like it has somewhere important to be. The first batch I tested was poured straight from a freshly opened can. It looked exciting for about ten seconds, then the foam rose like a tiny science fair volcano. The pops still froze, but the tops were airy and uneven. Lesson one: let the cola relax before freezing.
The second lesson is that frozen cola tastes different from cold cola. When you drink soda from a glass, the sweetness, acidity, and bubbles all arrive together. In popsicle form, the bubbles mostly disappear, and the cold temperature softens the flavor. That is why lime juice helps so much. A small splash makes the pop taste brighter without turning it into a lime popsicle. Vanilla also works surprisingly well. Just a tiny amount gives the cola a soda-fountain flavor, like something you would drink while sitting on a red vinyl stool in a place that definitely serves fries in a basket.
Texture is the next adventure. A plain cola pop is icy, and that is not a bad thing. It is refreshing, crisp, and perfect for hot weather. But if you expect it to taste like a creamy store-bought frozen dessert, you may be disappointed. Adding simple syrup makes it slightly softer. Adding sweetened condensed milk or a spoonful of melted vanilla ice cream changes the whole mood. Suddenly the popsicle becomes richer, smoother, and more like a cola float. It is still easy, but it feels more intentional.
Another useful discovery: smaller molds are better for soda popsicles. Large pops look impressive, but cola melts quickly, especially outside. Smaller pops freeze faster, release more cleanly, and are easier to eat before they turn into a sweet puddle with a handle. If you are serving children, smaller molds also reduce waste. If you are serving adults, they will probably just eat two, which is their right as citizens of the freezer.
Paper cups work better than expected. They are not glamorous, but they are practical. The foil trick for holding sticks upright is especially helpful. Silicone molds release more easily, while rigid plastic molds may need a brief rinse under warm water. The key is patience. Pulling too hard can break the pop, and then you are left pretending that a bowl of cola shards was the plan all along.
The best batch, in my experience, used regular cola, lime juice, a teaspoon of cherry syrup, and one cherry in each mold. It tasted like a cherry cola slush in popsicle form. The second-best batch was the vanilla cola version with a small swirl of condensed milk. It looked a little rustic, but the flavor was fantastic. The zero-sugar batch tasted good but froze harder, so it needed a few extra seconds before eating.
Overall, cola popsicles are one of those recipes that rewards small experiments. Once you learn the basic method, you can adjust sweetness, acidity, fruit, and creaminess to match your taste. They are cheap, fun, nostalgic, and almost impossible to ruin completely. Even the imperfect ones disappear quickly, which is the clearest sign of recipe success.
Conclusion
Learning how to make cola popsicles is simple, but the little details make them better. Let the cola go slightly flat, brighten it with citrus, sweeten only if needed, leave room in the molds, and freeze until fully solid. From classic cola freezer pops to cherry cola, vanilla cola, lime cola, and cola float versions, this easy homemade treat proves that summer dessert does not need to be complicated to be memorable.
Keep the recipe basic for a quick afternoon snack or dress it up for parties, cookouts, and family movie nights. Either way, cola popsicles deliver big nostalgic flavor with very little effort. Your freezer does most of the work, which is exactly the kind of teamwork we like to see in the kitchen.
Note: This article is written for web publishing in body-only HTML format and does not include visible source links inside the article content.














