
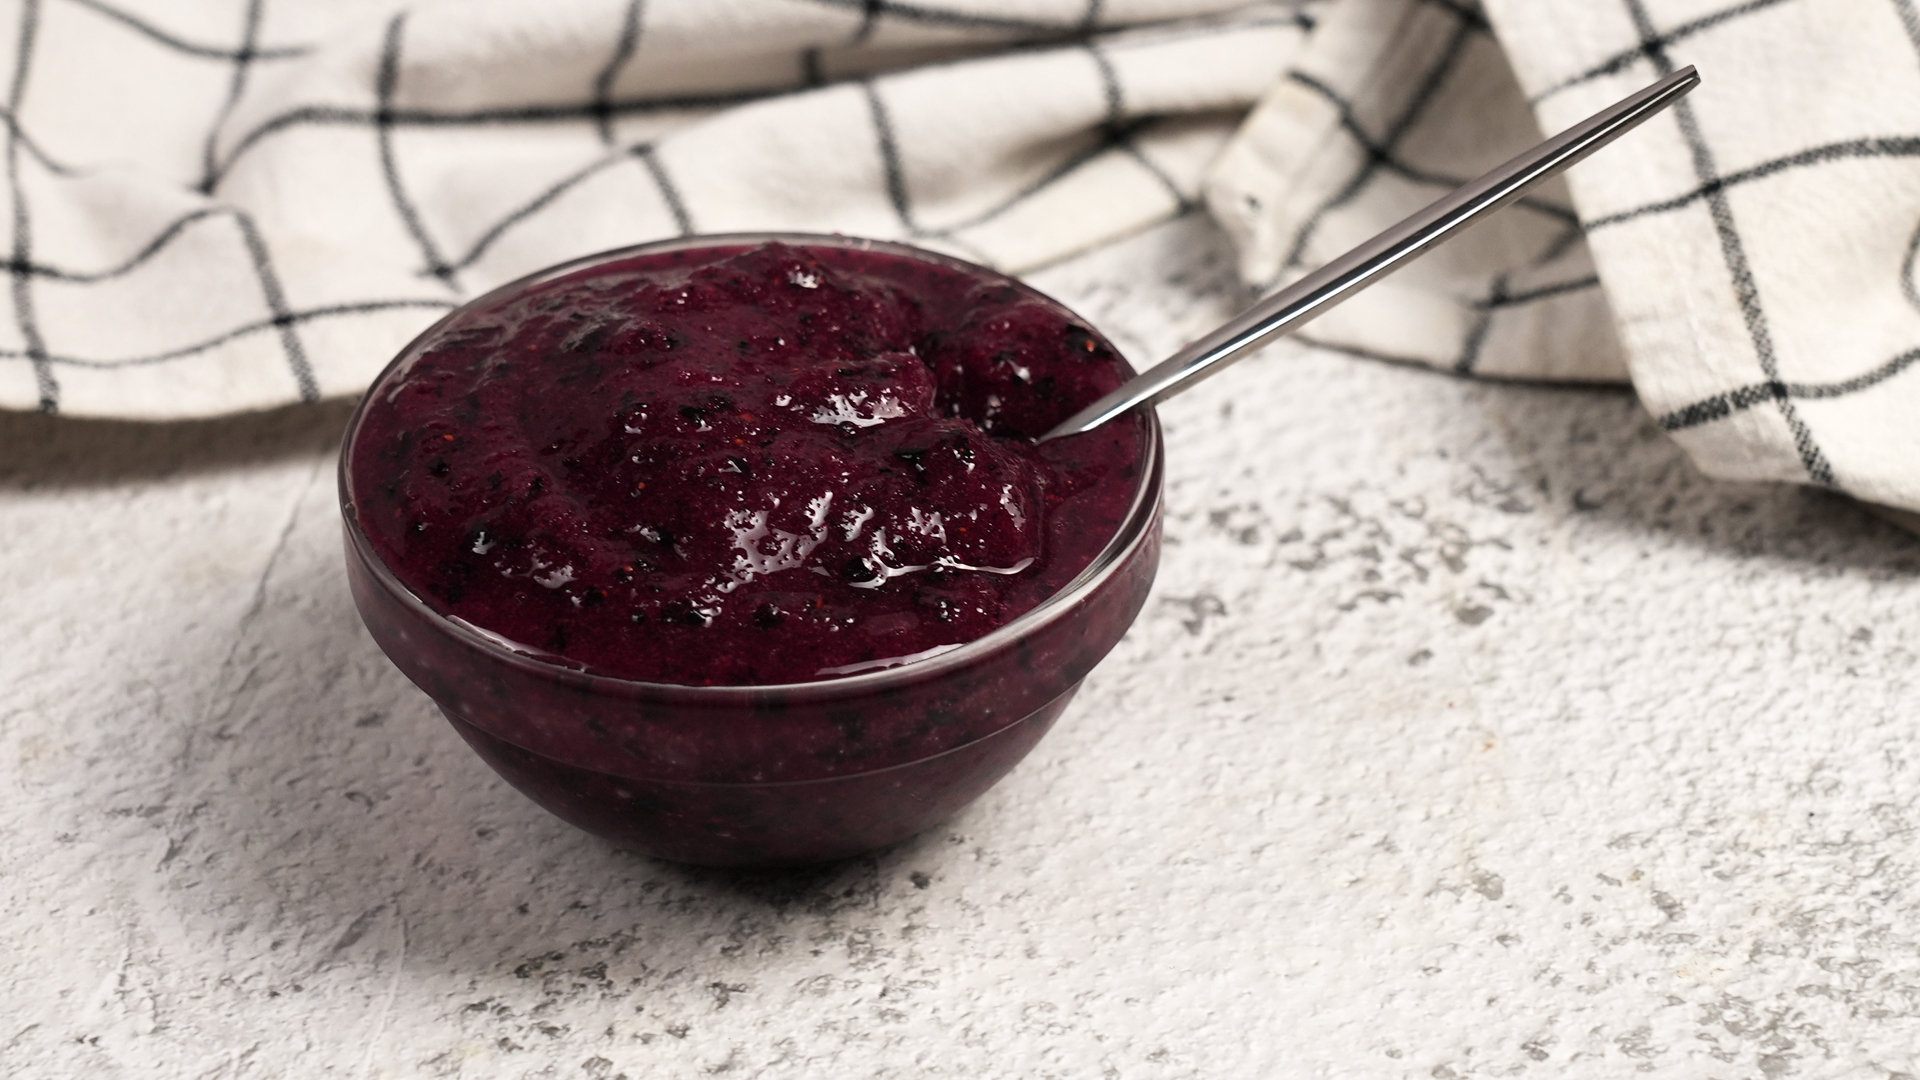
Italian ice is the frozen dessert equivalent of a sunny afternoon wearing sunglasses indoors: bright, refreshing, slightly dramatic, and absolutely welcome when the weather is doing its best impression of a pizza oven. Unlike ice cream, Italian ice is dairy-free. Unlike a snow cone, it is not just syrup sitting on crushed ice like a very sweet traffic jam. The best homemade Italian ice lands somewhere between sorbet and granita: smooth enough to scoop, icy enough to refresh, and fruity enough to make you wonder why your freezer has been wasting its life storing peas.
The great news is that learning how to make Italian ice at home does not require professional equipment, culinary school, or a secret handshake from a neighborhood dessert stand. You need fruit or juice, sugar, water, lemon juice, a shallow pan, a fork, and a little patience. The freezer does most of the heavy lifting, which is excellent because freezers rarely ask for compliments.
This guide walks you through a classic homemade Italian ice recipe in 9 easy steps. You will learn how to balance sweetness, build flavor, freeze the mixture properly, scrape it for the right texture, and customize it with lemon, strawberry, mango, watermelon, cherry, peach, or almost any fruit that looks at you from the counter and says, “I could be dessert.”
What Is Italian Ice?
Italian ice is a water-based frozen dessert made with fruit juice or fruit puree, sugar, and flavorings. In the United States, it is especially popular in areas with strong Italian American food traditions, where it is sometimes called water ice. The texture can vary from smooth and scoopable to lightly grainy and refreshing, depending on whether it is churned, blended, or frozen in a pan and scraped by hand.
The key difference between Italian ice, sorbet, and granita is texture. Sorbet is usually smoother and often churned. Granita is typically coarser because it is frozen in a shallow dish and scraped into crystals. Italian ice can sit happily in the middle: not creamy, not chunky, and not trying too hard to be fancy. It is the frozen dessert that shows up in a paper cup and still somehow steals the party.
Ingredients for Homemade Italian Ice
This basic recipe makes about 6 servings.
- 2 cups fresh fruit puree or fruit juice
- 1 cup water
- 2/3 to 3/4 cup granulated sugar
- 2 tablespoons fresh lemon juice
- 1 teaspoon lemon zest, optional
- Pinch of salt, optional but helpful
- Fresh mint, basil, or fruit pieces for serving, optional
Best Fruits for Italian Ice
Lemon is the classic choice, but Italian ice is extremely flexible. Strawberries, raspberries, mangoes, peaches, cherries, watermelon, pineapple, oranges, blueberries, and blackberries all work well. If the fruit is very juicy, such as watermelon, reduce the water slightly. If the fruit is very tart, such as lemon or raspberry, increase the sugar a little. If the fruit is bland, add lemon juice and a tiny pinch of salt. Salt will not make the dessert salty; it simply wakes up the flavor, like a tiny edible alarm clock.
How to Make Italian Ice: 9 Steps
Step 1: Choose Fresh, Flavorful Fruit
The quality of your Italian ice depends heavily on the flavor of your fruit or juice. Ripe fruit gives you natural sweetness, stronger aroma, and better color. If your strawberries taste like cardboard in a red jacket, your Italian ice will not magically become a masterpiece. Use fruit that tastes good before freezing.
For lemon Italian ice, use freshly squeezed lemon juice instead of bottled lemon juice whenever possible. Bottled juice can taste flat or slightly bitter. For berry Italian ice, rinse the fruit, remove stems, and pat it dry. For mango or peach Italian ice, peel and chop the fruit before blending. Frozen fruit can also work well, especially when fresh fruit is out of season. Let it thaw slightly before blending so your blender does not file a formal complaint.
Step 2: Make a Simple Syrup
Combine 1 cup water and 2/3 to 3/4 cup sugar in a small saucepan. Warm the mixture over medium heat, stirring until the sugar dissolves completely. You do not need to boil it aggressively. A gentle simmer is enough. Once the sugar has dissolved, remove the pan from the heat and let the syrup cool.
Simple syrup matters because sugar does more than sweeten the dessert. It also affects texture. Too little sugar can make Italian ice freeze into a rock-hard block. Too much sugar can make it syrupy and slow to freeze. The sweet spot is a mixture that tastes slightly sweeter before freezing than you want the final dessert to taste. Cold temperatures dull sweetness, so a mixture that tastes perfect at room temperature may taste muted once frozen.
Step 3: Blend the Fruit or Juice
Add your fruit puree or juice to a blender. If using whole fruit, blend it until smooth. For a classic smooth Italian ice, strain the puree through a fine-mesh sieve to remove seeds, skins, or stringy fibers. This is especially helpful for raspberries, blackberries, and citrus pulp. If you like a more rustic texture, you can skip straining, but be aware that seeds become more noticeable when frozen.
A good starting ratio is 2 cups fruit puree or juice to 1 cup simple syrup. Taste before freezing. The mixture should be bold, sweet-tart, and slightly intense. Freezing politely turns down the volume on flavor, so you want the base to sing before it goes into the freezer.
Step 4: Add Lemon Juice for Brightness
Stir in 2 tablespoons of fresh lemon juice. Even if you are not making lemon Italian ice, lemon juice helps balance sweetness and sharpen fruit flavor. Strawberry tastes more like strawberry with a little lemon. Mango becomes brighter. Peach stops being sleepy. Watermelon gets a personality.
If you are making lemon Italian ice, increase the lemon juice to about 3/4 to 1 cup and use less fruit puree or none at all. Lemon zest adds aromatic oils, giving the dessert a stronger fresh-lemon fragrance. Just avoid grating the bitter white pith underneath the yellow skin. The pith is where joy goes to take a nap.
Step 5: Chill the Mixture
Pour the blended mixture into a bowl or pitcher and refrigerate it for at least 1 hour. Chilling the base before freezing helps it freeze more evenly and improves the final texture. A cold mixture also forms smaller ice crystals, which makes the Italian ice smoother.
This step is easy to skip, but it makes a noticeable difference. Think of it as giving your dessert a short spa visit before its big freezer transformation. Cover the bowl while it chills so it does not absorb refrigerator odors. Nobody wants strawberry Italian ice with a mysterious hint of leftover onion.
Step 6: Pour into a Shallow Pan
Pour the chilled mixture into a shallow metal or glass baking dish. A 9-by-13-inch pan works well for most batches. The shallower the layer, the faster and more evenly the mixture freezes. A deep container may freeze around the edges while staying liquid in the center, which creates uneven crystals and general dessert drama.
Place the pan flat in the freezer. Make sure the freezer is cold enough, ideally around 0°F. A properly cold freezer helps the mixture set safely and consistently. If your freezer is packed so tightly that finding space requires an archaeological permit, clear a flat area before you begin.
Step 7: Scrape Every 30 Minutes
After about 30 minutes, remove the pan from the freezer. The edges should look icy while the center may still be slushy. Use a fork to scrape the frozen edges toward the center. Break up any large ice sheets and stir the mixture gently. Return the pan to the freezer.
Repeat this scraping process every 30 minutes for about 2 to 3 hours, or until the entire mixture becomes fluffy, icy, and scoopable. This is the step that creates the signature texture. Scraping prevents the mixture from freezing into one solid block and encourages light, delicate crystals. It is not hard work, but it does require attention. Consider it dessert meditation, except there is a fork and a reward at the end.
Step 8: Blend or Scrape for a Smoother Texture
Once the Italian ice is mostly frozen, you have two texture options. For a rustic, granita-style Italian ice, keep scraping with a fork until the crystals are fluffy. For a smoother Italian ice, transfer the partially frozen mixture to a food processor and pulse briefly, then return it to the pan and freeze again for 30 to 60 minutes.
This extra blending step gives the dessert a softer, more scoopable consistency. Do not over-blend until it melts completely. The goal is to break up large crystals, not turn your hard work back into fruit soup. If it does melt too much, do not panic. Pour it back into the pan and continue freezing and scraping.
Step 9: Serve, Store, and Enjoy
Scoop the finished Italian ice into chilled bowls, paper cups, or small glasses. Serve it plain or garnish with fresh mint, lemon zest, diced fruit, or a few berries. For a fun summer dessert bar, offer several flavors side by side: lemon, strawberry, mango, and watermelon. Everyone can build their own cup, and nobody has to pretend vanilla is exciting today.
For storage, transfer Italian ice to an airtight freezer-safe container. Press a piece of parchment paper or plastic wrap directly onto the surface before sealing to reduce ice crystals. Homemade Italian ice is best enjoyed within 3 to 5 days for peak texture and flavor. It may remain safe longer if kept frozen properly, but quality can decline as crystals grow and flavors fade.
Easy Flavor Variations
Lemon Italian Ice
Use 1 cup fresh lemon juice, 1 tablespoon lemon zest, 1 cup water, and 3/4 to 1 cup sugar. This version is bright, sharp, and classic. It is especially good after a heavy meal or on a day when the sidewalk looks like it is considering becoming lava.
Strawberry Italian Ice
Blend 2 cups hulled strawberries with the simple syrup and lemon juice. Strain for a smoother finish. Add a few chopped strawberries before the final freeze if you like tiny fruit surprises.
Mango Italian Ice
Blend ripe mango with lime juice instead of lemon juice. Mango is naturally creamy, so this version often tastes smoother than berry or citrus flavors without needing dairy.
Watermelon Italian Ice
Use 3 cups seedless watermelon cubes, reduce the water to 1/2 cup, and add lemon or lime juice. Watermelon has high water content, so it freezes easily into a refreshing, light texture.
Troubleshooting Homemade Italian Ice
Why Is My Italian Ice Too Hard?
If your Italian ice freezes into a solid block, it may need more sugar, more frequent scraping, or a slightly shorter freezing time before serving. Let it sit at room temperature for 5 to 10 minutes, then scrape or pulse it in a food processor to revive the texture.
Why Is It Too Sweet?
Add more lemon juice or blend in more unsweetened fruit puree. Next time, reduce the sugar slightly. Remember that the base should taste a little sweet before freezing, but it should not taste like melted candy.
Why Does It Taste Weak?
The fruit may have been underripe, or the mixture may need more acid. Add lemon juice, lime juice, zest, or a pinch of salt. Strong flavors survive freezing better than delicate ones.
Helpful Tips for the Best Italian Ice
Use a shallow pan for faster freezing and better texture. Chill the mixture before freezing. Scrape regularly. Taste before freezing and adjust sweetness or acidity. Use fresh citrus juice when possible. Store the finished Italian ice in an airtight container. Most importantly, do not expect the first batch to last long. Homemade Italian ice has a way of disappearing faster than a phone charger in a family living room.
If you want a more professional texture, use an ice cream maker. Pour the chilled mixture into the machine and churn according to the manufacturer’s instructions. The result will be smoother and softer than the fork-scraped method. However, the no-churn pan method is still excellent, especially for beginners or anyone who refuses to buy another kitchen gadget that will eventually live in the cabinet next to the waffle maker.
of Experience: What Making Italian Ice Teaches You
The first time you make Italian ice at home, you may expect it to behave like ice cream. It will not. Ice cream is rich, creamy, and forgiving because fat helps smooth everything out. Italian ice is more honest. It has nowhere to hide. If the fruit is dull, the final dessert will be dull. If the sugar is off, the texture will tell on you. If you forget to scrape it, the freezer will create a fruit-flavored brick and then pretend it had no choice.
One of the best experiences with homemade Italian ice is learning how much flavor changes when food is frozen. A strawberry mixture that tastes almost too sweet at room temperature often tastes just right after freezing. A lemon mixture that seems bold in the bowl becomes crisp and refreshing in the cup. This is why tasting and adjusting before freezing is not optional. It is the difference between “Wow, you made this?” and “Interesting, did you freeze juice by accident?”
Another lesson is that texture is built through patience. The scraping step may feel small, but it is powerful. Every pass of the fork breaks up large crystals and encourages a lighter texture. After the first scrape, you may think nothing exciting is happening. After the second, the mixture starts to look slushy. By the third or fourth, it begins to resemble real Italian ice. It is a tiny kitchen transformation, like watching a fruit smoothie slowly become a snowbank with better manners.
Making Italian ice is also a great way to rescue fruit. Slightly soft peaches, extra lemons, berries that need to be used today, or a watermelon that turned out sweeter than expected can all become dessert. This makes Italian ice practical as well as delicious. Instead of letting fruit fade away in the refrigerator, you turn it into something cheerful, cold, and scoopable.
Serving homemade Italian ice is part of the fun. Paper cups make it feel nostalgic. Small glass dishes make it look elegant. A sprig of mint makes people think you have your life together, even if your kitchen currently looks like a blender sneezed. For parties, prepare two or three flavors and let guests choose. Lemon is clean and classic, strawberry is friendly, mango feels tropical, and watermelon tastes like summer learned how to use a spoon.
The biggest tip from experience is simple: do not chase perfection. Homemade Italian ice is supposed to be refreshing, bright, and fun. Some batches will be smoother. Some will be icier. Some will melt quickly because everyone is standing around the counter eating it before it has fully set. That is not failure. That is dessert doing its job.
Conclusion
Learning how to make Italian ice is one of the easiest ways to turn fruit, sugar, water, and lemon juice into a homemade frozen dessert that feels special without being complicated. The 9-step method is simple: choose flavorful fruit, make syrup, blend, brighten with citrus, chill, freeze in a shallow pan, scrape regularly, smooth the texture if desired, and serve with confidence. Once you understand the basic formula, you can create endless Italian ice flavors using whatever fruit is in season.
Whether you love classic lemon Italian ice, juicy strawberry, tropical mango, or ultra-refreshing watermelon, the process stays friendly and flexible. It is budget-friendly, dairy-free, beginner-friendly, and ideal for hot days, backyard cookouts, birthday parties, or quiet evenings when your freezer deserves to be more than a storage unit for mystery leftovers.













