
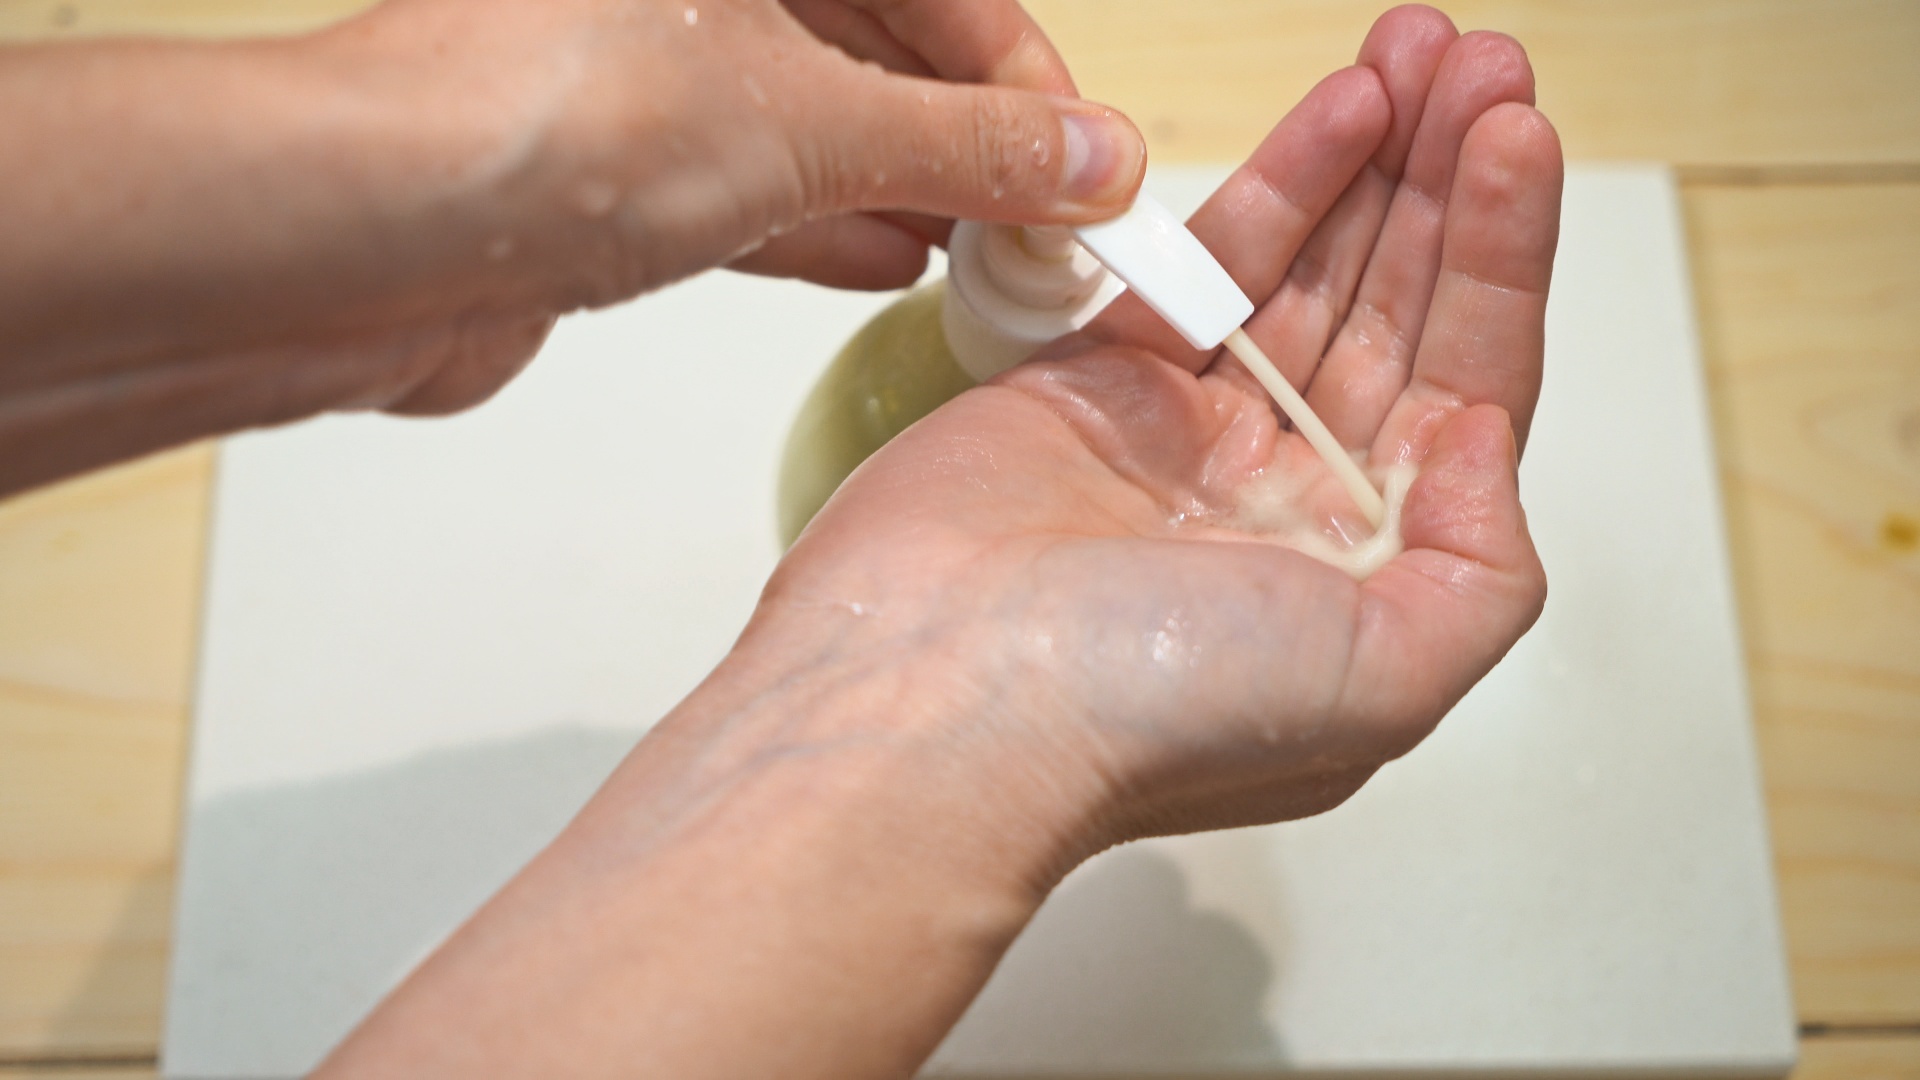
Making natural liquid soap at home feels a little like kitchen magic, except the “spell” involves oils, potassium hydroxide, distilled water, patience, and a healthy respect for chemistry. The reward? A customizable, gentle liquid soap you can use at the sink, in a foaming bottle, or as a base for your own simple hand wash. It is not quite the “stir flowers into water and become a woodland apothecary” fantasy the internet sometimes sells, but it is deeply satisfyingand yes, your kitchen may briefly look like a science fair with better-smelling results.
This guide explains how to make natural liquid soap from scratch using the hot-process method. You will learn what ingredients do, how to handle lye safely, how to cook soap paste, how to dilute it, how to test it, and how to avoid common beginner mistakes. The main keyword here is simple: how to make natural liquid soap. But the real goal is even simpler: help you make a safe, useful product without turning your countertop into a bubbly crime scene.
Note: Potassium hydroxide, also called KOH or caustic potash, is a strong alkali used to turn oils into liquid soap. It can burn skin and eyes before it becomes soap. Always wear goggles, gloves, long sleeves, and closed-toe shoes. Work in a ventilated area, keep children and pets away, and never use aluminum tools or containers.
What Is Natural Liquid Soap?
Natural liquid soap is traditionally made by combining plant-based oils with potassium hydroxide and water. Through a chemical process called saponification, the oils and alkali transform into soap. Unlike detergent-based body washes, true soap gets its cleansing power from the reaction between fats and an alkali. In liquid soap, potassium hydroxide is used because it creates a soft, water-soluble soap paste. Sodium hydroxide, the lye used for bar soap, creates a hard bar and is not the right choice for a pourable liquid soap recipe.
The word “natural” can mean different things depending on who is holding the soap bottle and how passionate they are about lavender. In this article, natural liquid soap means a formula made with recognizable oils, distilled water, potassium hydroxide, and optional natural additives such as essential oils or herbal infusions. It does not mean lye-free. Real soap requires an alkali. The comforting part is that, when measured correctly and fully saponified, no active lye should remain in the finished soap.
Liquid Soap vs. Bar Soap: What Is the Difference?
Bar soap and liquid soap are cousins, not twins. Bar soap usually uses sodium hydroxide, while liquid soap uses potassium hydroxide. Bar soap batter is poured into molds and cured for weeks. Liquid soap is usually cooked into a thick paste, then diluted with distilled water until it reaches the texture you want. Bar soap can be creamy and solid; liquid soap can be clear, amber, honey-like, thin, or gel-like depending on the oils, dilution level, and additives.
Liquid soap also behaves differently in storage. Because it contains a lot of water after dilution, cleanliness matters. Use distilled water, sanitize bottles, avoid sticking fingers into finished soap, and do not add fresh fruit, milk, aloe straight from a leaf, or random pantry experiments unless you understand preservation. Your soap bottle is not a smoothie.
Ingredients You Need to Make Natural Liquid Soap
1. Oils and Butters
The oils determine how your soap feels, lathers, and rinses. Olive oil creates a mild soap with a silky feel. Coconut oil boosts bubbles and cleansing power, but too much can feel drying. Castor oil improves lather stability and gives the soap a richer texture. Sunflower oil, rice bran oil, avocado oil, and sweet almond oil can also work well in balanced recipes.
A beginner-friendly liquid soap recipe often uses mostly olive oil, some coconut oil, and a small amount of castor oil. This combination gives you mildness, bubbles, and a manageable paste. Heavy butters such as shea or cocoa butter can be used in small amounts, but they may cloud the soap or make dilution trickier.
2. Potassium Hydroxide
Potassium hydroxide is the alkali that makes liquid soap possible. It is commonly sold as flakes or pellets and is often not 100% pure, so check the label and use a reliable soap calculator that lets you enter KOH purity. Many potassium hydroxide products are around 90% purity, but never assume. Soapmaking rewards precision and punishes guessing with either harsh soap or oily pudding.
3. Distilled Water
Use distilled water for both the lye solution and dilution. Tap water can contain minerals that cloud soap, interfere with texture, or shorten shelf life. Distilled water is inexpensive and boring, which is exactly what soap wants at this stage.
4. Optional Glycerin
Some liquid soapmakers replace part of the water in the lye solution with glycerin to help speed up trace and create a smoother paste. Glycerin can make the process easier for experienced makers, but beginners may want to start with distilled water only until they understand the basic method.
5. Essential Oils or Fragrance
For a natural liquid hand soap, essential oils such as lavender, orange, peppermint, rosemary, tea tree, or lemon can be used in small, skin-safe amounts. Always check safe usage rates for the specific oil and product type. Essential oils are concentrated substances, not perfume confetti. More is not better; more is just expensive and possibly irritating.
Tools and Safety Gear
Before you start, gather everything. Soapmaking is not the moment to realize your scale battery died or your only spoon is aluminum. You will need:
- Digital scale that measures in grams
- Slow cooker or stainless steel pot
- Stick blender
- Heat-safe plastic or stainless steel containers
- Silicone spatula
- Thermometer
- pH strips or a pH meter suitable for alkaline products
- Chemical splash goggles
- Rubber or nitrile gloves
- Long sleeves and closed-toe shoes
- Clean bottles or pump dispensers
Do not use aluminum, tin, or nonstick cookware with damaged surfaces. Potassium hydroxide can react with aluminum and create dangerous hydrogen gas. Choose stainless steel, heat-safe plastic, silicone, or glass where appropriate. Also, label your tools and keep them for soapmaking only if possible. Nobody wants soup with a hint of lavender-castile surprise.
A Beginner-Friendly Natural Liquid Soap Formula
This is an educational example, not a substitute for running your exact recipe through a lye calculator. Oil SAP values and potassium hydroxide purity vary, so check your numbers before making a batch.
Example Oil Blend
- 420 grams olive oil
- 180 grams coconut oil
- 60 grams castor oil
- Potassium hydroxide amount calculated for your KOH purity and desired superfat
- Distilled water for lye solution, often around 2.5 to 3 times the KOH weight
- Additional distilled water for dilution, added gradually
- Optional essential oil, usually added after dilution and cooling
For liquid soap, many makers use a low superfat, often between 0% and 3%, because extra unsaponified oils can cloud the soap or separate. If you want a very mild soap, do not simply dump in extra oil at the end. A balanced formula and proper dilution are better than a floating oil slick pretending to be luxury.
How to Make Natural Liquid Soap Step by Step
Step 1: Prepare Your Workspace
Clear the counter, open a window, put on your safety gear, and make sure no one will bump into you. Measure every ingredient by weight, not volume. Soapmaking is chemistry, and chemistry does not care that your favorite mug “looks about right.” Keep vinegar nearby for cleaning surfaces after spills, but do not rely on it as first aid for skin exposure. If lye touches skin, rinse with plenty of cool running water.
Step 2: Measure and Warm the Oils
Add your oils to a slow cooker and warm them gently on low heat. You want the oils melted and fluid, not frying. Coconut oil should be fully liquid. Stir the oils together so the blend is even.
Step 3: Make the Potassium Hydroxide Solution
In a well-ventilated area, slowly add potassium hydroxide to distilled water. Always add lye to water, never water to lye. Stir carefully until dissolved. The solution will heat up and may release fumes briefly, so avoid breathing directly over the container. Let the solution cool slightly before combining it with the oils.
Step 4: Combine Lye Solution and Oils
Slowly pour the potassium hydroxide solution into the warm oils. Use short bursts with the stick blender, alternating with hand stirring. At first, the mixture may look thin, then creamy, then thicker. Liquid soap batter can pass through odd stages: applesauce, mashed potatoes, taffy, glue, and “did I ruin it?” This is normal. Keep going patiently.
Step 5: Bring the Soap to Trace
Trace means the mixture has emulsified and thickened enough that drips leave a temporary mark on the surface. Liquid soap paste can become very thick, so do not burn out your stick blender. Blend in short sessions. Scrape the sides and bottom of the pot often.
Step 6: Cook the Soap Paste
Cover the slow cooker and cook on low. Stir every 20 to 30 minutes. The paste will gradually become more translucent and glossy. Depending on the recipe, temperature, and batch size, cooking may take a few hours. The goal is a fully saponified paste that dissolves in water without leaving a milky layer of unsaponified oils.
Step 7: Perform a Clarity Test
Take a small amount of paste and dissolve it in hot distilled water. If the solution is mostly clear or slightly cloudy, the paste is likely ready. If it looks milky, greasy, or separated, the oils may not be fully saponified. Continue cooking and test again later.
Step 8: Dilute the Soap Paste
Dilution is where beginners often panic. Start slowly. Add hot distilled water to the paste, cover the pot, and let time do the work. A common starting point is 1 part soap paste to 1 part water by weight, then more water as needed. Some pastes need much more water, especially for foaming soap dispensers. Stir gently and avoid whipping in excess foam.
If the soap looks too thick, add more distilled water in small amounts. If it looks too thin, do not despair. Let it sit overnight; liquid soap often thickens as it cools and settles. If it is still watery, use it in a foaming dispenser or thicken only after researching compatible thickeners for true soap.
Step 9: Test pH and Check Mildness
Finished liquid soap is naturally alkaline. Many handmade liquid soaps fall around pH 9 to 10.5, depending on formula and dilution. A very high pH or a sharp, harsh feel may indicate excess alkali. Use pH strips designed for alkaline ranges or a properly calibrated pH meter. Do not test directly on skin first. Your hands are not laboratory equipment, even if they have suffered through enough dishwashing to deserve a degree.
Step 10: Add Scent and Bottle
Allow diluted soap to cool before adding essential oils. Stir gently and let the soap rest for several hours or overnight so bubbles rise and the texture stabilizes. Pour into clean pump bottles. Label the bottle with the name, date, ingredients, and any fragrance used. If you plan to sell soap in the United States, research current federal and state rules. True soap marketed only for cleansing is regulated differently than cosmetics or products that make skin treatment claims.
Natural Additives That Work Well
Simple is best, especially for your first batch. After you master plain liquid soap, you can experiment with natural additives. Herbal-infused oils can add label appeal and subtle color. Calendula-infused olive oil is a favorite for gentle soap. Essential oils can create a fresh scent. A small amount of vegetable glycerin can improve skin feel. Natural colorants should be used cautiously because many botanicals fade, brown, or create sediment in liquid soap.
Avoid adding fresh herbs, citrus juice, milk, honey in large amounts, purees, or kitchen leftovers. These can spoil, separate, or create microbial problems. Liquid soap may be alkaline, but a water-rich product still deserves careful handling.
Common Mistakes to Avoid
Using Sodium Hydroxide Instead of Potassium Hydroxide
This is the big one. Sodium hydroxide makes bar soap. Potassium hydroxide makes liquid soap. Using the wrong lye changes the entire recipe.
Skipping the Lye Calculator
Every oil requires a different amount of alkali. Olive oil, coconut oil, and castor oil do not saponify at the same rate. Always calculate the recipe based on exact oils and KOH purity.
Adding Too Much Superfat
Extra oil sounds luxurious, but in liquid soap it can cause cloudiness, separation, and a greasy feel. Keep superfat low unless you have tested the formula.
Rushing Dilution
Soap paste does not dissolve instantly. Give it heat, water, and time. Aggressive stirring can create foam that makes the soap look like it is staging a bubble rebellion.
Overloading Essential Oils
Essential oils can thin, cloud, or irritate when used incorrectly. Start low, check safe usage rates, and test a small portion before scenting the whole batch.
How to Store Homemade Liquid Soap
Store diluted soap in clean, airtight bottles away from heat and direct sunlight. If you made a large amount of paste, you can store the undiluted paste separately and dilute smaller portions as needed. This often gives better long-term results because paste is more concentrated and easier to manage than gallons of finished soap. Use clean utensils every time you handle it.
If the soap changes smell, grows visible mold, separates strangely, or develops an unusual texture, discard it. Handmade soap is wonderful, but it is not worth arguing with a suspicious bottle. The bottle always wins.
Can You Make Liquid Soap Without Lye?
You cannot make true soap from scratch without lye. However, you can make a natural-style liquid cleanser by customizing a pre-made liquid castile soap base. This is the easiest option for people who do not want to handle potassium hydroxide. Simply buy an unscented liquid soap base, add a skin-safe amount of essential oil, and bottle it. It is not from-scratch soapmaking, but it is practical, safe, and still customizable.
Another shortcut is grating bar soap into water, but the result is not the same as true liquid soap. It often becomes slimy, separates, or clogs pumps. It can work in a pinch, but it is more “laundry-room experiment” than elegant hand soap.
Experience Notes: What Making Natural Liquid Soap Teaches You
The first experience most people have with natural liquid soap is surprise. The process is slower than expected, thicker than expected, and much less glamorous than those perfect amber bottles on handmade product websites. At some point, the soap paste may look like translucent mashed potatoes. This is the moment when beginners usually stare into the pot and wonder whether they have created soap or a new life form. That stage is normal. Liquid soapmaking rewards calm observation more than frantic fixing.
One of the biggest lessons is that patience is an ingredient. You can measure olive oil and potassium hydroxide, but you also need time for the paste to cook, time for dilution, and time for the final soap to settle. A batch that looks cloudy at 8 p.m. may look clearer the next morning. A soap that seems too thin while warm may thicken after cooling. In other words, do not judge the batch while it is still having a dramatic evening.
Another practical experience is learning that “natural” does not mean complicated. Some of the nicest homemade liquid soaps are simple formulas: olive oil for mildness, coconut oil for bubbles, castor oil for lather, distilled water, and a light scent. Beginners often want to add oats, honey, herbs, clay, aloe, goat milk, rose petals, and three essential oils because more ingredients feel more impressive. In real soapmaking, restraint usually performs better. A simple soap that rinses clean and stays stable is more valuable than a crowded formula that separates in the bottle.
You also learn to respect dilution. Soap paste can absorb a surprising amount of water, and different batches behave differently. Add water slowly, write down the exact amount, and test the texture in the bottle you plan to use. Pump bottles prefer a medium liquid consistency. Foaming bottles need thinner soap. If you make the soap too thick, it may clog. If you make it too thin, it may splash like it has somewhere urgent to be. The best texture is not universal; it depends on the dispenser and how you want to use the soap.
Scent is another area where experience matters. A soap may smell perfect in the pot and too strong in a small bathroom. Citrus essential oils smell cheerful but can fade. Peppermint smells clean but can feel intense if overused. Lavender is beginner-friendly, but even lavender should be measured, not poured with enthusiasm. The best approach is to scent a small test portion first. If it behaves well after a day or two, scent the rest of the batch.
Finally, making natural liquid soap teaches you to keep records. Write down oil weights, KOH purity, water amounts, cooking time, dilution ratio, scent percentage, pH reading, and final observations. These notes turn a one-time experiment into a repeatable recipe. Without notes, the perfect batch becomes a legend you can never quite recreate. With notes, you can adjust your next batch like a confident maker instead of a person whispering, “Please work,” into a slow cooker.
Conclusion
Learning how to make natural liquid soap is a rewarding blend of craft, chemistry, and everyday usefulness. The process begins with a balanced oil blend, accurate potassium hydroxide calculations, careful safety habits, and patient cooking. From there, the soap paste is diluted, tested, scented, bottled, and allowed to settle into a practical product you can use daily.
The best beginner advice is simple: start with a small batch, use distilled water, keep your formula plain, measure everything in grams, and take notes. Once you understand how liquid soap behaves, you can experiment with natural scents, infused oils, different dilution ratios, and bottle styles. Homemade liquid soap is not instant, but it is deeply satisfying. It turns basic ingredients into something useful, personal, and just fancy enough to make your sink feel like it got promoted.













