
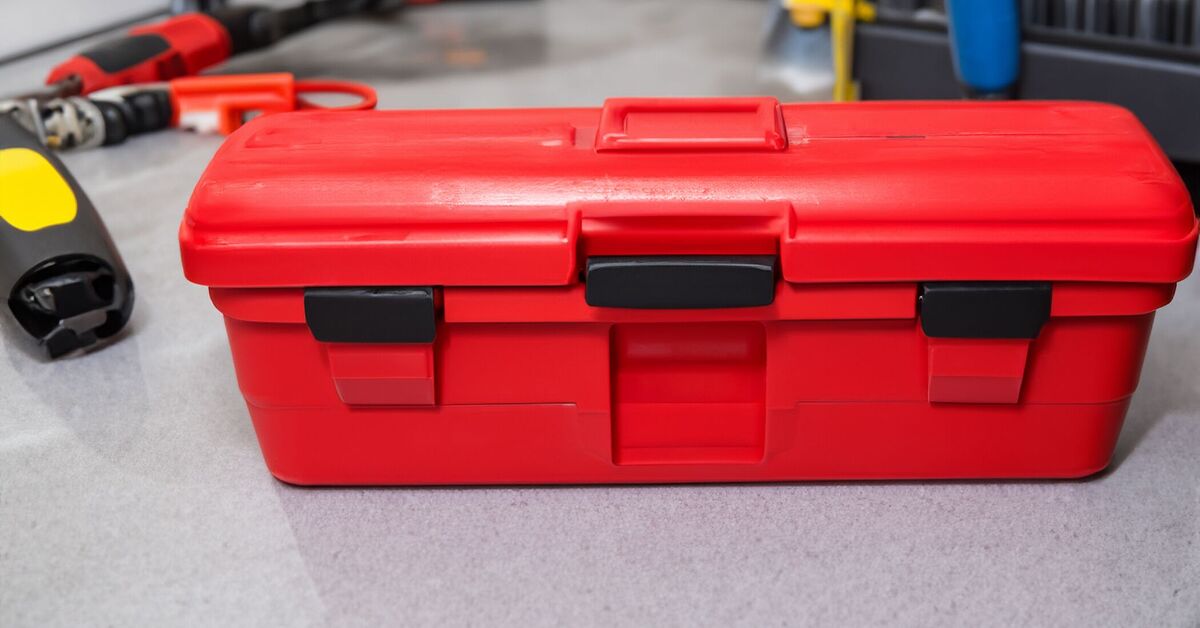
A messy toolbox is like a junk drawer with a handle: technically portable, emotionally exhausting, and always hiding the one thing you need most. You reach for a Phillips screwdriver and find three rusty nails, a mystery Allen key from furniture you no longer own, and a tape measure that has apparently entered witness protection.
The good news? You do not need a contractor’s van, a custom garage, or a color-coded personality to organize a toolbox like a pro DIYer. You need a practical system that matches how you actually work. A well-organized toolbox saves time, protects your tools, reduces duplicate purchases, and makes small repairs feel less like an archaeological dig.
This guide walks through a smart, realistic way to organize a toolbox, whether you own a compact carry box, a tool bag, a rolling chest, or a modular storage system. The goal is simple: every tool has a home, every project starts faster, and your future self stops muttering, “I swear I just had that bit.”
Why Toolbox Organization Matters
Toolbox organization is not just about making your garage look like a magazine spread. It is about speed, safety, and tool life. When sharp blades, drill bits, batteries, fasteners, and hand tools are tossed together, they can dull, rust, crack, leak, or damage one another. More importantly, a chaotic box slows down every project.
Professional DIYers think in systems. They organize tools by use, size, frequency, and protection needs. The hammer does not need to cuddle with delicate electrical testers. Screws should not roam freely like tiny metal livestock. Cordless tool batteries deserve their own safe, dry place. Once you organize your toolbox with those ideas in mind, the whole setup starts working with you instead of against you.
Step 1: Empty the Toolbox Completely
Start by taking everything out. Yes, everything. Dumping out a toolbox can be humbling, especially when you discover six utility knives, five pencil stubs, and a fossilized receipt from 2018. But you cannot organize what you cannot see.
Spread your tools on a workbench, floor, or piece of cardboard. Wipe down the empty toolbox, vacuum out dust and metal shavings, and check for rust, cracked plastic, damaged latches, or bent drawers. If the toolbox itself is failing, no organizer insert will save it. That is like putting a marble countertop on a canoe.
Sort Everything Into Four Piles
Create four basic groups: keep, relocate, repair, and remove. Keep the tools you use regularly. Relocate specialty tools that belong in a garage cabinet, vehicle kit, gardening bin, or plumbing tote. Repair tools with loose handles, dull blades, or sticky mechanisms. Remove broken items, unsafe tools, dried adhesives, stripped bits, and duplicates you never use.
Be honest about duplicates. Two tape measures can be useful. Nine tape measures suggest you have been emotionally shopping at the hardware store. Keep your best versions and donate, recycle, or responsibly dispose of the extras.
Step 2: Build Your Toolbox Around Real Projects
A common mistake is organizing tools by what looks neat instead of how projects happen. A pro DIYer thinks in workflows. When you hang a shelf, you need measuring, marking, drilling, fastening, leveling, and cleanup tools. When you fix a loose cabinet hinge, you need screwdrivers, bits, maybe a drill, and a small container of screws.
Group tools in ways that support actual work. A simple home repair toolbox might include sections for measuring and marking, fastening, gripping, cutting, drilling, electrical basics, small hardware, and safety gear.
Core Toolbox Categories
Measuring and marking: tape measure, pencil, marker, level, combination square, chalk line, and notepad.
Fastening: screwdrivers, driver bits, Allen keys, nut drivers, sockets, ratchets, adjustable wrench, and common screws.
Gripping and holding: pliers, locking pliers, clamps, needle-nose pliers, slip-joint pliers, and small vise grips.
Cutting: utility knife, spare blades, snips, small saw, wire cutters, and scissors.
Drilling and driving: cordless drill, impact driver, bits, batteries, charger, countersink bit, and bit index.
Safety and cleanup: safety glasses, gloves, dust mask, hearing protection, shop rag, small brush, and flashlight.
This approach makes your toolbox feel like a project assistant instead of a heavy box of metal confusion.
Step 3: Put the Most-Used Tools in the Easiest Spots
The best toolbox layout follows the “first reach” rule: the tools you use most should be easiest to grab and easiest to return. Top trays, outside pockets, shallow drawers, and front compartments are prime real estate. Do not waste that space on a specialty basin wrench you use once every presidential administration.
For a portable toolbox, place everyday hand tools in the lift-out tray. Store heavier tools in the bottom. For a tool bag, put frequently used screwdrivers, pliers, pencils, and tape measure in outer pockets. For a rolling tool chest, place precision tools and small accessories in upper drawers, medium hand tools in middle drawers, and heavy tools near the bottom.
Use the Weight Rule
Heavy tools belong low. This keeps the box stable and easier to carry. Put hammers, large wrenches, pry bars, and power tools in lower compartments. Small tools, bits, fasteners, and delicate measuring items belong higher or in protected organizers.
This simple rule prevents top-heavy toolboxes from tipping over, which is good because nothing says “I meant to do that” like chasing sockets across the garage floor.
Step 4: Control Small Parts Before They Take Over
Small parts are the glitter of the DIY world. Once loose, they appear everywhere forever. Screws, nails, washers, anchors, wire nuts, bits, blades, and hex keys need contained storage.
Use small lidded organizers, divided trays, modular bins, labeled cups, or drawer inserts. Clear containers are especially useful because you can see what is inside without opening every lid like a contestant on a very boring game show.
Label by Type and Size
Labels turn guessing into grabbing. Use simple names such as “wood screws,” “drywall anchors,” “machine screws,” “picture hangers,” “driver bits,” and “spare blades.” For hardware, include sizes when possible. A label that says “mystery screws” is honest, but it is not a system.
If you use both metric and SAE sockets or wrenches, separate them. Mixing them together guarantees that you will grab the wrong one while lying under a sink, which is exactly when patience leaves the building.
Step 5: Use Drawer Dividers, Foam, and Liners
Tool drawer organizers make a huge difference. Dividers create boundaries. Foam inserts keep tools from shifting during transport. Drawer liners reduce sliding, protect surfaces, and help prevent scratches. Socket rails, wrench racks, bit holders, and screwdriver racks are small investments that create a professional-feeling setup.
You do not have to buy fancy inserts for every drawer. Thin plywood, MDF strips, plastic bins, old food-storage containers, and cut-to-fit foam can work well. The best organizer is the one you will actually use after the project is over and your motivation has gone to lunch.
Try the “Missing Tool” Test
Foam cutouts and labeled slots make missing tools obvious. If there is an empty space where your 10 mm socket belongs, you know immediately. This is especially useful for sockets, wrenches, screwdrivers, and specialty bits that tend to vanish into parallel dimensions.
Step 6: Create a Grab-and-Go Repair Kit
Even if you own a larger garage tool chest, create a small grab-and-go kit for common household repairs. This compact toolbox should handle basic jobs such as tightening cabinet handles, hanging pictures, assembling furniture, changing outlet covers, adjusting hinges, and replacing batteries.
A practical grab-and-go kit might include a tape measure, multi-bit screwdriver, adjustable wrench, pliers, utility knife, level, small hammer, flashlight, painter’s tape, pencil, safety glasses, wall anchors, common screws, and a few zip ties. It should be light enough to carry without making you reconsider your life choices.
Keep specialty tools elsewhere. Plumbing tools, automotive tools, painting supplies, and large power tools can live in separate bins or drawers. A toolbox works best when it is focused, not when it tries to become a garage with a handle.
Step 7: Store Power Tools and Batteries Properly
Power tools need more space and more protection than hand tools. Store drills, drivers, saws, sanders, chargers, and batteries where they are dry, stable, and easy to access. Original cases are useful if you move tools often, but drawers, shelves, and modular boxes can work better for frequent use.
Keep batteries away from extreme heat, moisture, and loose metal objects. Do not toss batteries into a bin with screws, nails, or blades. Use battery holders, dedicated compartments, or a charging station. If a battery is cracked, swollen, leaking, unusually hot, or damaged, stop using it and follow the manufacturer’s disposal guidance.
Separate Chargers From Chaos
A charging station keeps batteries, chargers, and cords under control. Mount chargers on a shelf or board near an outlet, but avoid overcrowding the area. Label chargers if you own multiple brands. Cordless tools are wonderful until every charger looks like a black plastic toaster with commitment issues.
Step 8: Protect Sharp, Delicate, and Precision Tools
Some tools should not rattle around freely. Utility blades, chisels, drill bits, precision screwdrivers, measuring tools, electrical testers, and levels need protection. Use blade guards, bit cases, padded compartments, or dedicated pouches.
Levels should be stored where they will not be bent or dropped. Electrical testers should stay clean and dry. Drill bits should be grouped by type: twist bits, masonry bits, spade bits, driver bits, and specialty bits. Protecting these tools keeps them accurate and safer to use.
Step 9: Clean Before You Put Tools Away
A pro-looking toolbox starts with clean tools. After each project, wipe off dust, grease, adhesive, moisture, and debris. Dry metal tools before storing them to reduce rust. Add a light protective oil to certain metal surfaces when appropriate, especially if your garage is humid.
Check handles, cords, blades, and moving parts. Replace dull utility blades. Tighten loose handles. Remove damaged tools from the box so you do not accidentally use them later. A broken screwdriver does not become safer because it has been ignored for six months.
Step 10: Label the System So It Survives Real Life
Labels are not just for people who alphabetize soup cans. They help preserve your toolbox organization after a rushed repair. Label drawers, bins, trays, and small-parts containers. Use painter’s tape for temporary labels while testing a layout, then upgrade to printed labels or permanent marker once the system feels right.
If family members borrow tools, labels help them return items correctly. For expensive or frequently borrowed tools, add your name with paint marker, engraving, or colored tape. This will not stop every tool from wandering, but it gives it a fighting chance.
Step 11: Use a Simple Tool Inventory
A tool inventory sounds formal, but it can be as simple as a note on your phone. List major tools, battery platforms, specialty items, and replacement sizes. Take photos of each drawer or tray after organizing. Those photos become a visual reset guide.
An inventory also prevents duplicate buying. Before purchasing another set of drill bits, check what you already own. Many DIYers do not lack tools; they lack visibility. Once everything is organized, you may discover you are richer in screwdrivers than previously believed.
Step 12: Create a Reset Routine
The real secret to organizing a toolbox like a pro DIYer is not the first cleanup. It is the reset. At the end of every project, spend five minutes returning tools to their assigned homes. Throw away trash, refill screws, recharge batteries, and wipe down dirty tools.
Once a month, do a quick toolbox tune-up. Look for missing tools, dull blades, loose parts, duplicate clutter, and supplies that need replacing. This short habit keeps your toolbox from sliding back into chaos.
Common Toolbox Organization Mistakes
Keeping Every Tool in One Box
One toolbox should not hold your entire DIY life. Keep the daily-use tools close and store specialty tools by category. Plumbing, electrical, automotive, woodworking, painting, and garden tools often deserve separate kits.
Ignoring Small Parts
Loose fasteners are the number one reason toolboxes become messy. Contain them early. Label them clearly. Do not let them form a tiny metal civilization in the bottom of the box.
Buying Organizers Before Sorting
Do not buy trays, bins, or foam inserts until you know what you are storing. Otherwise, you may end up organizing the organizers, which is how Saturdays disappear.
Storing Dirty or Wet Tools
Moisture invites rust. Dirt and grit damage moving parts. Clean and dry tools before storing them, especially after outdoor, plumbing, or concrete-related projects.
Real-World Toolbox Experience: What Actually Works
The first time I seriously organized a toolbox, I made the classic mistake: I tried to make it look perfect instead of useful. I lined up screwdrivers by size, tucked wrenches into a neat row, and placed tiny containers of screws in a way that made my toolbox look ready for a photo shoot. Then I fixed one loose doorknob and the whole system collapsed like a folding chair at a backyard barbecue.
The problem was not the toolbox. The problem was that I had organized for appearance, not motion. When I worked, I needed a screwdriver, a bit, a screw, a pencil, and a flashlight within seconds. Instead, I had created a museum exhibit titled “Tools I Am Afraid to Touch.” That experience taught me the first real rule: your toolbox should be easy to mess up a little and easy to reset quickly.
One of the best changes I made was creating a small household repair kit. Before that, every minor repair required a trip to the garage, then another trip because I forgot the tape measure, then another trip because the screws were in a coffee can labeled “misc.” Now the grab-and-go box has the basics: multi-bit screwdriver, pliers, utility knife, level, tape measure, pencil, small hammer, anchors, screws, flashlight, and safety glasses. It does not hold everything, but it handles most ordinary household jobs. That one change saved more time than any fancy organizer.
Another lesson came from sockets. I used to keep them loose in a drawer because I believed I was a relaxed, flexible person. In reality, I was a person who spent ten minutes searching for the right socket while lying on cold concrete. Socket rails fixed that. Separating metric and SAE tools fixed even more. Suddenly I could see what I had, grab the size I needed, and notice immediately when one was missing. The mysterious disappearance of the 10 mm socket remains unsolved, but at least now the crime scene is organized.
Labels also proved their worth. At first, labeling felt unnecessary because I knew where everything was. Then someone borrowed a wrench, returned it to the screwdriver section, and my entire belief system was tested. Labels are not about intelligence; they are about reducing decisions. When every bin and drawer has a name, cleanup is faster, and other people have fewer excuses. The toolbox stops depending on memory and starts depending on the system.
I also learned that not every tool deserves prime real estate. My rarely used tile nippers once lived beside my everyday pliers. Why? No good reason. They were simply there first, like a bad roommate. Moving specialty tools into separate project bins made the main toolbox lighter and calmer. Plumbing tools went into one tote. Painting supplies went into another. Electrical items got a small labeled case. The main toolbox became focused on everyday repairs, and that made it much more useful.
Finally, the five-minute reset habit changed everything. After a project, I used to leave tools scattered because I was “basically done.” Unfortunately, “basically done” is where organization goes to die. Now I put tools back before calling the job finished. I wipe dirty tools, toss broken blades, return fasteners to their containers, and plug in batteries if needed. It is not glamorous. No one applauds. But the next project starts smoothly, and that feels like a tiny household miracle.
The real pro DIYer mindset is not perfection. It is repeatability. A great toolbox does not need to impress guests. It needs to help you fix a hinge, patch a wall, tighten a chair, hang a shelf, and find the right bit before your coffee gets cold. When your toolbox does that, you have won.
Conclusion: Build a Toolbox That Works as Hard as You Do
Organizing a toolbox like a pro DIYer is about designing a system around real use. Empty the box, sort ruthlessly, group tools by function, protect small parts, store heavy tools low, label everything, and create a reset routine. Add drawer dividers, foam inserts, socket rails, and small-parts organizers where they solve actual problems.
Your toolbox does not need to be showroom perfect. It needs to be fast, safe, durable, and easy to maintain. When every tool has a home, you spend less time searching and more time building, repairing, improving, and occasionally standing back with your hands on your hips like a proud contractor in a home renovation show.
Start small. Organize one tray, one drawer, or one tool bag today. By the next project, you will feel the difference. And when you find the screwdriver on the first try, try not to let the power go to your head.














