
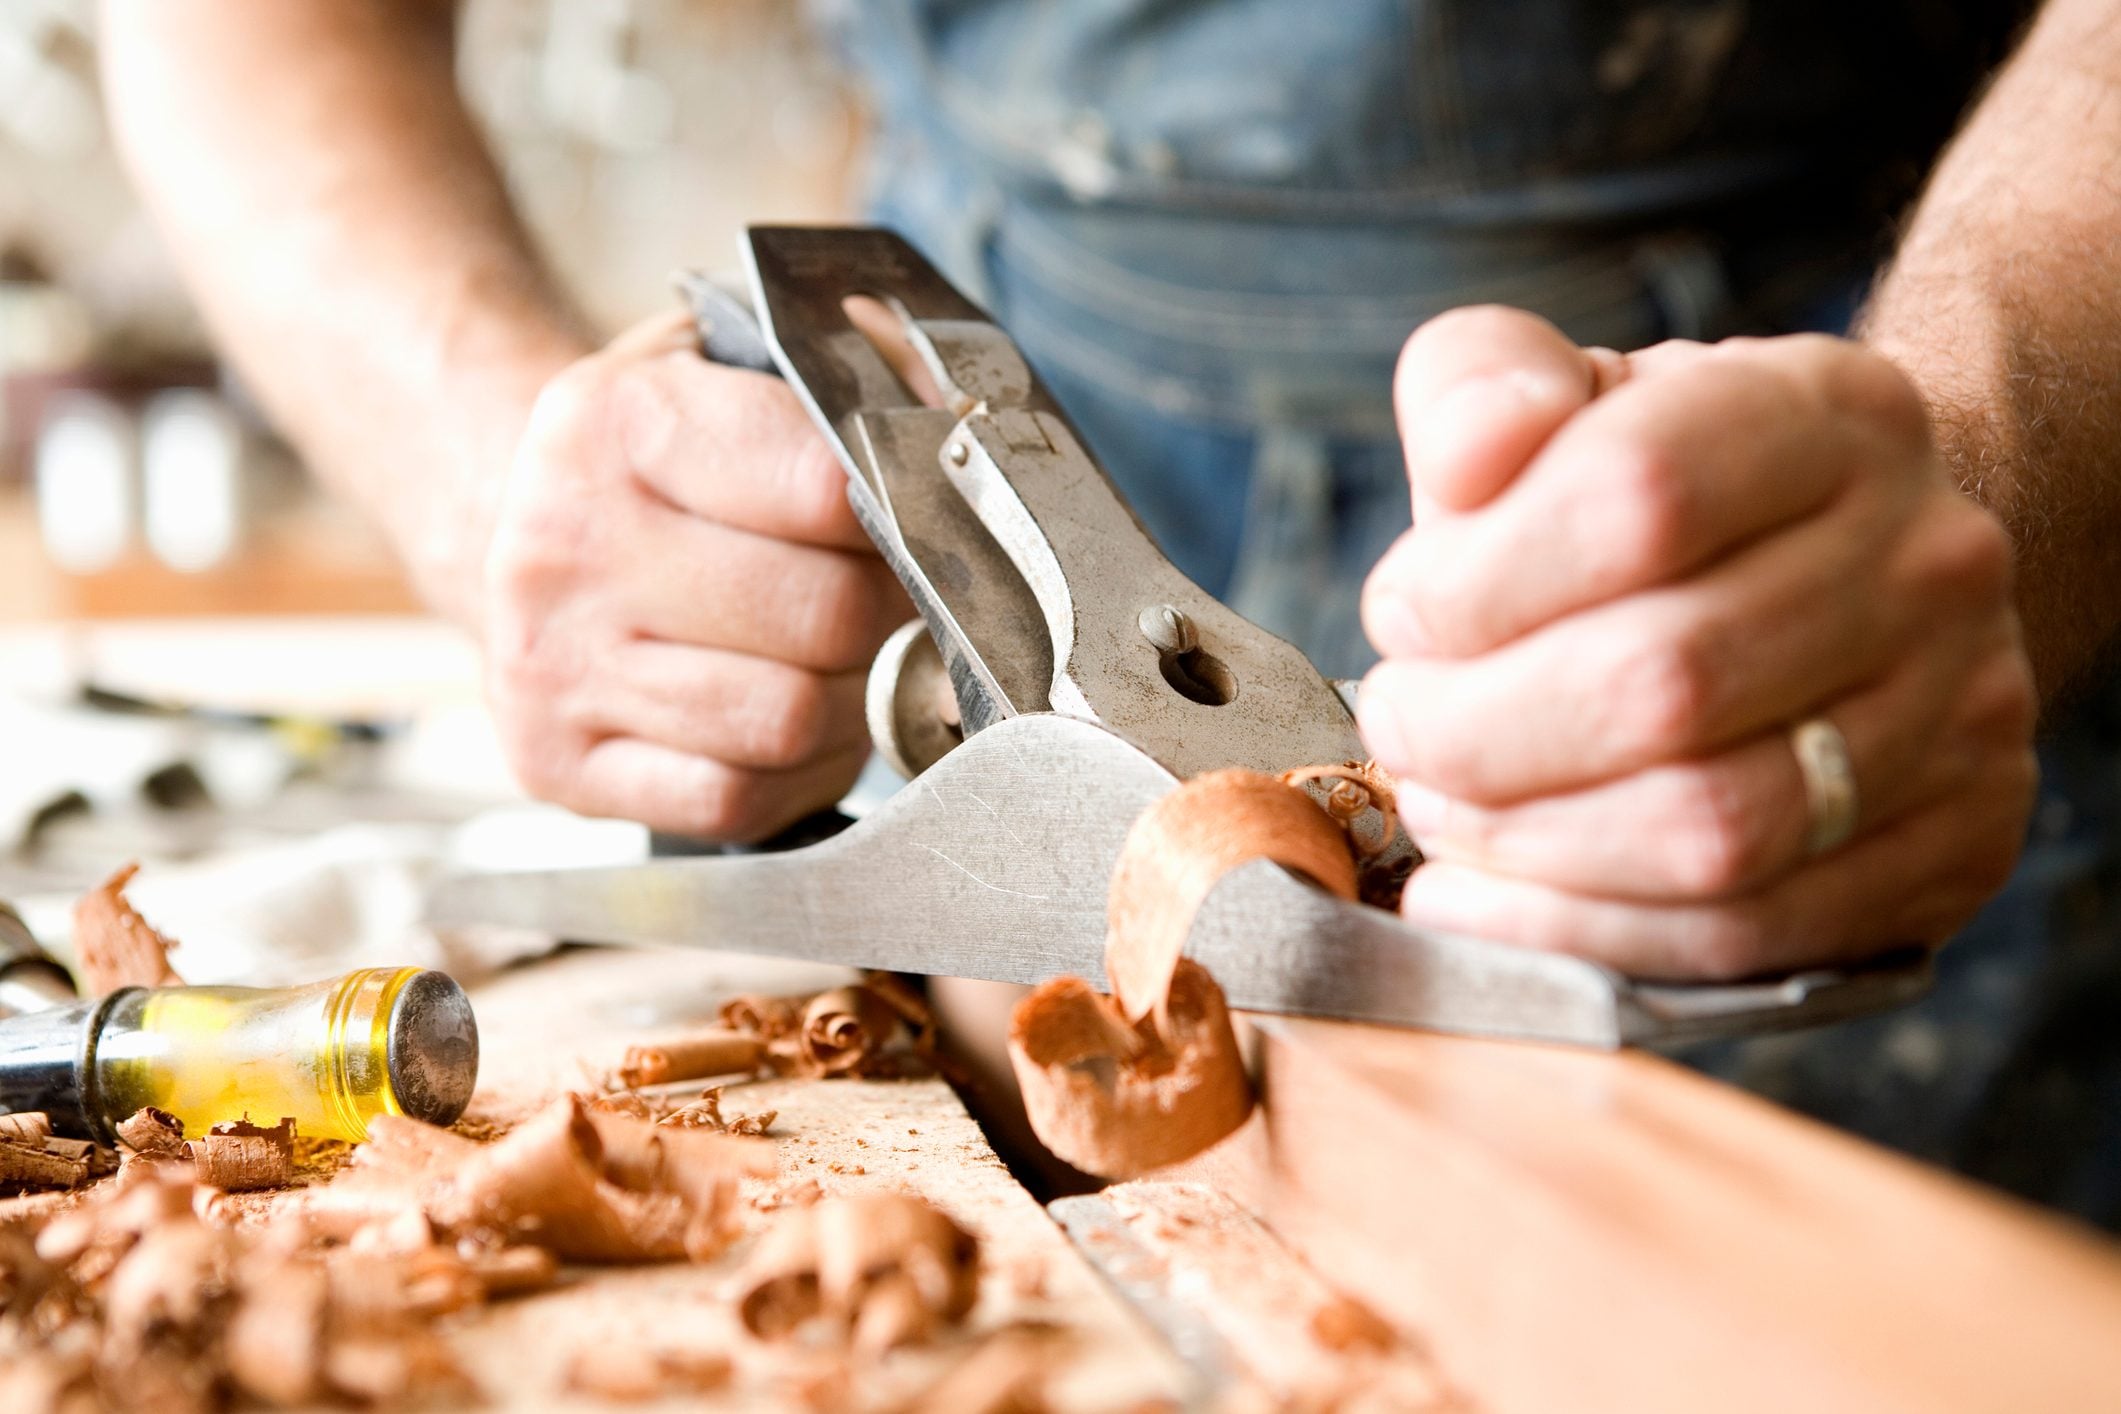
A hand plane is one of those tools that looks simple until it starts behaving like a moody housecat. One minute it glides across a board and curls up shavings so beautiful they deserve their own tiny art gallery. The next minute it chatters, jams, skips, tears grain, or produces sawdust that looks like it came from an angry beaver. The good news? Most hand plane problems are not mysterious. They usually come down to two things: the blade is not truly sharp, or the plane has not been tuned so all its parts work together.
Learning how to sharpen and tune up a hand plane is a core woodworking skill. Whether you are restoring an old Stanley-style bench plane, setting up a new smoothing plane, or trying to make a jack plane behave, the process follows a logical path: clean the tool, flatten the blade back, hone the bevel, fit the chipbreaker, check the sole, adjust the frog and mouth, then test the cut. Once you understand the order, the plane stops feeling like a puzzle box and starts feeling like a trusted shop companion.
This guide walks through the process in practical, no-nonsense steps. No magic chants. No secret handshake. Just sharp steel, flat reference surfaces, patient setup, and a few tricks that can save you from blaming the wood, the weather, or your great-grandfather’s tool-buying decisions.
Why a Hand Plane Needs Sharpening and Tuning
A hand plane works by presenting a sharp cutting edge to wood at a controlled angle. When everything is right, the blade slices fibers cleanly, the sole supports the work, the chipbreaker guides shavings away, and the mouth controls how much wood can rise ahead of the cut. When one part is off, the results show up immediately.
A dull blade crushes fibers instead of slicing them. A poorly fitted chipbreaker traps shavings. A warped or uneven sole can prevent a smoothing plane from taking consistent fine cuts. A loose frog or lever cap can cause chatter. A mouth opening that is too wide may allow tearout in difficult grain, while one that is too tight may clog faster than a kitchen sink after Thanksgiving dinner.
The goal is not to turn every hand plane into a museum piece. The goal is to make it a reliable user. A jack plane used for rough work does not need the same delicate setup as a smoothing plane used for final surfaces. Tune the tool for its job, and you will get better results with less fuss.
Tools and Supplies You Need
You do not need a luxury sharpening temple to tune a hand plane. You need reliable basics:
- Sharpening stones, diamond plates, waterstones, oilstones, or sandpaper on glass
- A flat reference surface such as thick glass, granite, marble, or a verified-flat machine table
- Coarse, medium, and fine abrasives
- A honing guide, especially if you are still training your hands
- Permanent marker for checking contact points
- Screwdriver that properly fits the plane screws
- Light oil, paste wax, or camellia-style tool oil for protection
- Small file or fine abrasive for chipbreaker work
- Straightedge for checking the sole
A honing guide is not cheating. It is a seatbelt. Many experienced woodworkers sharpen freehand, but a guide helps beginners create repeatable bevels without turning the blade into a shiny butter knife. Repeatability matters more than romantic suffering.
Step 1: Disassemble and Inspect the Plane
Start by taking the plane apart. Remove the lever cap, blade, chipbreaker, frog if needed, tote, knob, and obvious screws. Keep parts organized so the bench does not become a metal scavenger hunt.
Look for rust, cracks, missing screws, damaged threads, a bent lateral adjuster, a broken tote, or a chipbreaker that does not sit flat on the blade. A little surface rust is normal on old tools. Deep pitting near the cutting edge or a cracked casting is more serious. If the blade is too short from years of sharpening, replacement may be smarter than heroics.
Clean the parts with a rag, mild degreaser, or light abrasive pad. Remove resin and grime from the chipbreaker and frog. The goal is not to erase history. It is to remove anything that keeps parts from seating correctly.
Step 2: Flatten the Back of the Blade
The back of the blade forms one side of the cutting edge, so the area near the edge must be flat and polished. You do not need to flatten the entire blade back from top to bottom. Focus on the first half inch to one inch behind the cutting edge. That is the business end.
Color the back near the edge with a permanent marker. Place it flat on your coarse stone or abrasive surface. Rub it back and forth while keeping even pressure. Check the marker. The areas where the ink disappears are touching the abrasive; the remaining ink shows low spots.
Work through progressively finer grits until the area directly behind the cutting edge is evenly polished. This first flattening can take time, especially on older blades. Once done, maintenance is much faster. Think of it as paying the sharpening mortgage up front.
Step 3: Grind or Establish the Primary Bevel
Most bevel-down bench plane blades use a primary bevel around 25 degrees. If the bevel is badly rounded, chipped, or uneven, regrind it before honing. You can use a slow-speed grinder, coarse diamond plate, coarse sandpaper, or another controlled abrasive method.
Keep the blade cool if using a grinder. Overheating can damage the temper of the steel. If the edge turns blue, that is not “artisan patina.” That is trouble. Dip the blade often, use light pressure, and avoid rushing.
For a jack plane used for heavier stock removal, you may add a slight camber, or curve, to the cutting edge. For a smoothing plane, a very subtle camber or eased corners help prevent the blade from leaving track marks. For a jointer plane, the edge is often kept straighter, with only the corners softened.
Step 4: Hone a Sharp Secondary Bevel
After the primary bevel is shaped, hone a small secondary bevel. This is often around 30 degrees on a bevel-down bench plane blade. A secondary bevel saves time because you polish only a narrow strip at the edge rather than the whole bevel.
Set the blade in a honing guide or hold it freehand at the correct angle. Start with a medium stone, then progress to fine and extra-fine. Raise a small burr on the back of the blade. That burr tells you the abrasive has reached the edge. Then flip the blade over and remove the burr by laying the back flat on a fine stone.
A sharp edge should reflect almost no light. If you see shiny spots along the edge, those spots are dull. A sharp plane iron should slice paper cleanly, catch lightly on a fingernail, and leave fine shavings rather than dust. Do not test it on your thumb unless you enjoy learning lessons with bandages.
Step 5: Fit and Tune the Chipbreaker
The chipbreaker, also called the cap iron, sits on the back of the blade. Its job is to stiffen the blade, direct shavings, and help reduce tearout by bending the shaving as it exits the cut. But it only works if its leading edge fits tightly against the blade.
Attach the chipbreaker to the blade and hold it up to a light. If you see a gap between the chipbreaker and the blade, shavings will find that gap and wedge themselves inside. Once that happens, your plane will clog, sulk, and make you question your hobbies.
To fix the fit, polish or carefully file the underside of the chipbreaker’s leading edge until it contacts the blade fully. Remove any burr. Smooth the top surface where shavings flow, because roughness there can cause drag. For general work, set the chipbreaker about 1/16 inch back from the cutting edge. For fine smoothing, move it closer. For rough work, back it off a bit more to allow heavier shavings.
Step 6: Check the Frog and Bedding Surfaces
The frog supports the blade. If the frog is loose, dirty, or poorly seated, the blade can vibrate. Vibration creates chatter, and chatter creates surfaces that look like tiny washboards.
Clean the frog seat and the contact surfaces on the body. Tighten the frog screws securely, but do not treat them like lug nuts on a pickup truck. Check that the blade beds evenly against the frog. Some older or inexpensive planes benefit from light flattening of the frog face, but remove only what is necessary.
The frog position also affects the mouth opening on many bench planes. Move the frog forward for a tighter mouth and finer shavings. Move it back for thicker shavings and rougher cuts. A smoothing plane usually likes a tighter mouth. A jack plane used for rough work needs more room to breathe.
Step 7: Flatten the Sole Where It Matters
A plane’s sole does not always need to be polished like jewelry. What matters most is that the toe, the area just in front of and behind the mouth, and the heel are in the same plane. For smoothing work, flatness becomes more important because the blade takes extremely fine shavings.
Before lapping the sole, assemble the plane with the blade retracted. This puts the body under working tension. Mark the sole with a permanent marker or pencil grid. Place coarse abrasive paper on a flat reference surface and move the plane forward and back with even pressure on the tote and knob. Do not rock the plane. Let the abrasive show you the high spots.
If the marker disappears evenly at the toe, around the mouth, and at the heel, you are in good shape. If only a few isolated areas touch, continue carefully. Start with coarse grit only if necessary, then refine with medium grit. Do not spend three days trying to make the entire bottom look like a chrome bumper. A working plane needs function, not vanity.
Step 8: Ease Sharp Edges and Protect the Tool
Lightly ease the side edges of the sole with a fine file or abrasive. This prevents sharp corners from scratching workpieces and protects the plane from small dings. Do not round the bottom edges aggressively, especially near the mouth. A tiny chamfer is enough.
Apply a thin coat of oil or paste wax to bare metal surfaces. Wax on the sole also helps the plane glide more easily. You are not greasing a frying pan; a light film is plenty. Too much oil attracts dust and turns into shop gravy.
Step 9: Reassemble and Adjust the Blade
Reinstall the frog, blade, chipbreaker, and lever cap. The lever cap should hold the blade firmly but still allow depth adjustment. If the lever cap is too loose, the blade can shift. If it is too tight, adjustment becomes frustrating and may damage parts.
Retract the blade fully. Sight down the sole against a light background and slowly advance the blade until the edge just appears. Use the lateral adjustment lever to make the projection even from side to side. Then take a test cut on straight-grained scrap wood.
Start with a very light cut. Advance the blade gradually until the plane produces thin, continuous shavings. If one side cuts deeper, adjust laterally. If the plane jams, check the chipbreaker and mouth. If it chatters, check blade sharpness, lever cap tension, frog seating, and blade support.
Step 10: Tune for the Type of Plane
Smoothing Plane
A smoothing plane is for final surface quality. It likes a very sharp blade, fine shaving, tight mouth, well-fitted chipbreaker, and flat sole. Set the blade for whisper-thin cuts. If the shaving looks like tissue paper and the board shines, you are winning.
Jack Plane
A jack plane is the shop workhorse. It can flatten, rough dimension, and remove material quickly. A cambered blade helps take thicker shavings without leaving deep corner tracks. The mouth can be more open than a smoother’s mouth.
Jointer Plane
A jointer plane uses length to bridge low spots and trim high spots. It needs a straight or barely cambered edge and a sole that is accurate enough to register across long boards. Use it for flattening faces and jointing edges.
Block Plane and Bevel-Up Planes
Bevel-up planes use the blade bevel as part of the cutting angle. A low-angle plane with a 12-degree bed and 25-degree bevel gives a low cutting angle, useful for end grain. Honing a higher bevel increases the effective cutting angle, which can help with difficult grain.
Common Hand Plane Problems and Fixes
The Plane Will Not Cut
The blade may be retracted, installed backward, dull, or not projecting evenly. Check the bevel orientation, advance the blade slowly, and confirm the edge is truly sharp.
The Plane Clogs Constantly
Look at the chipbreaker first. If there is any gap between the chipbreaker and blade, shavings will wedge under it. Also check whether the mouth is too tight for the shaving thickness.
The Plane Chatters
Chatter usually means vibration. Sharpen the blade, tighten the lever cap slightly, make sure the frog is secure, and confirm the blade is properly bedded.
The Plane Tears Out the Grain
Take a lighter cut, sharpen the blade, move the chipbreaker closer to the edge, close the mouth, or plane with the grain. For stubborn figured wood, try a higher cutting angle or a back bevel.
The Plane Leaves Tracks
The blade corners may be sharp. Ease the corners or add a slight camber. Also check lateral adjustment so one corner is not digging deeper than the other.
How Often Should You Sharpen a Hand Plane?
Sharpen when performance drops. That may be after several boards in abrasive hardwood, or after much longer in soft, clean stock. Do not wait until the plane is miserable. A quick touch-up takes minutes. Restoring a neglected edge takes much longer.
Woodworkers often develop a rhythm: work, notice resistance increasing, hone the micro-bevel, remove the burr, go back to work. The best sharpening routine is the one you actually use. A modest setup used often beats an expensive system that sits untouched because it feels like launching a space mission.
Safety Tips for Sharpening and Tuning
Plane blades are short, wide, and very capable of biting fingers. Handle them with respect. Keep your hands behind the cutting edge, store blades safely, and avoid loose parts near the bench edge. When using grinders, wear eye protection and keep the steel cool. When lapping soles, secure your abrasive so the plane does not skate off the surface and audition for the floor.
Experience Notes: What Tuning a Hand Plane Teaches You
The first time you tune a hand plane, it may feel like you are fixing twelve tiny problems at once. That is normal. The plane is a system, and every part affects the others. The blade can be sharp, but if the chipbreaker has a gap, shavings jam. The sole can be flat, but if the frog is loose, the cut chatters. The frog can be perfect, but if the blade is dull, the plane simply refuses to perform. This is why experienced woodworkers work methodically instead of randomly tightening screws and hoping for a miracle.
One useful habit is to change only one thing at a time. If the plane clogs, fix the chipbreaker before moving the frog, regrinding the blade, flattening the sole, and questioning the meaning of life. If the plane cuts heavier on the left, adjust the lateral lever before touching anything else. Careful troubleshooting saves time and helps you understand what each adjustment actually does.
Another lesson is that sharpness is not a vague feeling. A truly sharp plane iron changes the sound of the tool. Instead of scraping or growling, the plane makes a smooth, steady whisper. The shaving exits in a ribbon. The surface behind the plane looks clean, not fuzzy. Once you experience that, you stop accepting “sort of sharp” as good enough. Sort of sharp is for pencils in a junk drawer, not plane irons.
Restoring an old plane can also teach patience. Vintage planes often have good bones, but they may arrive with rust, mystery grease, mismatched screws, and a blade last sharpened during the disco era. The temptation is to make every surface perfect. Resist that. Focus on performance. Flatten the blade back where it matters, hone a clean bevel, fit the chipbreaker, make sure the frog seats securely, and confirm the sole has the critical points in line. Then test it on wood. The board will tell you more than your reflection in the polished sole.
New planes can need attention too. Even a well-made plane benefits from a fresh honing and careful setup. Budget planes may need more tuning; premium planes usually need less. But no plane is exempt from sharpening. A hand plane is not a plug-and-play gadget. It is closer to a musical instrument. You tune it, learn its responses, and make small adjustments until it sings.
There is also a pleasant side effect: sharpening and tuning slow you down in a useful way. In a shop full of screaming routers and dust collectors, a tuned hand plane feels almost civilized. You read the grain, shift your stance, adjust the cut, and watch shavings gather on the bench. It is quiet enough to hear mistakes before they become expensive. It is also satisfying in a way sandpaper can never quite match. Sandpaper makes dust. A sharp plane makes evidence.
With practice, the whole process becomes less dramatic. A quick hone, a tiny lateral adjustment, a swipe of wax on the sole, and the tool is back in service. The hand plane becomes less of a fussy antique and more of a daily problem-solver. It trims doors, flushes proud joinery, levels panels, cleans edges, and leaves surfaces ready for finish. That is the payoff: not just a sharper blade, but a better relationship with wood.
Conclusion
Sharpening and tuning a hand plane is not complicated, but it does reward patience. Start with a clean tool. Flatten the back of the blade near the edge. Hone a consistent bevel. Fit the chipbreaker so no light shows beneath it. Check the frog, lever cap, mouth, and sole. Then test the plane on real wood and make small adjustments until the shavings are thin, even, and satisfying.
Once you learn how to sharpen and tune up a hand plane, you gain more than a better tool. You gain control. You can fix tearout, reduce chatter, smooth difficult boards, and turn rough surfaces into clean, touchable wood. And yes, you also gain the right to admire a perfect shaving for a few seconds before sweeping it into the trash like a humble woodworking poet.










