
Vinyl fabric is durable, wipeable, and blessed with the magical ability to make a tired chair, boat seat, bench cushion, or headboard look brand-new. It is also a little dramatic. Pull it too hard and it can distort. Blast it with too much heat and it may scorch, stiffen, or lose its finish. Pin it carelessly and it will remember your mistake forever. Vinyl does not forgive the way cotton sometimes does.
The good news is that learning how to stretch vinyl fabric is absolutely doable, even for beginners. The trick is understanding that vinyl is not just “fabric with attitude.” It behaves differently depending on its backing, thickness, finish, and stretch direction. Some vinyl stretches mostly one way. Some gives in two directions. Four-way stretch vinyl can hug curves beautifully, while structured upholstery vinyl prefers flatter surfaces and cleaner lines.
So if your goal is a smooth, wrinkle-free finish, do not think brute force. Think controlled tension, gentle heat, smart positioning, and patience. In other words, treat vinyl like a cat: firm guidance, no sudden nonsense, and definitely no panic. Below is a practical, step-by-step guide to stretching vinyl fabric the right way.
Why Vinyl Fabric Can Be Tricky to Stretch
Before jumping into the steps, it helps to know what you are working with. Vinyl is usually made with a coated surface and a fabric backing. That means it can look flexible on top but behave more rigidly underneath. It may also resist feeding through a sewing machine, show holes permanently, and react quickly to heat.
That is why successful vinyl work usually comes down to four things: choosing the right vinyl for the shape you are covering, warming it carefully, stretching it in small stages, and securing it in a logical order. If you skip any of those, wrinkles, puckers, and “why is this corner fighting me?” moments tend to appear.
What You Will Need
- Vinyl fabric
- A clean work surface
- Hair dryer, garment steamer, or heat gun on low
- Staple gun or upholstery tacks if you are wrapping a base
- Clips instead of pins
- Sharp scissors or rotary cutter
- Soft cloth or smoothing tool
- Heavy-duty needle and strong thread if sewing is involved
- Teflon foot or walking foot for machine sewing
How to Stretch Vinyl Fabric in 11 Steps
-
Step 1: Identify the stretch direction before you do anything else
Not all vinyl stretches the same way. Some vinyl has very little give, while some upholstery and marine vinyl can stretch significantly. Lay the material flat and gently pull it side to side, then top to bottom, then diagonally. You are looking for the direction with the most flexibility.
This matters because the stretch direction should work with the shape you are covering. If the deepest curve or contour runs side to side, you usually want the greatest stretch moving in that direction. This one habit can save you from a mountain of ugly corner wrinkles later.
-
Step 2: Let the vinyl relax and warm up naturally first
If your vinyl has been folded, rolled tightly, or stored somewhere chilly, give it time to loosen up at room temperature. Cold vinyl is stiffer, less cooperative, and more likely to fight every move like a teenager asked to clean the garage.
Unroll it, lay it flat, and let it rest. If there are creases, do not attack them with high heat right away. Start by giving the material time to settle on its own. Often, mild warmth and gravity do more than people expect.
-
Step 3: Test a hidden scrap with gentle heat
Heat is one of the best ways to make vinyl more pliable, but it has to be used with restraint. A hair dryer, garment steamer, or low heat gun can help soften the surface and reduce wrinkles. The key phrase is gentle heat, not “let’s see what happens if I roast it.”
Always test a scrap or an inconspicuous area first. Keep the heat source moving, use a low setting, and never hold it too close for too long. Thin vinyl, clear vinyl, and lower-quality vinyl can get damaged quickly. If the surface becomes overly shiny, tacky, or discolored, back off immediately.
-
Step 4: Cut the vinyl with enough extra material to pull
Do not cut your piece too close to the final size. Vinyl needs enough excess around the edges so you can grip it, tension it, and secure it without turning the job into a wrestling match. For many upholstery projects, leaving a generous border makes the difference between smooth shaping and corner chaos.
If you are covering a dining chair seat, stool top, or cushion board, extra overhang gives you room to pull from opposite sides evenly. It is far easier to trim excess later than to explain why you are suddenly half an inch short on the last corner.
-
Step 5: Position the vinyl so the best stretch hits the hardest curve
Once you know the stretch direction, rotate the vinyl so the most flexible axis aligns with the area that needs the most shaping. For example, a rounded motorcycle seat nose, curved boat cushion, or rolled headboard edge often benefits from the stretchiest direction running into that contour.
This is one of those professional-looking details that beginners often miss. Good positioning lets the vinyl flow into the shape. Bad positioning forces the backing to resist, which usually produces drag lines, bunching, and that one stubborn wrinkle that behaves like it pays rent.
-
Step 6: Start from the center, not the corners
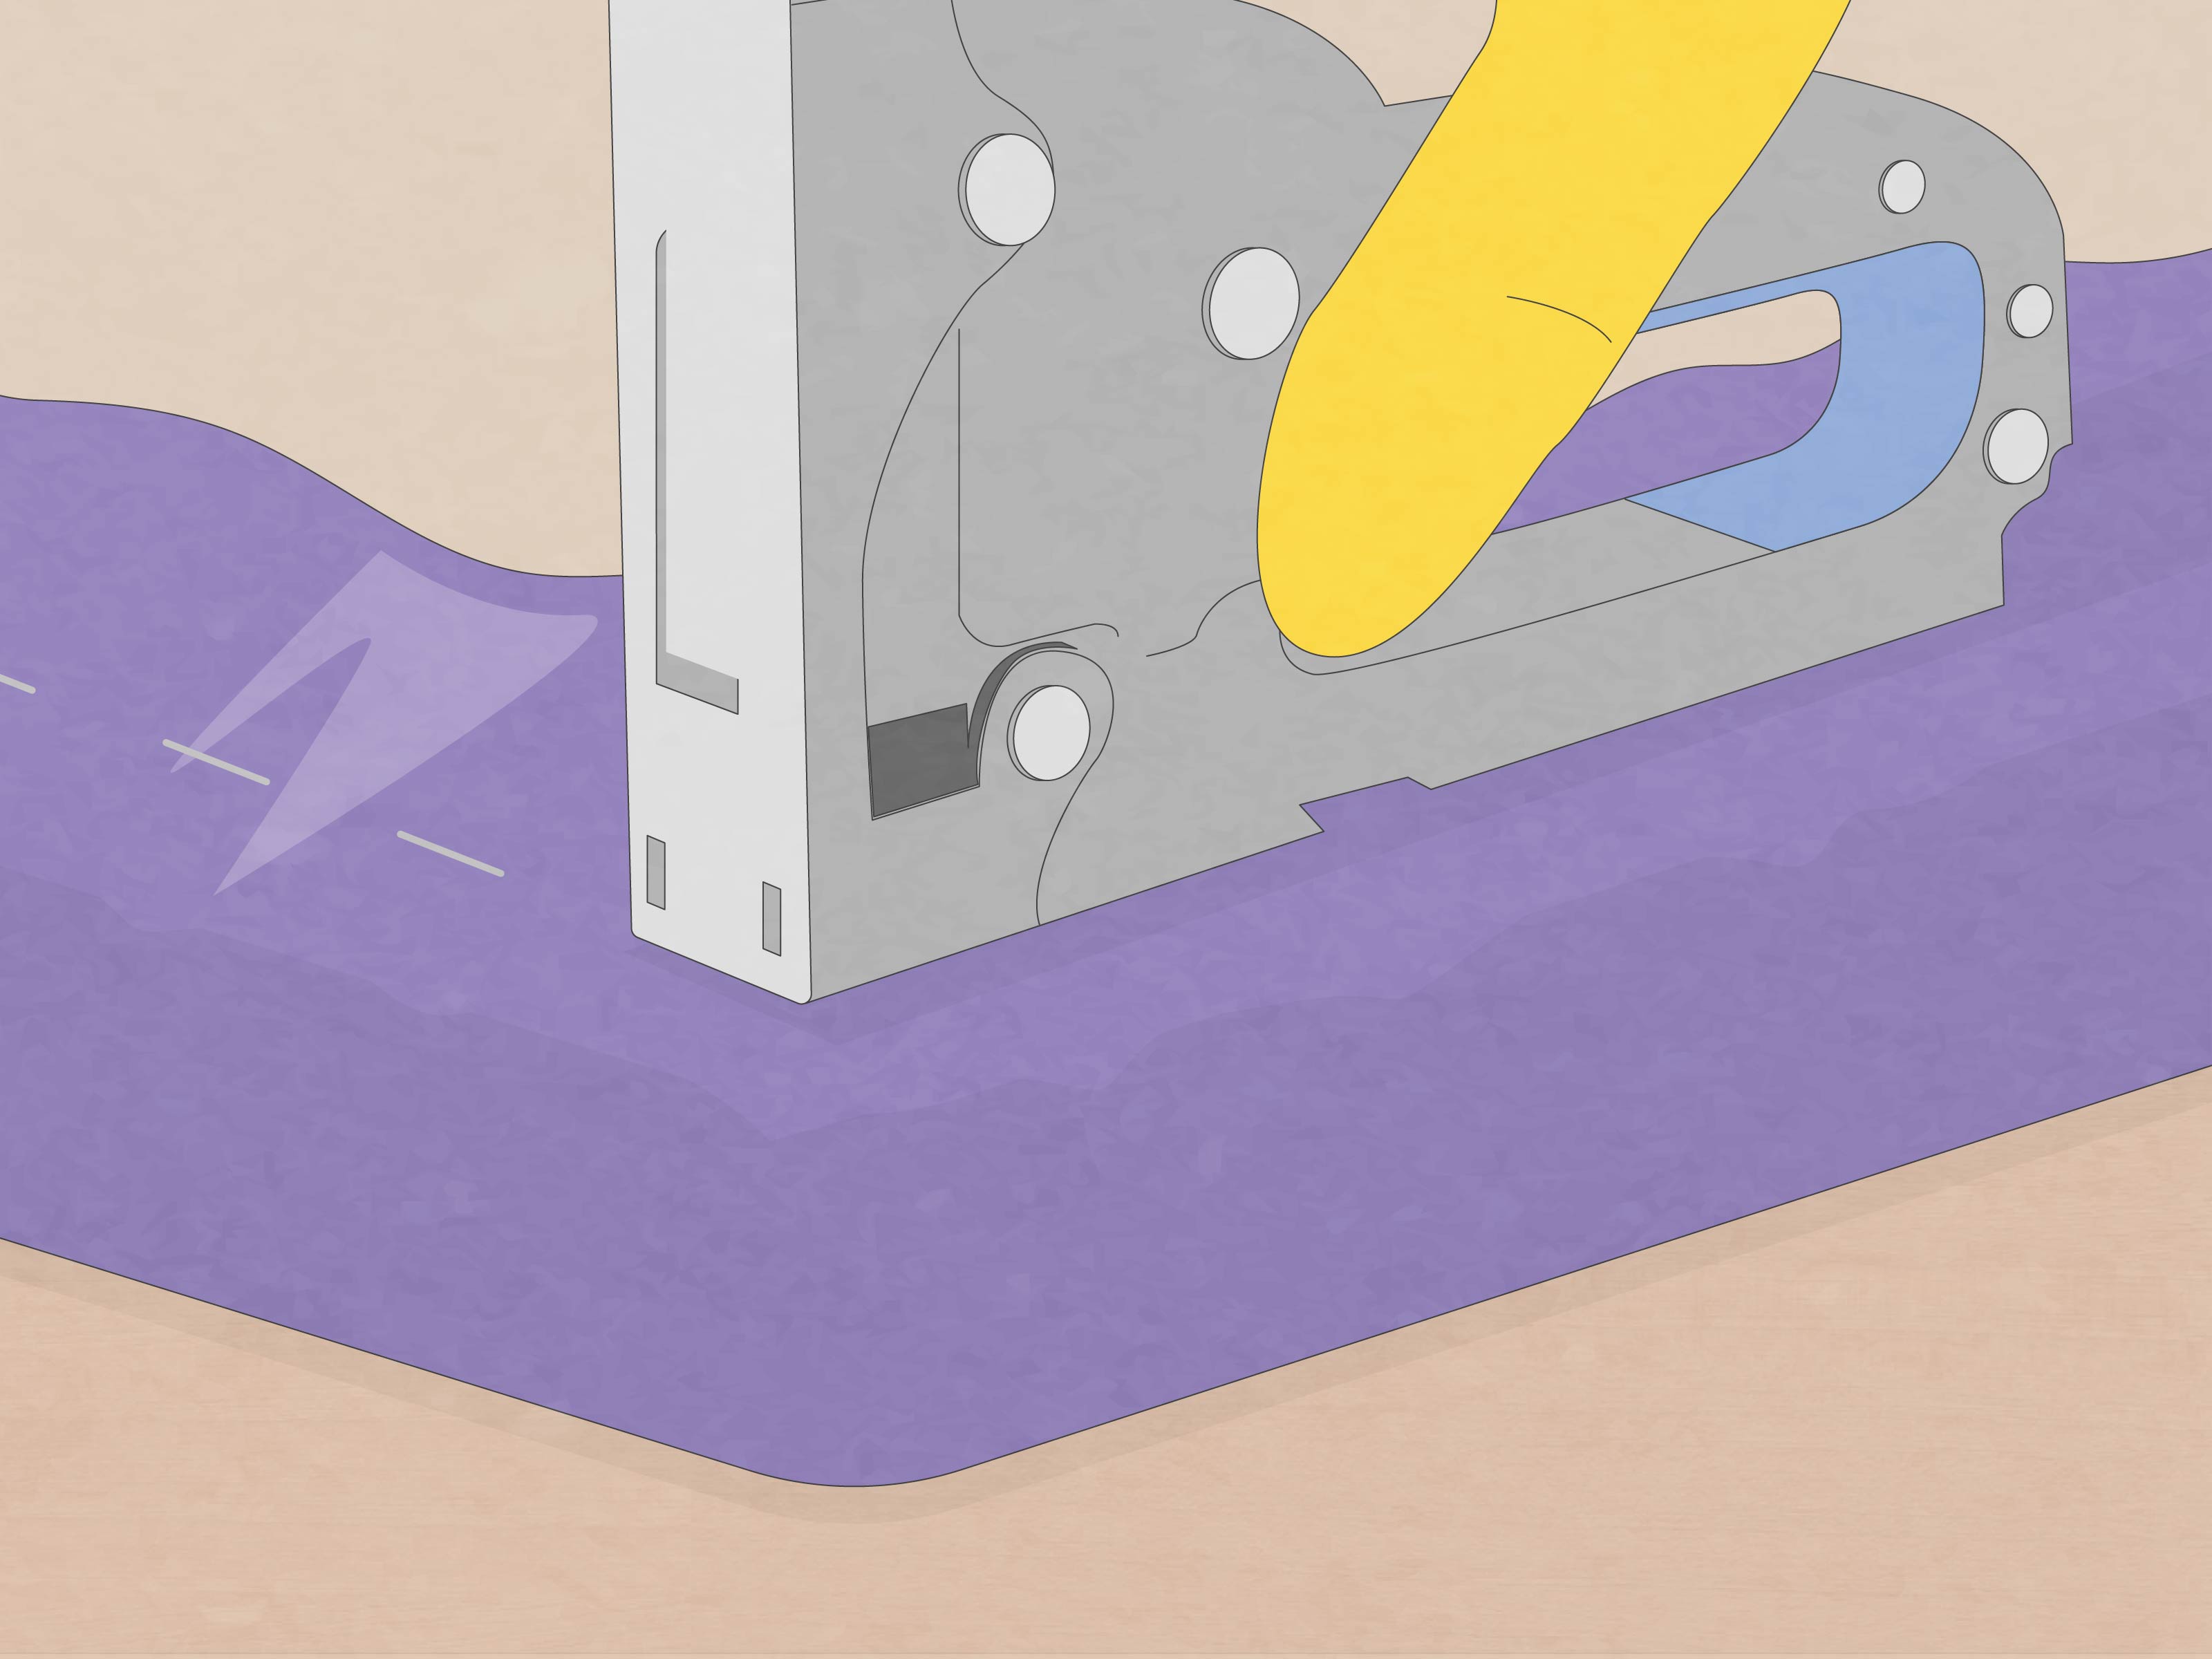
When attaching vinyl to a base, begin at the center of one side and secure it lightly. Then move to the center of the opposite side and pull with even tension before fastening again. Repeat on the remaining two sides. This creates a balanced foundation.
Starting at corners is a classic mistake because it locks the material too early and traps excess where you do not want it. By working from the center outward, you distribute tension more evenly and reduce the chance of puckers forming around the edges.
-
Step 7: Apply heat in short passes while stretching in small increments
Now comes the magic. Warm a section lightly, then pull it just enough to smooth the surface. Secure that area. Move to the next section. Repeat. Vinyl usually responds better to several small adjustments than to one giant yank that makes you feel strong but solves nothing.
Use your free hand or a soft cloth to smooth the material as you go. If you see a wrinkle forming, stop and reset the tension before you secure more staples or stitches. Heat can help the vinyl relax, but it should never be used as a substitute for proper positioning.
-
Step 8: Use clips, not pins, if you are sewing or pre-positioning pieces
Vinyl remembers every hole. Unlike some woven fabrics, it does not bounce back nicely after being pierced. That means standard pins can leave permanent marks, especially in visible areas.
Use sewing clips, binder clips, or other non-puncturing holders when you need to keep layers aligned. If you must mark the vinyl, use removable methods designed for the material and test them first. Permanent mystery lines are rarely part of the design plan.
-
Step 9: Handle corners and curves with patience, relief, and repositioning
Curves are where vinyl either looks custom-made or deeply offended. On outside curves, you often need to warm the material and stretch it gradually around the shape. On inside curves or complex edges, you may need relief notches on the hidden seam allowance or back side so the vinyl can spread without bunching.
The goal is a smooth visible face, even if the hidden underside looks a little busy. Upholstery is often like that: the front gets the glamor shot, while the back does the unpaid labor. Just make sure any relief cuts stay in the hidden area and do not weaken the finished edge.
-
Step 10: Sew smart if your project involves seams
If you are stitching vinyl rather than simply wrapping it, machine setup matters. Use a heavy-duty or leather-style needle, strong thread, and a slightly longer stitch length. Longer stitches help reduce over-perforation and give the seam a cleaner look.
A Teflon foot or walking foot can also make a huge difference because vinyl tends to stick under standard presser feet. Sew slowly, keep the feed even, and do not rip out stitches casually. Every needle hole counts. If your seam line needs to be perfect, practice on scrap first and thank yourself later.
-
Step 11: Let the vinyl cool, set, and then trim the excess
Once the surface is smooth and secure, let the vinyl cool in place. This helps it hold the shape you just worked so hard to create. Do not rush straight to trimming while the material is still warm and shifting.
After it settles, inspect the surface from multiple angles in good light. If everything looks smooth, trim the extra material neatly and finish the underside or seam edges as needed. A final wipe with a soft cloth helps remove fingerprints and gives the project that satisfying “yes, I made this” finish.
Common Mistakes to Avoid
Using too much heat
Too much heat can warp, gloss, burn, or weaken vinyl. Low and slow wins this race every time.
Pulling too hard in one direction
Overstretching can distort the grain, shift the backing, or create tension lines that look worse than the original wrinkle.
Securing corners first
This traps excess fabric where it should not be and makes the rest of the job harder.
Using pins in visible areas
Permanent holes are not decorative details. Use clips whenever possible.
Ignoring the type of vinyl
A stiff construction vinyl and a soft four-way stretch vinyl are not going to behave the same way. Match the material to the project.
Best Uses for Stretched Vinyl Fabric
Once you know how to stretch vinyl fabric properly, a lot of DIY projects open up. You can recover dining chair seats, make cleaner-looking bench cushions, refresh boat seating, wrap small padded wall panels, re-cover stools, and improve automotive or motorcycle trim pieces. Soft, stretchy vinyl can be especially helpful on rounded or contoured surfaces, while firmer vinyl tends to shine on flatter panels and structured cushions.
That said, vinyl is not always the best choice for every project. If the item needs a very breathable textile or a drapey, soft fold, vinyl may not be ideal. But for wipe-clean durability, polished upholstery, and weather-resistant appeal, it earns its spot in the workroom.
Practical Experiences and Lessons Learned When Stretching Vinyl Fabric
Anyone who has worked with vinyl for more than ten minutes learns the same humbling lesson: the material always looks easier in your head than it does on the bench. A flat piece of vinyl seems harmless. Then you try wrapping it around a curved stool seat, and suddenly you are negotiating with four corners, a staple gun, and your own life choices.
One of the biggest real-world lessons is that vinyl rewards preparation more than strength. Beginners often assume the answer is to pull harder. In practice, the better answer is usually to reposition the material, warm it lightly, smooth it with your palm, and secure it in a better sequence. A project that feels impossible at first can become surprisingly manageable the second you stop fighting the fabric and start guiding it.
Another common experience is discovering how much the right vinyl matters. A softer, more flexible vinyl can glide around rounded corners and seat contours with far less drama. A firmer vinyl may look fantastic on flatter furniture panels but become stubborn on deep curves. That is why experienced makers do not just ask, “Is this vinyl pretty?” They ask, “Will this vinyl behave?” That is a much smarter question.
Heat is another area where people usually learn by trial, and sometimes by a small, regrettable shiny patch. Gentle heat can feel like a miracle. A wrinkle that looked permanent five minutes ago suddenly softens and lies down like it remembered its manners. But too much heat can turn that same area into a glossy warning label. Over time, most people develop a simple rule: warm the vinyl just enough to relax it, never enough to bully it.
There is also a practical rhythm that comes with experience. Secure the center. Check the face. Pull the opposite side. Check again. Warm the next section. Smooth with your hand. Step back. Look at the surface from another angle. People who rush usually end up redoing part of the project. People who pause and evaluate as they go generally get cleaner results with less frustration.
Then there are corners, the tiny villains of upholstery. Almost every vinyl project looks wonderful until the corners enter the chat. That is where patience earns its paycheck. Warming the material, making hidden relief adjustments when necessary, and accepting that the underside may look busier than the visible face are all part of the craft. Professional results are often less about perfection everywhere and more about placing the perfection where people will actually see it.
Finally, the most encouraging experience is this: your second vinyl project will almost always feel easier than your first. You begin to recognize how the material reacts, how much pull is enough, and when heat is helping versus hurting. What felt intimidating starts to feel mechanical, then comfortable, then oddly satisfying. And that is when vinyl stops being the scary fabric in the corner and starts becoming one of the most useful materials in your DIY arsenal.














