
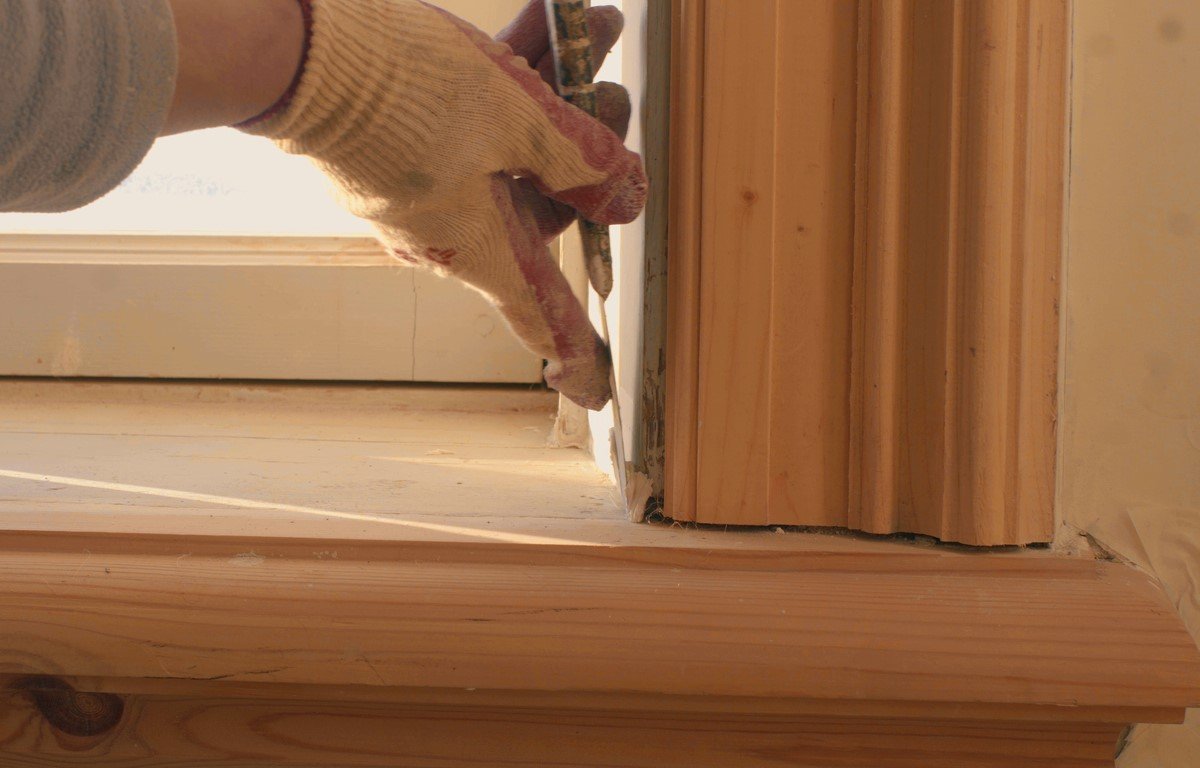
Wood is beautiful, warm, timeless, and apparently very committed to collecting scratches, dents, chips, claw marks, chair-leg bruises, mystery gouges, and the occasional “how did that even happen?” scar. The good news is that most small-to-medium wood damage does not require replacing a board, buying a new table, or pretending a strategically placed plant is part of your design vision. With the right wood filler, a putty knife, sandpaper, and a little patience, you can make scratches and gouges look dramatically bettersometimes nearly invisible.
This guide explains how to use wood filler for repairing scratches and gouges on furniture, trim, cabinets, doors, baseboards, and wood floors. We will cover how to choose the right filler, prepare the damaged area, apply the product smoothly, sand it properly, and finish the repair so it blends with the surrounding surface. Think of wood filler as cosmetic surgery for wood: when done carefully, nobody needs to know what happened.
What Is Wood Filler?
Wood filler is a repair material designed to fill holes, cracks, scratches, gouges, chips, and surface imperfections in wood. Once dry or cured, many wood fillers can be sanded, painted, stained, or sealed. Some are water-based and easy to clean up; others are solvent-based, stronger-smelling, and tougher once cured. Epoxy-style fillers are often used for bigger repairs or damaged exterior wood where durability matters.
The main keyword here is wood filler, but you may also hear terms like wood putty, stainable wood filler, paintable wood filler, wood repair compound, or furniture repair filler. These products are related, but they are not always interchangeable.
Wood Filler vs. Wood Putty
Wood filler usually hardens and can be sanded after it dries. It is commonly used on unfinished or repair-ready wood, especially when you plan to sand, paint, stain, or refinish the area afterward. Wood putty, on the other hand, often stays somewhat flexible and is commonly used for small repairs on already-finished wood. It is useful for nail holes, tiny scratches, and minor cosmetic blemishes, but it is not always the best choice for deep gouges that need sanding and shaping.
Here is the easy rule: if the repair needs to be sanded flush, choose wood filler. If you are touching up a tiny mark on finished trim or furniture and do not want to sand, wood putty or a wax repair stick may be the better option.
When Should You Use Wood Filler?
Wood filler is ideal for repairing shallow scratches, deeper gouges, nail holes, small chips, cracks, dents where wood fibers are missing, and gaps in painted trim. It works especially well when the surface will be painted, because paint hides slight differences in color and grain. Staining is possible with many fillers, but it requires more testing because filler does not absorb stain exactly like real wood. Wood has personality; filler has a résumé.
Use wood filler for:
- Scratches in wooden furniture
- Gouges in doors, cabinets, or baseboards
- Nail holes in trim or molding
- Small chips along wood edges
- Minor damage in hardwood floors
- Paint-grade wood repairs before refinishing
Do not rely on regular wood filler for major structural damage, rotten wood that is still soft, loose boards, broken chair legs, or areas that must hold screws or heavy loads. For those jobs, you may need epoxy filler, wood hardener, replacement wood, or a professional repair.
Choosing the Right Wood Filler for Scratches and Gouges
The best wood filler depends on the type of damage, the location, and the final finish. Before buying anything, ask three questions: Is the wood indoors or outdoors? Will it be painted or stained? Is the damage shallow, deep, or on a high-traffic surface?
Water-Based Wood Filler
Water-based wood filler is beginner-friendly, low-odor, and easy to clean with water before it dries. It is great for indoor furniture, trim, cabinets, and small repairs. It usually sands easily and works well under paint. Some water-based fillers are stainable, but you should test first because “stainable” does not always mean “magically identical to walnut.”
Solvent-Based Wood Filler
Solvent-based fillers are often tougher and may dry faster on shallow repairs. They can be useful for doors, trim, and surfaces that need a harder patch. Because they can have stronger fumes, good ventilation is important. Open a window, turn on a fan, and give your nose a fighting chance.
Epoxy Wood Filler
Epoxy wood filler is the heavyweight champion for larger gouges, missing corners, exterior wood repairs, and areas that need extra durability. It typically comes in two parts that must be mixed before application. Once cured, it can be shaped, sanded, primed, and painted. Epoxy is excellent for serious repairs, but it is less forgiving than basic filler, so measure and mix carefully.
Wax Sticks and Touch-Up Markers
For very light scratches, especially on finished furniture, you may not need traditional filler at all. Wax sticks, repair crayons, and stain markers can disguise small scratches without sanding. They are fast, clean, and perfect for “guests arrive in 20 minutes” repairs. However, they do not rebuild missing wood the way hardening filler does.
Tools and Materials You Will Need
Before repairing scratches and gouges with wood filler, gather your supplies. Having everything ready keeps the job neat and prevents you from using a butter knife because “it was nearby.” Please do not use the butter knife.
- Wood filler or wood repair compound
- Plastic or metal putty knife
- Fine-grit and medium-grit sandpaper
- Clean cloth or tack cloth
- Vacuum or soft brush
- Painter’s tape
- Wood stain, paint, or sealer
- Protective gloves
- Dust mask or respirator for sanding
- Drop cloth or scrap cardboard
If you are working on older painted wood, especially in a home built before 1978, avoid sanding until you know whether lead paint is present. Sanding old lead-based paint can create hazardous dust. In that case, use lead-safe methods or hire a certified professional.
How to Use Wood Filler for Repairing Scratches and Gouges
Step 1: Inspect the Damage
Start by looking closely at the scratch or gouge. Is it only in the finish, or has it cut into the wood itself? A light surface scratch may only need a touch-up marker or furniture polish. A deeper scratch that catches your fingernail usually needs filler. A gouge with missing wood definitely needs filler, possibly in layers.
Also check whether the surrounding wood is loose, dirty, oily, waxy, or peeling. Wood filler sticks best to clean, solid material. If the damaged area is crumbling or soft, filler alone will not solve the problem.
Step 2: Clean the Surface
Clean the area with a slightly damp cloth or a cleaner appropriate for the surface. Remove dust, grease, wax, loose finish, pet hair, crumbs, and any other tiny enemies of adhesion. Let the wood dry completely before applying filler. Moisture trapped under filler can cause poor bonding or uneven drying.
For furniture, avoid soaking the wood. For floors or trim, vacuum the area first, then wipe it clean. A clean surface is the difference between a repair that lasts and a repair that flakes off like a bad sunburn.
Step 3: Lightly Sand Around the Gouge
Use medium-grit sandpaper to lightly rough up the damaged area and remove splinters or raised edges. Sand in the direction of the wood grain whenever possible. Do not dig a crater around the scratch; the goal is to create a smooth, clean repair zone, not an archaeological site.
After sanding, remove every bit of dust with a vacuum, brush, or tack cloth. Dust left in the scratch can weaken the filler bond and create a gritty finish.
Step 4: Tape Around the Repair
If you are repairing finished furniture, cabinets, or flooring, painter’s tape can protect the surrounding surface from excess filler. Leave a tiny margin around the scratch or gouge so the filler can bond to the edges. This step is especially helpful when using dark filler on light wood, or when working near detailed trim.
Step 5: Apply the Wood Filler
Use a putty knife to press the wood filler firmly into the scratch or gouge. Push it down into the damaged area rather than simply spreading it across the top. For narrow scratches, use the edge of the putty knife. For deeper gouges, apply filler in thin layers instead of one giant blob. Thick filler can shrink, crack, or dry unevenly.
Slightly overfill the damaged area so you can sand it flush after it dries. This is important because many fillers shrink a little as they dry. Overfilling gives you material to level. Underfilling gives you a sad little valley that catches the light and whispers, “Try again.”
Step 6: Remove Excess Filler
Scrape away extra filler with the putty knife while it is still workable. Hold the knife at a low angle and skim across the repair. Wipe smears from the surrounding surface before they dry, especially on finished wood. Be careful not to pull filler out of the gouge.
Step 7: Let the Filler Dry Completely
Drying time depends on the filler type, depth of repair, humidity, temperature, and product instructions. Shallow repairs may dry quickly, while deeper gouges can take several hours or longer. Do not rush this step. Sanding half-dry filler creates a gummy mess that clogs sandpaper and tests your character.
If the repair sinks after drying, apply another thin layer, let it dry, and sand again. Layering is normal for deeper scratches and gouges.
Step 8: Sand the Repair Smooth
Once the filler is fully dry, sand it flush with the surrounding wood. Start with medium-grit sandpaper if the patch is raised, then switch to fine-grit paper for smoothing. Sand gently and evenly. For furniture and trim, wrap sandpaper around a small sanding block to keep the repair flat.
Do not oversand the surrounding finish, especially if you are trying to preserve an existing stain. If the repair is on painted trim, sanding is more forgiving because primer and paint will help hide the transition.
Step 9: Stain, Paint, or Seal the Repair
For painted wood, apply primer if needed, then paint the repaired area. For stained wood, test your stain on a scrap piece or hidden area first. Wood filler often absorbs stain differently than natural wood, so you may need a stain marker, tinted filler, or layered color blending to get a closer match.
After staining or painting, seal the repair with a compatible finish if the surface needs protection. Floors, tabletops, and cabinets usually need a durable topcoat. Baseboards may only need paint.
How to Match Wood Filler Color
Color matching is the trickiest part of repairing scratches and gouges in stained wood. If the repair will be painted, choose any filler that works with paint. If the wood will be stained or already has a clear finish, color matters much more.
Choose a filler close to the lightest background tone of the wood, not necessarily the darkest grain line. You can darken a repair with stain or touch-up markers, but making a dark patch lighter is much harder. For furniture, blend colors using wax sticks or markers after the filler dries. For floors, choose repair products designed for flooring and test in a low-visibility spot first.
Remember that real wood has grain, movement, and variation. Filler is more uniform. A perfectly invisible repair is possible sometimes, but the realistic goal is to make the damage stop shouting from across the room.
Common Mistakes to Avoid
Using the Wrong Product
Do not use soft wood putty where you need a sandable, hard repair. Do not use interior filler outside unless the label says it is suitable for exterior use. Do not use regular filler on rotten wood and expect it to perform miracles. Wood filler is handy, not supernatural.
Skipping Surface Prep
Dirty, waxy, glossy, or dusty wood can prevent filler from bonding. Cleaning and light sanding may feel boring, but they are the quiet heroes of a good repair.
Applying Too Much at Once
Deep gouges should often be filled in layers. Thick filler can shrink or crack. Thin layers dry more evenly and create a stronger, smoother patch.
Sanding Too Soon
If the filler is not fully dry, sanding will smear it instead of smoothing it. Follow the product directions and allow extra time for deep repairs.
Expecting Stain to Match Perfectly
Even stainable filler may not take stain exactly like surrounding wood. Always test first. For highly visible stained furniture, consider tinted fillers, wax sticks, repair markers, or professional refinishing.
Best Uses by Surface Type
Furniture
For furniture scratches, start with the least aggressive method. A light scratch may only need a marker or wax stick. A deeper gouge can be filled, sanded, and colored. Be extra careful on antiques or valuable pieces; refinishing can affect value.
Baseboards and Trim
Painted baseboards are perfect candidates for wood filler. Fill nail holes, chips, and dents, sand smooth, prime if necessary, and repaint. This is one of the most satisfying DIY repairs because the results can look clean and professional with minimal cost.
Cabinets
Cabinet repairs require careful color matching. Painted cabinets are easier: fill, sand, prime, and paint. Stained cabinets may need tinted filler and touch-up pens. Clean cabinets thoroughly before repair because kitchen surfaces often collect grease.
Hardwood Floors
For minor floor scratches, wax pencils or floor repair kits may work. For deeper gouges, use a stainable filler or flooring-specific repair product. Because floors take foot traffic, finish the repair with a protective topcoat compatible with the existing floor finish.
Experience Notes: What Actually Happens When You Repair Scratches and Gouges
In real-life DIY work, wood filler repairs rarely behave like the perfect little demonstrations on a package label. The filler does not glide into place while birds sing. The scratch is usually in an awkward spot, the dog wants to supervise, and somehow there is dust five seconds after you cleaned. That is normal. A good repair is less about perfection and more about controlling the process.
One of the biggest lessons from repairing scratched furniture and gouged trim is that preparation matters more than people think. For example, a shallow scratch on a stained coffee table may look deep because the finish is broken and the raw wood underneath is lighter. In that case, filling may be unnecessary. A stain marker followed by a little paste wax can make the scratch disappear enough that only you know where it was. On the other hand, a baseboard gouge from moving furniture usually has crushed edges and missing material. That needs actual filler, sanding, and paint.
Another practical lesson: overfill, but do not decorate the whole neighborhood. Beginners often smear filler far beyond the damaged area. Then they spend twice as long sanding the excess and accidentally dull the surrounding finish. A small putty knife, a patient hand, and painter’s tape can save a lot of cleanup. Press the filler into the damage, scrape across the surface, and leave just enough extra for sanding.
Deep gouges are where patience earns its paycheck. If you try to fill a deep dent in one thick pass, the top may dry while the inside stays soft. Later, the patch can sink. It is better to build the repair in layers. Apply a thin layer, let it dry, sand lightly, then apply another. This feels slower, but it usually produces a cleaner and more durable result.
Color matching is the part that humbles everyone. A filler labeled “oak” may not match your oak table, because wood color changes with age, finish, sunlight, and stain. The best approach is to sneak up on the color. Start lighter, then adjust with stain, touch-up markers, or tinted wax. For painted surfaces, life is easier. Paint is the generous friend who covers your little mistakes and says, “We’re good.”
For high-visibility furniture, always test first on the underside, back edge, or another hidden spot. For trim, test behind a door. For floors, test inside a closet if possible. The test patch tells you how the filler sands, how it accepts color, and whether it shrinks. That tiny test can prevent a very public repair disaster in the middle of the dining table.
Finally, know when filler is not the hero. If wood is rotten, spongy, split through, or carrying weight, filler may only hide the problem. Structural repairs need stronger methods, replacement wood, or epoxy systems designed for that kind of damage. Cosmetic scratches and gouges? Wood filler can be fantastic. Serious failure? That is a different movie.
Conclusion
Learning how to use wood filler for repairing scratches and gouges is one of the most useful DIY skills for keeping wood furniture, trim, cabinets, doors, and floors looking fresh. The process is simple: choose the right filler, clean and sand the damage, press filler firmly into the scratch or gouge, let it dry completely, sand it smooth, and finish with paint, stain, or sealer. The details matter, but the job is very doableeven if your DIY confidence currently has training wheels.
For the best results, match the filler to the surface and finish. Use sandable wood filler for repairs that need shaping, wood putty or wax sticks for tiny touch-ups on finished wood, and epoxy filler for larger or tougher repairs. Take your time with drying and color matching, and remember: the goal is not to erase history from the universe. The goal is to make the scratch or gouge blend in so well that nobody notices it unless you point it outwhich, after all that work, you absolutely should not.
Note: This article is for general DIY guidance. Always follow the manufacturer’s instructions on your specific wood filler, stain, paint, and finish products, and use proper safety precautions when sanding or repairing older painted surfaces.













