
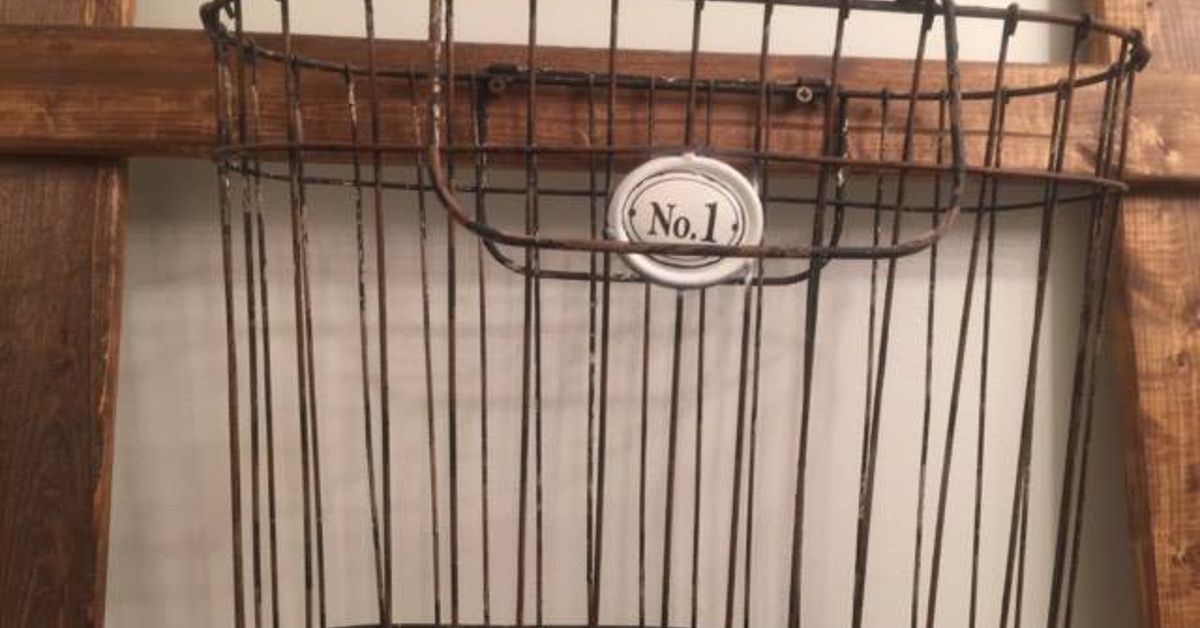
A small bathroom has a special talent: it can make six towels, three bottles of shampoo, and one innocent hairbrush look like the aftermath of a department-store robbery. When cabinets are full and floor space is scarce, the smartest direction to expand is up. A DIY bathroom storage ladder turns an underused strip of wall into an attractive home for towels, baskets, toiletries, and other daily essentials.
This project is simpler than a full ladder shelf, lighter than a cabinet, and more flexible than permanently installed shelving. The finished ladder leans against the wall, occupies only a few inches of floor space, and can be moved when you clean or rearrange the room. It also adds warmth and texture to bathrooms dominated by hard tile, glass, and chrome.
The design below is a decorative storage organizernot a climbing ladder. It measures approximately 66 inches tall and 20 inches wide, making it suitable for many small and medium-size bathrooms. You can adjust the dimensions to fit a narrow wall, the space beside a vanity, or an open area above the toilet.
Why a Bathroom Storage Ladder Works So Well
Conventional cabinets consume floor area and may make a compact bathroom feel crowded. A vertical bathroom organizer provides useful storage while maintaining an open appearance. Because towels and containers remain visible, frequently used items are also easier to find. No more conducting an archaeological dig beneath the sink while toothpaste slowly dries on your chin.
A ladder offers several storage zones without becoming visually heavy. Its upper rungs can hold hand towels and lightweight accessories, while the lower rungs accommodate bath towels or hanging baskets. Removable hooks can support brushes, washcloths, or a small toiletry bag.
Good locations for the ladder
- Beside a pedestal sink that lacks built-in storage
- Against a narrow wall near the shower or bathtub
- Above and behind the toilet, provided the design does not block the tank
- Next to a freestanding tub for fresh towels
- Inside a large bathroom closet for linens and cleaning cloths
Before settling on a location, check door swings, cabinet doors, electrical outlets, heating vents, and walking clearance. Keep the ladder away from direct shower spray and anywhere it could become a tripping hazard.
Choose the Right Size and Style
For a general-purpose DIY bathroom storage ladder, a height between 60 and 72 inches usually provides useful vertical capacity without overwhelming the room. A width of 18 to 24 inches accommodates folded bath towels while remaining relatively compact.
The sample design uses two 66-inch rails and five 20-inch rungs. When positioned with its feet about 7 to 9 inches from the wall, the ladder develops a gentle lean that looks relaxed but does not project too far into the room.
Measure the intended location before buying lumber. Leave several inches above the ladder and at least an inch of clearance on each side. If the ladder will stand near a toilet, verify that you can still remove the tank lid and reach the water shutoff valve.
Selecting wood for a humid bathroom
Pine is affordable, lightweight, and easy for beginners to cut. Poplar has a smoother grain and paints beautifully. Cedar naturally tolerates moisture well and adds a spa-like aroma, although it may cost more. Whatever species you choose, begin with straight, dry boards that are free of large knots, cracks, and twisting.
A bathroom is humid even when the ladder is not directly exposed to water. Seal every surfaceincluding end grain, screw holes, and the backs of the boardsto reduce moisture absorption. The finish matters as much as the wood itself.
Materials and Tools
Suggested lumber and hardware
- Two 1-by-3 boards cut to 66 inches for the side rails
- Five 1-by-2 boards cut to 20 inches for the rungs
- Ten 1 1/4-inch or 1 1/2-inch wood screws
- Moisture-resistant wood glue
- Wood filler suitable for staining or painting
- 120-, 180-, and 220-grit sandpaper
- Primer and bathroom-friendly paint, or wood stain and clear polyurethane
- Two rubber furniture feet or nonslip pads
- Two clear wall bumpers for the upper ends
- An anti-tip furniture strap with wall-appropriate fasteners
- Optional S-hooks, wire baskets, or hanging containers
Tools
- Tape measure and pencil
- Carpenter’s square
- Level
- Drill and countersink bit
- Circular saw, miter saw, or handsaw
- Clamps
- Stud finder
- Paintbrush, foam roller, or clean finishing cloths
- Safety glasses, hearing protection, and a dust mask
Many home-improvement stores will cut boards to length. That service can make this project accessible to renters, beginners, and anyone whose workshop is technically the corner of a kitchen table.
How to Build a DIY Bathroom Storage Ladder
1. Cut and inspect the boards
Cut both side rails to the same length. Cut five rungs to 20 inches each. Identical parts are important because a difference of even a quarter inch can make the finished ladder look crooked.
Inspect every cut for splinters and rough edges. If you use a power saw, support the material securely, keep hands away from the blade path, and wear eye and hearing protection. Work outside or use dust collection whenever possible.
2. Sand before assembly
Begin with 120-grit sandpaper to remove milling marks and soften sharp corners. Continue with 180 grit for a smooth surface. If you plan to apply a clear finish, a final pass with 220 grit can improve the feel.
Round over the edges that will contact towels. Even a small hand-sanded radius helps prevent fabric from snagging. Remove all dust with a vacuum and clean cloth before gluing.
3. Lay out the rails and rungs
Place the two rails on a flat work surface, parallel to each other, with their outside edges approximately 18 inches apart. The 20-inch rungs will extend about one inch beyond each rail, creating a balanced finished width.
Position the first rung about 8 inches below the top. Space the remaining rungs approximately 10 to 11 inches apart. Leave more room near the bottom if you want to hang deep baskets or thick bath towels.
Use a carpenter’s square to confirm that every rung crosses the rails at 90 degrees. Mark each position on both rails. Labeling the pieces can prevent an exciting new design style known as “accidentally diagonal.”
4. Drill pilot holes
Clamp the first rung in place. Drill one countersunk pilot hole through the rung and into each rail. Pilot holes reduce the chance of splitting narrow lumber and help screws pull the joint together cleanly.
Repeat for all five rungs. Confirm the screw length before driving anything: the fastener should enter the rail securely without emerging through its back.
5. Glue and fasten the joints
Apply a thin layer of moisture-resistant wood glue where each rung meets the rails. Reposition the pieces along the layout marks, clamp them, and drive the screws until their heads sit slightly below the surface. Avoid overtightening, which can crush softwood or strip the hole.
Check the assembly for square after attaching the first, middle, and last rungs. Measure diagonally from one upper corner to the opposite lower corner, then compare the other diagonal. Similar measurements indicate that the frame is square.
Allow the glue to cure according to its label. Wood glue may grab quickly, but that does not mean it has reached full strength. Patience is cheaper than rebuilding a wobbly towel rack.
6. Fill, sand, and clean
Apply wood filler over the countersunk screw heads and any small imperfections. After it dries, sand the filled areas until they are flush. Vacuum every surface, paying particular attention to corners where dust collects.
Test the bare ladder against the wall before finishing it. Confirm that the height, width, rung spacing, and leaning angle work in the actual bathroom. This is the easiest stage for making adjustments.
Apply a Moisture-Resistant Finish
Paint offers the greatest freedom to coordinate the ladder with a vanity, tile pattern, or accent wall. Apply a bonding primer suitable for wood, followed by two thin coats of durable interior paint approved for humid spaces. Satin and semi-gloss finishes are generally easier to wipe clean than flat paint.
For visible wood grain, apply stain only after testing it on a scrap. Softwoods such as pine can absorb stain unevenly, so a pre-stain conditioner may produce more consistent color. Once the stain is completely dry, apply two or three thin coats of clear polyurethane or another furniture-grade protective finish.
Lightly sand between clear coats if directed by the manufacturer. Seal the ends of the rails and rungs carefully because end grain absorbs moisture readily. Follow the stated drying and curing times rather than moving the ladder into a steamy bathroom as soon as it feels dry. A finish can be dry to the touch while still too soft for normal use.
Apply paints and solvent-based coatings in a well-ventilated workspace. Keep them away from flames, sparks, children, and pets, and follow all label precautions.
Install the Ladder Safely
Attach rubber or nonslip pads to the bottom of both rails. Add clear bumpers where the upper ends touch the wall to protect the paint and improve grip. Place the feet about 7 to 9 inches away from the wall, then check that both rails sit evenly on the floor.
A leaning storage ladder should still be secured. Install an anti-tip strap near the top and attach it to a wall stud whenever possible. If a stud is unavailable, use an anchor specifically rated for the wall material and expected load. Drywall, plaster, masonry, and tile require different fasteners.
Use the correct tile bit and drill slowly if installation requires penetrating tile. Check for plumbing and electrical lines before drilling into any bathroom wall. When the wall construction is uncertain, consult a qualified professional.
Anchoring is especially important in homes with children or pets. Never rely solely on the ladder’s leaning angle, friction pads, or the impressive optimism of whoever assembled it.
Turn the Rungs Into Useful Bathroom Storage
Drape bath towels over the lower rungs and reserve the upper levels for hand towels. To improve airflow, avoid stacking multiple damp towels tightly on the same rung. Towels dry better when air can circulate around them.
S-hooks expand the ladder’s usefulness without permanent modifications. Hang a lightweight wire basket for rolled washcloths, brushes, or sealed toiletries. A small fabric bag can collect reusable cotton rounds, while a removable hook can hold a shower cap or bath brush.
Keep heavy items near the bottom to maintain stability. Store glass bottles, electrical appliances, medicines, and cleaning chemicals somewhere more secure. Do not hang dripping items over an unprotected floor or position toiletries where they can fall into the toiletwhich is a memorable but inefficient storage system.
Simple styling combinations
- Modern: Matte-black paint, white towels, and simple metal hooks
- Coastal: Pale blue paint, natural baskets, and striped towels
- Farmhouse: Warm wood stain, black hardware, and woven containers
- Spa-inspired: Clear-finished cedar, neutral linens, and one moisture-tolerant plant
- Colorful: A saturated accent color that repeats a shade from the shower curtain
Maintenance and Common Problems
Wipe the ladder with a slightly damp cloth and dry it promptly. Avoid soaking the wood or using abrasive bathroom cleaners on the finish. Run the bathroom exhaust fan during showers and afterward to reduce lingering humidity.
Every few months, check the screws, anti-tip strap, wall fastener, feet, and bumpers. Tighten loose hardware and repair chipped finish before moisture reaches the wood.
If the ladder rocks
Confirm that the floor is level and that both rails are identical in length. Uneven rubber pads can also cause movement. Do not force the ladder flat by loading it with towels; correct the contact points and verify the wall restraint.
If towels slide sideways
Increase the rung overhang slightly, add discreet end stops, or use nonslip silicone bands that match the finish. Make sure any added product will not discolor damp fabric.
If the finish feels sticky
The coating may not have cured fully, particularly if it was applied in cool or humid conditions. Move the ladder to a dry, ventilated area and follow the finish manufacturer’s guidance. Do not place towels on a tacky coating.
Experience Notes: What Makes a Bathroom Ladder Work in Daily Life
The most important lesson from real-world ladder storage projects is that dimensions on paper do not tell the whole story. A 24-inch-wide design can sound compact until it stands beside a toilet and makes the room feel like an obstacle course. Creating a cardboard or painter’s-tape outline on the wall before cutting lumber provides a far better sense of scale. It also reveals whether the ladder will interfere with a light switch, outlet, vanity drawer, or door handle.
Rung spacing deserves similar attention. Equal spacing looks orderly, but customized spacing often works better. A generous gap near the bottom accommodates thick bath towels, while closer upper rungs suit hand towels and shallow baskets. Planning around the items you already own prevents the finished organizer from becoming attractive but oddly useless.
Another common discovery is that finishing takes longer than assembly. Cutting and fastening the boards may require only an afternoon, but filler, primer, stain, paint, and protective topcoats need proper drying time. Rushing this stage can leave fingerprints, stuck towels, or a cloudy surface. Thin coats usually produce a smoother, tougher result than one enthusiastic coat applied with the emotional energy of frosting a birthday cake.
Bathroom placement also changes how the ladder performs. A unit positioned beside the shower is convenient, but repeated splashes can damage imperfectly sealed wood. Moving it just a foot farther away may greatly reduce exposure while keeping towels within reach. Ventilation matters too. In a bathroom that remains humid for hours, even a well-finished ladder benefits from open towel spacing and regular inspection.
Storage accessories should be introduced gradually. It is tempting to hang a basket from every rung immediately, but too many containers add visual clutter and pull the ladder forward. Starting with towels and one small basket makes it easier to judge capacity. If additional storage is needed, lightweight accessories can be added one at a time.
Anchoring may feel excessive for a decorative piece, yet it improves the ladder in everyday use. A secured organizer does not shift when a towel is pulled off quickly, bumped by a laundry basket, or investigated by a curious pet. The restraint can remain nearly invisible behind the top rail, so safety does not require sacrificing style.
Finally, the most successful ladder is not necessarily the fanciest. Straight lumber, smooth edges, square joints, a durable finish, and thoughtful placement matter more than decorative hardware. Small imperfections often disappear once towels are added, while practical mistakesrough rungs, unstable feet, or inadequate sealingannounce themselves every day. Build for daily use first, then let the color and accessories provide the personality.
Conclusion
A DIY bathroom storage ladder is a manageable weekend project that converts unused wall height into flexible organization. With basic lumber, carefully spaced rungs, moisture-resistant finishing, nonslip feet, and a secure wall restraint, it can hold towels and lightweight essentials without the visual bulk of another cabinet.
Measure the room before choosing dimensions, sand every fabric-contacting edge, and allow the finish to cure fully. Once installed, keep heavier belongings low and resist overloading the rungs. The result is practical vertical bathroom storage with enough style to look intentionaleven if its true mission is preventing washcloths from forming their own civilization beneath the sink.













