
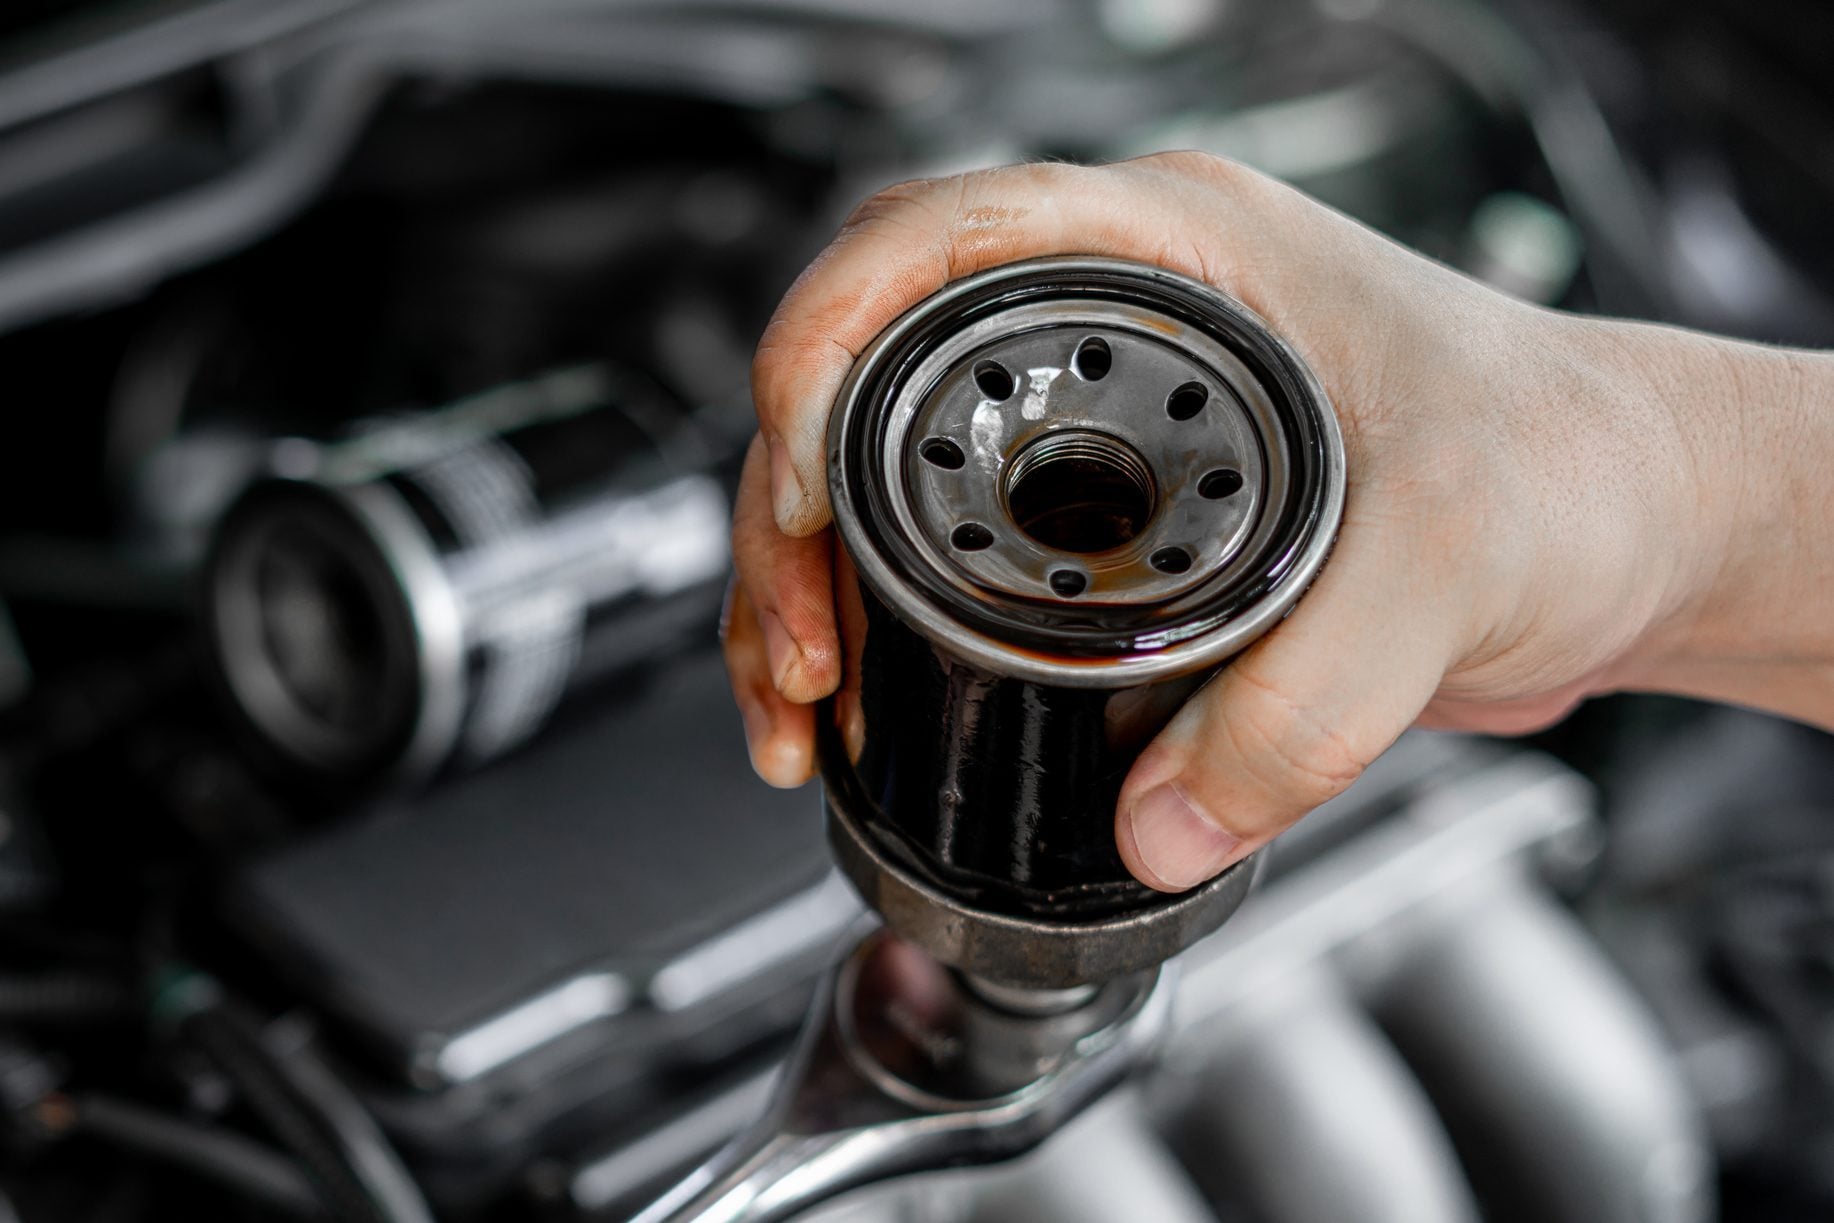
There are few automotive jobs that begin with more optimism than a DIY oil change. You have the fresh oil, the new filter, the drain pan positioned perfectly, and maybe even a suspiciously clean pair of gloves. Then you grab the old oil filter, twist counterclockwise, and discover that someone apparently installed it using the strength of an industrial gorilla.
A stubborn oil filter can turn a routine maintenance job into an oily wrestling match. Fortunately, you do not necessarily need giant pliers, a heroic amount of upper-body strength, or the infamous screwdriver-through-the-filter trick. One surprisingly effective solution is much simpler: line the inside of a band-style oil filter wrench with coarse-grit adhesive-backed sandpaper. The sandpaper increases friction between the wrench and the filter canister, allowing the tool to grip instead of slipping around the oily metal surface.
It sounds almost too basic to qualify as a genius hack. That is exactly why it works.
Research basis:
Why Oil Filters Become So Difficult to Remove
A properly installed spin-on oil filter normally should not require a demolition crew when the next oil change arrives. When a filter refuses to move, the cause usually traces back to installation, heat cycles, contamination, or some combination of all three.
The Filter Was Overtightened
One of the most common mistakes is treating an oil filter like a structural bolt. It is not. Most spin-on filters seal using a rubber gasket, and manufacturers generally instruct installers to screw the filter on until the gasket contacts the mounting surface and then tighten it only the specified additional fraction of a turn.
Cranking the filter down with a wrench during installation can compress the gasket excessively. After thousands of miles of engine heat cycles, that gasket may grip the mounting surface like it has signed a long-term lease.
Research basis:
The Gasket Was Installed Dry
Another frequent culprit is a dry rubber gasket. FRAM, Purolator, Castrol, Mobil, and other filter or lubricant manufacturers commonly recommend applying a thin film of clean engine oil to the new gasket or O-ring during installation.
That little swipe of oil serves several purposes. It helps the gasket seat smoothly, reduces the chance of twisting or binding, and can make the filter much easier to remove during the next service.
Skipping this five-second step can create a surprisingly stubborn problem months later.
Research basis:
Heat and Time Make Everything More Enthusiastic
An engine repeatedly heats and cools during normal driving. The oil filter, gasket, mounting base, and surrounding components expand and contract along with it. Add dirt, old oil residue, corrosion, or an overtightened gasket, and the filter can become much harder to break loose than it was when first installed.
That is when a normal filter wrench sometimes begins sliding uselessly around the canister.
The Genius Hack: Add Sandpaper to Your Filter Wrench
The trick is almost embarrassingly simple.
If your band-style oil filter wrench keeps slipping, place a strip of coarse-grit adhesive-backed sandpaper along the inside surface of the band, with the abrasive side facing the filter. The rough grit bites into the painted metal canister and creates considerably more friction than smooth steel against a greasy filter.
Instead of tightening the wrench harder and harder while the tool slides around the filter, you improve the actual contact between the tool and the canister.
It is the automotive equivalent of putting better tires on a car rather than simply pressing the accelerator harder.
Research basis:
What You Need
- A band-style oil filter wrench
- Coarse-grit adhesive-backed sandpaper
- Shop towels or rags
- Nitrile or mechanic’s gloves
- Safety glasses
- An oil drain pan
- A ratchet or breaker bar if your wrench uses one
If adhesive-backed sandpaper is unavailable, a securely positioned piece of ordinary coarse sandpaper may help, but adhesive-backed material is easier to keep in place while positioning the wrench.
How to Remove a Stuck Oil Filter Step by Step
1. Make Sure the Vehicle Is Secure
Park on a level, stable surface. Apply the parking brake. If the vehicle must be raised, use proper ramps or jack stands designed for the vehicle’s weight. Never crawl underneath a vehicle supported only by a jack.
If wheels remain on the ground, wheel chocks provide another layer of protection against movement.
Research basis:
2. Let the Engine Cool Enough to Work Safely
Warm oil drains more easily than cold oil, but there is an important difference between warm and capable-of-cooking-your-forearm. Allow the engine and exhaust components to cool sufficiently before reaching into crowded areas around the oil filter.
Wear gloves and eye protection. A stubborn filter often releases suddenly, and residual oil inside it may spill directly toward your hand, sleeve, floor, or face depending on its orientation.
Research basis:
3. Clean the Outside of the Filter
Before reaching for more leverage, wipe oil and grime from the filter canister. A surprisingly large number of “stuck filter” battles are partly “slippery filter” battles.
Clean metal gives the wrench and sandpaper a better surface to grip.
4. Add the Sandpaper
Cut a strip of coarse adhesive-backed sandpaper that fits along the gripping portion of the band wrench. Press it firmly into place with the abrasive surface facing inward.
Position the wrench as close to the base of the filter as practical. The canister is generally strongest near its mounting end, while the thinner center section is easier to crush.
5. Apply Slow, Controlled Pressure
Turn the filter counterclockwise when viewed from the filter end. Apply steady force instead of violent jerking.
The goal is to break the gasket’s grip, not turn the filter into modern sculpture.
If your wrench accepts a ratchet, a longer handle may provide additional leverage. However, more leverage also means more potential damage, so increase force gradually.
Research basis:
6. Once It Moves, Finish by Hand
The moment the filter breaks loose, stop applying heavy wrench pressure. Put the drain pan beneath it and unscrew the filter carefully by hand.
Remember that the filter still contains oil. Depending on its angle, the contents may begin pouring out after only a few turns.
What If the Sandpaper Hack Does Not Work?
Some filters have reached a level of stubbornness that deserves its own warning label. If improved grip does not solve the problem, change tools before escalating into destruction.
Try a Properly Sized End-Cap Wrench
End-cap or cup-style oil filter wrenches fit over the fluted end of compatible filters and allow a ratchet to turn the filter directly. When the fit is correct, they can provide excellent leverage in tight spaces.
The key phrase is when the fit is correct. A slightly oversized cap may slip or round the filter’s flutes rather than loosen it.
Research basis:
Try a Three-Jaw or Claw-Style Wrench
A three-jaw wrench tightens its grip as torque is applied. This design can be particularly useful when access is available mainly from the bottom or end of the filter.
O’Reilly Auto Parts, NAPA, Harbor Freight, Home Depot, Lowe’s, and other tool retailers carry several variations because oil filter access and diameter vary tremendously from one vehicle to another.
Research basis:
Oil Filter Pliers Can Be Effective
Specialized oil filter pliers have curved jaws and aggressive teeth intended to bite into the canister. They can generate substantial grip, but they may crush the filter.
That is usually acceptable if the old filter is being discarded and you already know it will come off. It becomes less amusing when the canister collapses but the threaded base remains stubbornly attached.
Why the Screwdriver Trick Should Be a Last Resort
One of the oldest garage tricks is to hammer a long screwdriver through the oil filter, then use the screwdriver as a lever.
Yes, it can occasionally work. It can also tear the thin filter shell open while leaving the threaded base exactly where it started. Now you have a stuck filter plus sharp metal edges and a puddle of used oil.
AutoZone and NAPA both describe puncturing or destructive methods as options for severe cases, but they are clearly more aggressive than using the proper wrench. A damaged filter also eliminates many of the easier gripping surfaces you could have used with another tool.
Research basis:
There is another major warning: do not apply spin-on-filter destruction tricks to plastic cartridge-filter housings. Many cartridge systems use reusable plastic or metal caps with specified torque values and dedicated sockets. Breaking one can turn a simple oil change into a much more expensive repair.
Research basis:
How to Prevent a Stubborn Oil Filter Next Time
The best stuck-oil-filter hack is arranging things so you never need one again.
Clean the Mounting Surface
After removing the old filter, wipe the engine’s filter mounting surface clean. Most importantly, confirm that the old rubber gasket came off with the filter.
If the old gasket remains stuck to the engine and a new filter is installed over it, the resulting “double gasket” can leak badly after startup.
Research basis:
Lubricate the New Gasket
Apply a light film of fresh engine oil to the replacement filter’s rubber gasket unless the filter manufacturer specifies otherwise or the seal is already designed as pre-lubricated.
You are not marinating the filter. A thin coating is enough.
Follow the Filter’s Tightening Instructions
Do not automatically use a wrench to install a conventional spin-on filter. Follow the instructions printed on the filter, packaging, owner’s manual, or service information.
Many spin-on filters specify gasket contact followed by a certain additional fraction of a turn. Cartridge housings, on the other hand, may have a specific torque specification that should be followed with the proper tool.
Research basis:
Check for Leaks After Startup
After adding the correct amount and grade of engine oil, start the engine and inspect the filter area for leaks. Shut the engine off, allow the oil to settle, and verify the level according to the vehicle manufacturer’s procedure.
A beautifully installed filter does not help much if the engine contains the wrong amount of oil.
Research basis:
Do Not Forget About the Used Oil
The mess does not become someone else’s problem when the filter finally comes off.
The U.S. Environmental Protection Agency recommends collecting used motor oil in a leak-proof container and taking it to an appropriate recycling location. Used filters can often be drained and recycled as well. Automotive retailers, service shops, municipal programs, and recycling facilities may accept used oil depending on local rules.
Dumping oil onto the ground, into a storm drain, or into household plumbing is not an acceptable disposal method. The EPA notes that used motor oil persists in the environment and can contaminate soil and water.
Research basis:
Common Mistakes When Removing a Stuck Oil Filter
- Turning the wrong direction: Most conventional filters loosen counterclockwise when viewed from the filter end.
- Working on an dangerously hot engine: Hot oil and exhaust components can cause serious burns.
- Using the wrong wrench size: A loose cap wrench may slip and damage the filter.
- Immediately puncturing the canister: Once the shell is destroyed, your removal options become more limited.
- Using extreme force on a plastic cartridge housing: These caps often require dedicated tools and specified torque.
- Installing the replacement filter with a wrench: Follow the filter manufacturer’s tightening directions instead.
- Forgetting the old gasket: Always confirm it came off with the filter.
What Removing a Truly Stubborn Oil Filter Is Actually Like
Anyone expecting an oil change to resemble a perfectly edited instructional video may be surprised by reality. In the ideal demonstration, the technician reaches under the engine, gives the filter one confident twist, and it spins off politely.
In an actual driveway, things can look different.
Imagine a DIY owner changing the oil on a used vehicle for the first time. The drain plug comes out normally. The old oil flows into the pan. Everything is proceeding suspiciously well.
Then comes the filter.
The first hand-twist produces nothing. That’s normal enough. A rubber glove provides more grip. Still nothing. A basic strap wrench goes around the filter, but the outside of the canister is oily, so the strap simply rotates around it like a belt on a pulley.
This is the dangerous psychological point in the repair: frustration begins suggesting tools that engineering did not.
The giant channel-lock pliers suddenly look attractive. A hammer begins making eye contact from across the garage. Somewhere in the toolbox, a long screwdriver whispers, “You know what we could do…”
A better move is to stop.
Wipe the filter clean. Examine the available space. Make sure the wrench is turning in the correct direction. Add the coarse sandpaper to the band wrench and position the tool low on the filter.
Now apply steady pressure.
At first, nothing appears to happen. Then there is a tiny movementmaybe only a few degrees. That tiny movement is the victory. Once the seal breaks, the filter that spent the previous 20 minutes behaving like it was welded to the engine may suddenly turn with two fingers.
The contrast is almost insulting.
The next lesson arrives during installation. After experiencing the misery of an overtightened filter, even enthusiastic DIYers suddenly become excellent readers of installation instructions. The mounting surface gets cleaned carefully. The old gasket gets checked twice. Fresh oil is wiped around the new gasket. The replacement filter is tightened according to its directions rather than given “one extra turn for luck.”
That experience also teaches an important general lesson about automotive repair: more force is not always the same thing as better technique. The best solution is often improving grip, choosing the correct tool, changing the working angle, or understanding how the component is designed to come apart.
The sandpaper trick is a perfect example. Nothing about it is technologically impressive. There is no battery, Bluetooth connection, special alloy, or app asking permission to send notifications. It simply adds friction exactly where friction is needed.
And sometimes that is all the genius a garage needs.
When It Is Better to Stop and Call a Professional
DIY maintenance should save money, not create a repair bill several times larger than the original service.
Consider professional help if the filter housing is cracking, the oil filter adapter begins turning with the filter, there is insufficient space to use tools safely, the vehicle cannot be supported securely, or the mounting surface has already been damaged.
The same applies if a cartridge-style housing refuses to move despite using the specified socket and procedure. Some assemblies are plastic, and replacing a broken housing can cost considerably more than paying a shop to finish the oil change.
There is no shame in recognizing when a $10 maintenance job is attempting to evolve into a $500 adventure.
Final Thoughts: Better Grip Beats Brute Force
A stubborn oil filter is frustrating because the component looks so simple. It is basically a metal cylinder attached with threads and a gasket. Yet over-tightening, a dry seal, repeated heat cycles, slippery oil, and limited working space can transform it into one of the most irritating parts of a routine oil change.
Before reaching for destructive methods, try the smarter solution: clean the filter, line a band-style wrench with coarse adhesive-backed sandpaper, position it securely, and apply controlled counterclockwise pressure.
If that does not work, move methodically through better-fitting tools such as an end-cap wrench, three-jaw wrench, or oil filter pliers. Save puncturing the canister for situations where less destructive options have genuinely failed, and never treat reusable cartridge housings like disposable spin-on filters.
Most importantly, make the next oil change easier by cleaning the mounting surface, lubricating the replacement gasket, and tightening the new filter exactly as instructed.
Your future self, lying underneath the same car several thousand miles from now, will appreciate the courtesy.
SEO Information
Note: Procedures and tightening specifications vary by vehicle and filter design. Always follow the vehicle manufacturer’s service information and the oil filter manufacturer’s installation instructions, especially for cartridge-style filter housings.













