
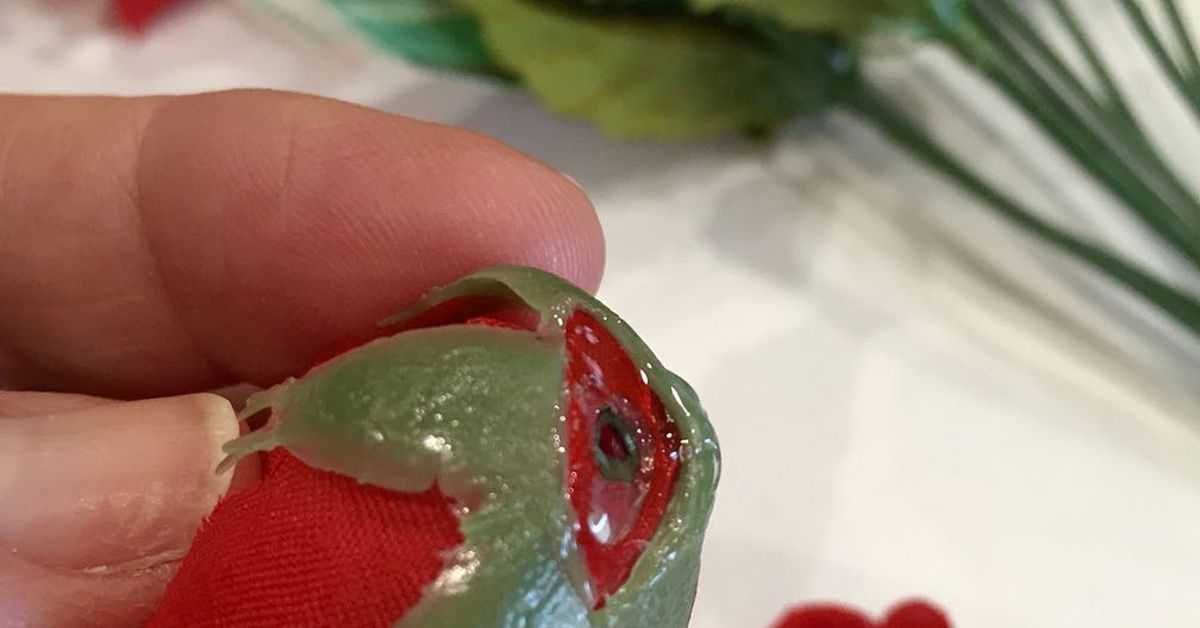
If your walls are feeling a little emotionally unavailable, a Super Easy Rose Heart Sign might be exactly the kind of drama they need. This DIY project is simple, pretty, surprisingly forgiving, and perfect for Valentine’s Day, anniversaries, weddings, bedrooms, dorms, or that random empty wall that has been silently judging you for months.
At its core, a rose heart sign is exactly what it sounds like: a heart-shaped decorative sign dressed up with roses, usually faux roses, on a wood, metal, or framed base. The beauty of this project is that it looks fancy without requiring expert-level crafting skills. In other words, it gives “boutique home décor” on a “let’s not spend a ridiculous amount of money” budget.
Better yet, faux florals have come a long way. Modern artificial flowers can look impressively realistic, last far longer than fresh stems, work well in low-light rooms, and can be styled ahead of time without wilting into a sad little pile of regret. That makes them ideal for a rose heart sign you want to hang, gift, or reuse every year.
Why a Rose Heart Sign Is So Popular
There’s a reason people keep coming back to flower-based heart décor: it checks all the boxes. It feels romantic without being too serious, decorative without being fussy, and customizable without becoming an all-day craft marathon. A heart shape is timeless, and roses bring instant texture, softness, and color.
A DIY rose heart sign also works in several styles. Want something sweet and classic? Go with red roses on a whitewashed plaque. Prefer farmhouse charm? Try a distressed wood base with blush flowers and twine. More into glam décor? Use a metallic or crimped tin background with tightly packed rose heads for a polished finish. Minimalist? Fewer blooms, more negative space, and a clean hanging frame can look gorgeous.
That flexibility is what makes this project so beginner-friendly. You do not need perfect symmetry. You do not need a design degree. You mostly need a glue gun, a little patience, and the ability to tell yourself, “Yes, that flower placement is close enough.”
What You Need for a Super Easy Rose Heart Sign
One reason this project earns the word “easy” is that the supply list is refreshingly manageable. Here’s what most people use:
- Faux roses or small artificial rose bushes
- A sign base, such as a wood plaque, metal plaque, heart-shaped base, or empty frame
- Hot glue gun and glue sticks
- Wire cutters or sturdy craft scissors
- Floral wire or floral tape for extra support if needed
- Pencil or chalk for outlining the heart shape
- Ribbon, twine, greenery, beads, or small sign lettering for embellishment
- Acrylic paint, stain, or decoupage supplies if you want to customize the base
- Wall hanging hardware or removable picture hanging strips
If you want the sign to look more high-end, choose faux roses with soft texture, slight color variation, and petals that are not overly shiny. The best artificial florals tend to look a little imperfect in the best possible way. Real roses are not suspiciously glossy, and your fake ones should not look like they came from a toy aisle having an identity crisis.
Best Base Options for This DIY
Wood Plaque
A wood plaque is one of the easiest choices because it is easy to paint, stain, distress, or decoupage. If the wood is rough, sand it lightly and wipe away dust before painting or gluing. A smooth base helps everything stick better and look cleaner.
Metal or Tin Sign
A crimped tin or metal plaque gives the project a charming rustic-meets-glam look. If you plan to paint metal, clean it first so the surface is free from oils and residue. A quick wash and proper drying make a big difference.
Thrifted Frame
A vintage or thrift-store frame can create a more open, airy version of a rose heart sign. Instead of covering a full board, you can attach the flowers to part of the frame or create a floating heart design inside it. This is especially great for seasonal wall décor and makes the finished piece look more expensive than it actually is. Which, frankly, is the dream.
How to Make a Super Easy Rose Heart Sign
1. Pick Your Color Palette First
Before you touch the glue gun, decide on your color scheme. Red and pink are classic, but ivory, peach, mauve, burgundy, or even all-white roses can look beautiful. Add greenery if you want a more natural garden vibe, or skip it for a cleaner, more sculpted heart design.
Try laying all your flowers out together first. Mixing a few bloom sizes usually makes the design look fuller and more natural. If every rose is exactly the same size and shape, the result can feel a little flat.
2. Prep the Base
If you are using wood, sand any rough spots and wipe away sawdust. If you are using metal, clean and dry it thoroughly. Want extra flair? Paint the plaque, stain it, or add a paper background with decoupage medium. If you decoupage, smooth the paper carefully and let it dry fully before adding roses. A protective top coat can help the sign last longer.
3. Sketch the Heart Shape
Use a pencil, chalk, or even a paper template to lightly mark where the heart will go. This step matters more than people think. Planning the shape in advance helps prevent the classic crafting mistake of one side looking elegant while the other side looks like it lost an argument.
If you prefer a modern look, keep the heart outline narrow and defined. If you want a fuller, more dramatic design, make the heart thicker and pack the flowers closer together.
4. Trim and Prep the Roses
Cut the flower stems down short so the rose heads sit neatly on the surface. Remove tags, plastic bits, bulky backing pieces, or awkward stem chunks that may keep the blooms from lying flat. Some faux flowers also benefit from a little fluffing so the petals open up before attaching them.
If a bloom feels loose or wobbly after trimming, reinforce it with a dab of hot glue or floral tape. For frame-style signs, floral wire can help secure stems before you glue the final arrangement.
5. Dry Arrange Before Gluing
This is the secret move that separates “cute” from “wow.” Set the roses on the sign without glue first. Start with the biggest blooms and place them at the curves and center points of the heart. Then fill in with medium and smaller flowers. Step back and look at it from a few feet away. If one side looks too heavy, adjust it now.
Trust me: moving dry flowers around is a lot more fun than prying off hot-glued ones while questioning your life choices.
6. Glue the Anchor Flowers First
Once the layout looks right, begin gluing the most important roses in place. These are the flowers that define the heart shape. Add hot glue to the bottom of the bloom and press it onto the base for a few seconds until it sets.
Use the glue gun carefully and work in sections. Low-temp or lower-setting glue guns can be more comfortable for detail work, especially if your fingers get close to the flowers during placement.
7. Fill Gaps With Smaller Blooms and Greenery
After the anchor flowers are down, add smaller roses, leaves, baby’s breath-style faux fillers, or tiny buds to cover gaps. This is where the sign starts looking lush and intentional instead of sparse and mildly confused.
Greenery is optional, but it can add contrast and make the roses stand out. Just do not overstuff the design. A rose heart sign usually looks best when it feels full but not crowded.
8. Add Finishing Details
Now decide whether you want extras. You can add:
- A ribbon bow at the top or bottom
- A scripted word like “love” or “xoxo”
- Painted edges or distressed details
- Beads, pearls, or glitter accents
- Twine or wire for farmhouse-style hanging
This is also the moment to check the back of the sign. If there are visible glue strings, peeled paper edges, or loose stems, clean them up before hanging.
How to Hang Your Rose Heart Sign
If the sign is lightweight, removable picture hanging strips can be a renter-friendly option. Follow the package directions closely, especially the weight limits and surface recommendations. If you recently painted the wall, let it cure properly first. Clean, smooth surfaces usually give the best hold.
If your sign is heavier, use appropriate hanging hardware, a hook, or a frame hanger. Never assume “it seems light enough” is a reliable engineering standard. That is how beautiful signs end up face-planting at 2:13 a.m.
Also think about placement. Faux florals are more forgiving than dried flowers, but it is still smart to avoid very humid zones if your base includes paper, decoupage, or non-sealed wood.
Easy Styling Ideas for Different Spaces
Bedroom
Hang a soft pink or ivory rose heart sign above a dresser or vanity for a romantic touch that is sweet without looking like a candy store exploded.
Entryway
A rose heart sign near the front door can instantly warm up a small wall. Choose a more neutral palette if you want it to work beyond February.
Wedding or Shower Décor
Use the sign as event décor, a photo backdrop piece, or a welcome sign accent. Faux roses are ideal here because you can make the sign well ahead of time and reuse it later.
Dorm Room or Apartment
Smaller lightweight versions are perfect for removable hanging products and tight budgets. A mini sign can still make a big visual impact.
Common Mistakes to Avoid
Using flowers that are too shiny: If they look plastic from across the room, the sign may feel cheap. Texture matters.
Skipping the layout step: Planning first saves time, glue, and mild emotional damage.
Overcrowding the heart: You want dimension, not a floral traffic jam.
Ignoring the base: A well-finished background makes the whole project look more polished.
Choosing the wrong hanging method: Match the hanging solution to the sign’s weight and wall surface.
What the Experience Is Really Like: 500 Extra Words From the Craft Table
Making a super easy rose heart sign sounds simple on paper, and honestly, it is. But the real experience has its own little personality. First, there is the supply-shopping stage, where you tell yourself you are just picking up a few faux roses and somehow end up standing in front of an entire floral aisle comparing twelve shades of pink like your reputation depends on it. Dusty rose? Blush rose? Mauve rose? Suddenly you are not shopping. You are casting a floral reality show.
Then comes the moment you get everything home and realize the project can go one of two ways: delightfully charming or weirdly lopsided. This is why laying out the heart before gluing is such a game changer. The first few flowers may make you wonder if you have accidentally created a potato instead of a heart. Stay calm. Almost every floral heart looks slightly suspicious in the early stages. Once the anchor blooms are in and the smaller flowers start filling gaps, the shape usually snaps into place and your confidence comes strolling back into the room.
Another common experience is underestimating how much trimming faux stems matters. If you skip that part, the flowers can sit too high, wobble around, or refuse to line up nicely. The project gets much easier once the blooms lie flat and stop acting like tiny divas. The same goes for glue strings. You will make them. They will appear from nowhere. You will remove one and discover three more. This is normal. Consider it the glitter of hot glue projects, except slightly less festive and easier to pick off your sweater.
What surprises many people is how relaxing the craft becomes once the basic structure is set. After the first few decisions, it turns into a rhythm: place, check, glue, adjust, smile. It is the kind of DIY that feels productive without being exhausting. You do not need complicated measurements, power tools, or a dramatic montage soundtrack. A cup of coffee, a free afternoon, and a mildly tolerant table surface are enough.
The finished sign also tends to photograph beautifully, which is part of the fun. Even a beginner version can look polished in pictures because flowers add texture and softness automatically. That makes this one of those rare crafts that gives a strong “I absolutely know what I’m doing” impression, even if you spent ten minutes debating where one tiny rosebud should go.
Emotionally, the project lands in a sweet spot too. A rose heart sign feels personal. It can be romantic, cheerful, nostalgic, or simply pretty. Some people make one for Valentine’s Day and end up keeping it out for months because it works surprisingly well with everyday décor. Others turn it into a gift and immediately want to make a second one because the first turned out better than expected. That may be the most relatable experience of all: starting this DIY as a “quick little craft” and ending up a little too proud of it. As well you should be.
Final Thoughts
A Super Easy Rose Heart Sign is one of those rare DIY projects that delivers big visual payoff without demanding pro-level skills. It is affordable, customizable, beginner-friendly, and easy to adapt to your style. Whether you want a romantic decoration, a handmade gift, or simply an excuse to buy pretty faux flowers without judgment, this project gets the job done beautifully.
Start with a solid base, choose realistic-looking roses, plan your heart shape before gluing, and keep the design balanced. That is really the whole magic. The rest is just creative personality, a little patience, and perhaps one dramatic sigh when a glue string wraps itself around your finger like it pays rent.
If you want a charming DIY décor piece that looks thoughtful and polished, a rose heart sign is an easy yes.













