
Drywall looks easy from across the room. It is flat, white, quiet, and seems to whisper, “Come on, how hard could I be?” Then you hang one crooked sheet, bury a screw too deep, smear joint compound like cake frosting, sand until your house looks like a flour factory exploded, and suddenly drywall becomes less of a weekend project and more of a character-building exercise.
The good news is that most drywall problems are not caused by a lack of talent. They are caused by a handful of repeat mistakes: poor planning, bad cuts, weak fastening, rushed taping, too much mud, not enough drying time, and skipping primer before paint. Once you understand where DIY drywall projects usually go sideways, you can avoid the classic “I’ll just hide it behind furniture” finish.
This guide breaks down the most common drywall mistakes DIYers make and how to avoid them, with practical tips for hanging drywall, taping seams, finishing corners, sanding, priming, and repairing small disasters before they become wall-sized regrets.
1. Starting Without a Drywall Layout Plan
One of the biggest DIY drywall mistakes happens before the first sheet touches the wall: poor layout. Many beginners simply start in one corner and keep going, cutting pieces as needed. That can lead to skinny strips at edges, seams lining up with door and window corners, unnecessary butt joints, and panels that are harder to finish.
A better approach is to plan the wall like a puzzle. Use the largest sheets you can safely handle, stagger butt joints, and avoid placing seams directly at the corners of doors and windows. Those areas move slightly as houses settle, doors slam, and framing shifts. A seam there is like putting a zipper on a trampoline: eventually, something may open up.
How to avoid it
Measure the room carefully before buying materials. Sketch each wall and ceiling, marking studs, outlets, doors, windows, and inside corners. Whenever possible, hang full sheets horizontally on walls so the long tapered edges meet. This reduces finishing work and helps create stronger, smoother seams. Plan butt joints so they are staggered and placed where they will be least visible.
2. Forgetting to Check the Framing First
Drywall does not magically straighten bad framing. If studs are bowed, twisted, uneven, or missing edge support, the finished wall may show waves, cracks, nail pops, or unsupported seams. DIYers often assume the wall cavity is ready because it has studs. Unfortunately, drywall is very good at revealing what framing tried to hide.
Inside corners are a common trouble spot. If there is no solid backing where two sheets meet, the drywall edge can flex. That flexing causes cracked tape, loose corners, and a finish that never feels solid.
How to avoid it
Before hanging panels, run a long straightedge across the studs. Plane or shim high and low spots where needed. Add blocking or drywall clips where panel edges need support, especially at inside corners, ceiling edges, and repair patches. Also check that insulation is not bulging past the face of the studs. Drywall should lie flat against the framing, not wrestle with it.
3. Using the Wrong Drywall for the Room
Not all drywall panels are the same. Standard drywall may be fine for many living areas, but moisture-prone spaces, garages, ceilings, fire-rated assemblies, and tile backing areas may require specific products. A common mistake is buying whatever sheet is cheapest and hoping paint will handle the rest. Paint is talented, but it is not a superhero cape.
Bathrooms, laundry rooms, basements, and garages can have different needs depending on moisture, code, and finish materials. Ceilings may require panels that resist sagging. Fire-rated walls may require Type X drywall. Tile areas usually need a suitable tile backer, not regular wallboard.
How to avoid it
Match the drywall type to the location. Use moisture-resistant products where appropriate, follow local building codes for garages and fire separations, and choose the correct thickness for walls and ceilings. When in doubt, check the panel manufacturer’s installation instructions and your local code requirements before buying.
4. Cutting Drywall With Dull Blades
A clean drywall cut begins with a sharp utility knife. Dull blades tear the paper face, crush the gypsum core, and leave ragged edges that are harder to finish. Beginners sometimes try to save one blade for the whole room. That blade retires emotionally long before the project ends.
Ragged cuts matter because damaged paper can bubble under joint compound, create fuzzy edges, and make seams harder to hide. Around outlets and fixtures, messy cuts can leave unsafe or unattractive gaps.
How to avoid it
Score the face paper firmly with a sharp knife, snap the board cleanly, then cut the back paper. Replace blades often. For outlet boxes, use accurate measurements, a drywall saw, router, or marking method that clearly identifies the box location. Make small adjustments gradually instead of hacking away at the opening like you are carving a pumpkin in a hurry.
5. Making Outlet and Switch Box Cutouts Too Large
Electrical box cutouts are a classic place for DIY drywall projects to go from “pretty good” to “please do not look behind that outlet cover.” Oversized gaps can leave cover plates unsupported and may violate code requirements. Undersized openings are also a problem because the drywall can push against the box or prevent the device from sitting properly.
How to avoid it
Mark carefully before lifting the sheet. Use a tape measure, chalk transfer, box locator tool, or drywall router. Cut slightly small if you are unsure, then trim carefully. Electrical boxes should sit flush with the finished wall surface, and the opening should be neat enough that the cover plate fully conceals it without heroic effort.
6. Driving Screws Too Deepor Not Deep Enough
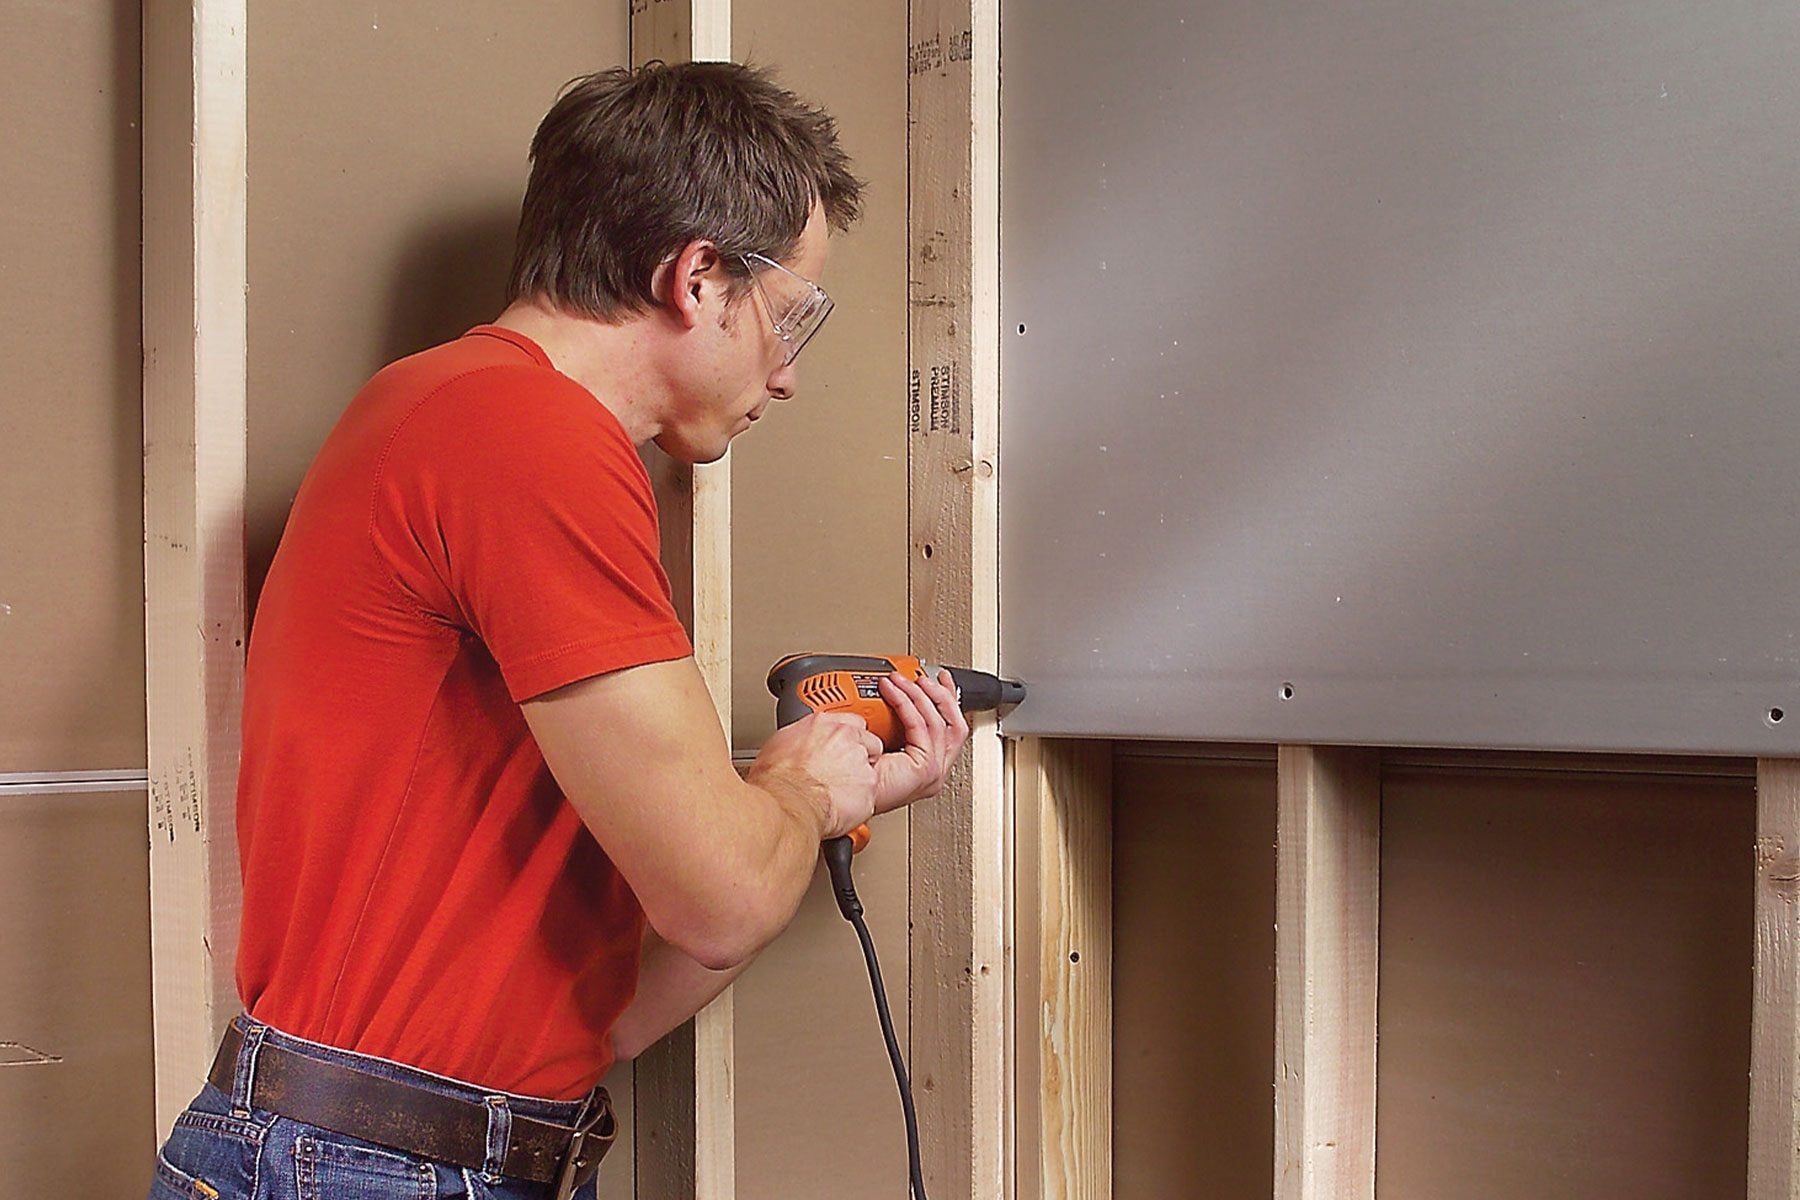
Drywall screws need the Goldilocks treatment. Too shallow, and the screw head sticks out, catching your taping knife and leaving a bump. Too deep, and the screw tears through the paper face, weakening the hold. A screw that breaks the paper is not doing its full job anymore.
Another mistake is poor screw spacing. Too few fasteners can allow movement, sagging, or future screw pops. Too many fasteners create unnecessary finishing work and more opportunities to damage the paper.
How to avoid it
Use drywall screws of the correct length and type for the framing. Drive each screw slightly below the surface without tearing the paper. A drywall screw gun or dimpler bit makes this easier. After hanging each panel, drag a taping knife over the screw heads. If it clicks, the screw is too high. If the paper is torn, add another screw nearby and remove or ignore the damaged one during finishing.
7. Placing Screws Too Close to Panel Edges
Fasteners set too close to drywall edges can crumble the gypsum core or split the paper. This is especially common near cutouts, corners, and narrow strips. Once the edge is damaged, the panel may not hold firmly, and the repair can become larger than the original mistake.
How to avoid it
Keep screws set back from the panel edge according to manufacturer recommendations. Do not fasten aggressively near a cutout before the cut is complete. If an edge breaks, cut back to solid material or add backing so the patch has proper support. Drywall is forgiving, but it does not appreciate being pinched at the edge like a tortilla chip.
8. Forcing Panels Into Place
Drywall should fit with small, controlled gaps where needed. It should not be jammed into place, hammered against framing, or bent to satisfy a measurement that was “close enough.” Forcing panels can break corners, bow the sheet, crush edges, or create stress that shows up later as cracks.
How to avoid it
Measure twice, cut once, and leave slight clearance at floors and tight corners. Trim panels that do not fit instead of forcing them. Use a drywall rasp to fine-tune edges. A clean fit is easier to tape, easier to finish, and much less likely to make you question your life choices at 10 p.m.
9. Skipping Tape or Using Tape Incorrectly
Joint compound alone is not enough to create strong seams. Tape reinforces drywall joints and helps prevent cracking. Some DIYers try to fill seams with mud only, especially on small repairs. It may look fine for a while, but cracks often return because the joint has no reinforcement.
Another common mistake is leaving too little compound under paper tape. That creates bubbles, blisters, and loose tape. On the other hand, squeezing out nearly all the mud under the tape can also weaken the bond.
How to avoid it
Apply a thin, even bed of joint compound before embedding paper tape. Press the tape firmly with a taping knife, removing excess compound without starving the joint. For mesh tape, use the compound type recommended for that tape, often a setting-type compound for stronger joints. Use paper tape for inside corners when you want crisp, durable lines.
10. Applying Too Much Joint Compound
This may be the most common drywall finishing mistake of all. Beginners often believe more mud means smoother walls. In reality, too much joint compound creates thick ridges, excessive sanding, shrinkage cracks, and a finish that looks like the wall is wearing a winter coat.
Professional-looking drywall finishing is about thin coats, wide feathering, and patience. The goal is not to bury the wall in compound. The goal is to create a gradual transition that fools the eye.
How to avoid it
Apply several thin coats instead of one heavy coat. Use wider knives as you progress: a smaller knife for embedding tape, then wider knives for second and third coats. Feather the edges lightly so the compound spreads beyond the joint. Let each coat dry fully before adding the next. Remember: adding mud is easy; sanding off a mountain range is less charming.
11. Not Letting Compound Dry Between Coats
Rushing drywall mud is like asking wet socks to become a tuxedo. Joint compound needs time to dry before sanding or recoating. If you apply another coat too soon, moisture gets trapped, the surface can shrink unevenly, and the finish may crack or remain soft.
How to avoid it
Follow the drying guidance on the compound container. Drying time depends on thickness, humidity, temperature, and airflow. Thin coats dry faster and finish better. Use fans or ventilation to improve air movement, but avoid blasting dust or debris into wet compound. If the mud still looks dark or feels cool and soft, it is not ready.
12. Sanding Too Much
Sanding is supposed to smooth drywall compound, not excavate it. Over-sanding can expose tape, tear paper, scratch the surface, and create low spots that need more repair. It also fills the house with dust, which has a special talent for appearing on dishes, bookshelves, pets, and possibly your soul.
How to avoid it
Use light pressure and fine-grit sanding tools. Sand only the ridges and edges that need blending. A bright work light held at an angle can reveal imperfections before painting. For small ridges, a damp sponge may reduce dust, though it should be used carefully to avoid softening the compound too much.
13. Ignoring Critical Lighting
Walls that look perfect in soft daylight can look rough under recessed lights, wall sconces, glossy paint, or sunlight streaming across the surface. This is called critical lighting, and it makes small ridges, waves, and seams much more visible.
How to avoid it
Inspect your work with a strong light held close to the wall at an angle. Use wider feathering in areas that will receive strong side lighting. For smooth walls with glossy or semi-gloss paint, consider a higher level of finish or skim coat. Matte paint is more forgiving, but it is not a magic eraser.
14. Skipping Drywall Primer Before Painting
New drywall has different surface textures: paper, joint compound, sanded areas, and patched spots. If you paint directly over these surfaces, the wall may absorb paint unevenly. The result is flashing, dull patches, visible seams, and a finish that looks blotchy even if the color is beautiful.
How to avoid it
Use a quality drywall primer or PVA primer before painting new drywall. Primer seals the surface, evens out porosity, and helps the finish coat look consistent. After priming, inspect the wall again. Primer often reveals small flaws that were invisible before. Touch them up, sand lightly, spot-prime, and then paint.
15. Treating Big Repairs Like Tiny Patches
Small nail holes can be patched with lightweight spackle or compound. Larger holes need backing, a properly fitted patch, tape, and layered finishing. A common DIY mistake is filling a large hole with a giant blob of compound and hoping it hardens into a wall. It may harden, but it probably will not look good.
How to avoid it
For large holes, cut the damaged area into a clean square or rectangle. Add wood backing or drywall repair clips, fasten a new piece of drywall, tape the seams, and finish with thin coats of compound. Feather the repair wider than the patch so the transition disappears. Prime before painting to prevent the patch from flashing through the finish coat.
Practical Experience: What DIY Drywall Teaches You the Hard Way
Drywall is one of those projects where experience shows up quietly. The first sheet teaches you that walls are not always square. The second sheet teaches you that “close enough” around an outlet is not actually close enough. By the third sheet, you begin to understand why professional drywall crews move with such calm confidence. They are not rushing. They are avoiding future work.
One of the most useful lessons is that drywall rewards preparation more than muscle. A beginner may spend all their energy lifting heavy panels, but the smoother job usually belongs to the person who checked the studs, marked the layout, sharpened the knife, staged the screws, and planned the seams. Drywall is not just hanging boards; it is controlling problems before they become visible.
Another real-world lesson is that finishing takes longer than hanging. Many DIYers are surprised by this. Hanging drywall feels dramatic because the room changes quickly. Finishing is slower and less glamorous. It is tape, mud, wait, scrape, mud again, wait again, sand lightly, inspect, touch up, prime, inspect again, and finally paint. That process can feel fussy, but it is exactly where the professional look comes from.
Patience also matters with joint compound. A heavy coat may seem like a shortcut, but it usually creates more sanding and more shrinkage. Thin coats feel slower at first, yet they save time because they dry better and require less correction. The same is true for sanding. The best sanding job is often the one you barely need because the mud was applied neatly in the first place.
Lighting is another humbling teacher. A wall can look flawless until evening sunlight slides across it and exposes every ridge like a topographic map. Experienced DIYers learn to inspect with a raking light before painting, not after. It is much easier to fix a seam before the room is finished than to stare at it every morning while drinking coffee and pretending it is “rustic texture.”
Finally, drywall teaches the value of knowing when to slow down. Cutouts, corners, butt joints, and final sanding are not places to hurry. A few extra minutes with a tape measure, utility knife, or sanding sponge can save hours of repair. The best DIY drywall projects are not perfect because nothing went wrong. They are successful because mistakes were caught early, corrected calmly, and not buried under paint.
Conclusion
The most common drywall mistakes DIYers make are avoidable with planning, patience, and the right technique. Check the framing before hanging panels. Use the right drywall for the room. Cut cleanly, fasten correctly, support every edge, tape every seam, apply thin coats of compound, let each coat dry, sand gently, inspect under strong light, and prime before painting.
Drywall may never become your favorite weekend hobby, but it does not have to become your villain origin story either. Treat each step as part of the final finish, and your walls will look cleaner, flatter, and far more professional. Best of all, you will not need to strategically place a bookshelf in front of that one seam forever.














