
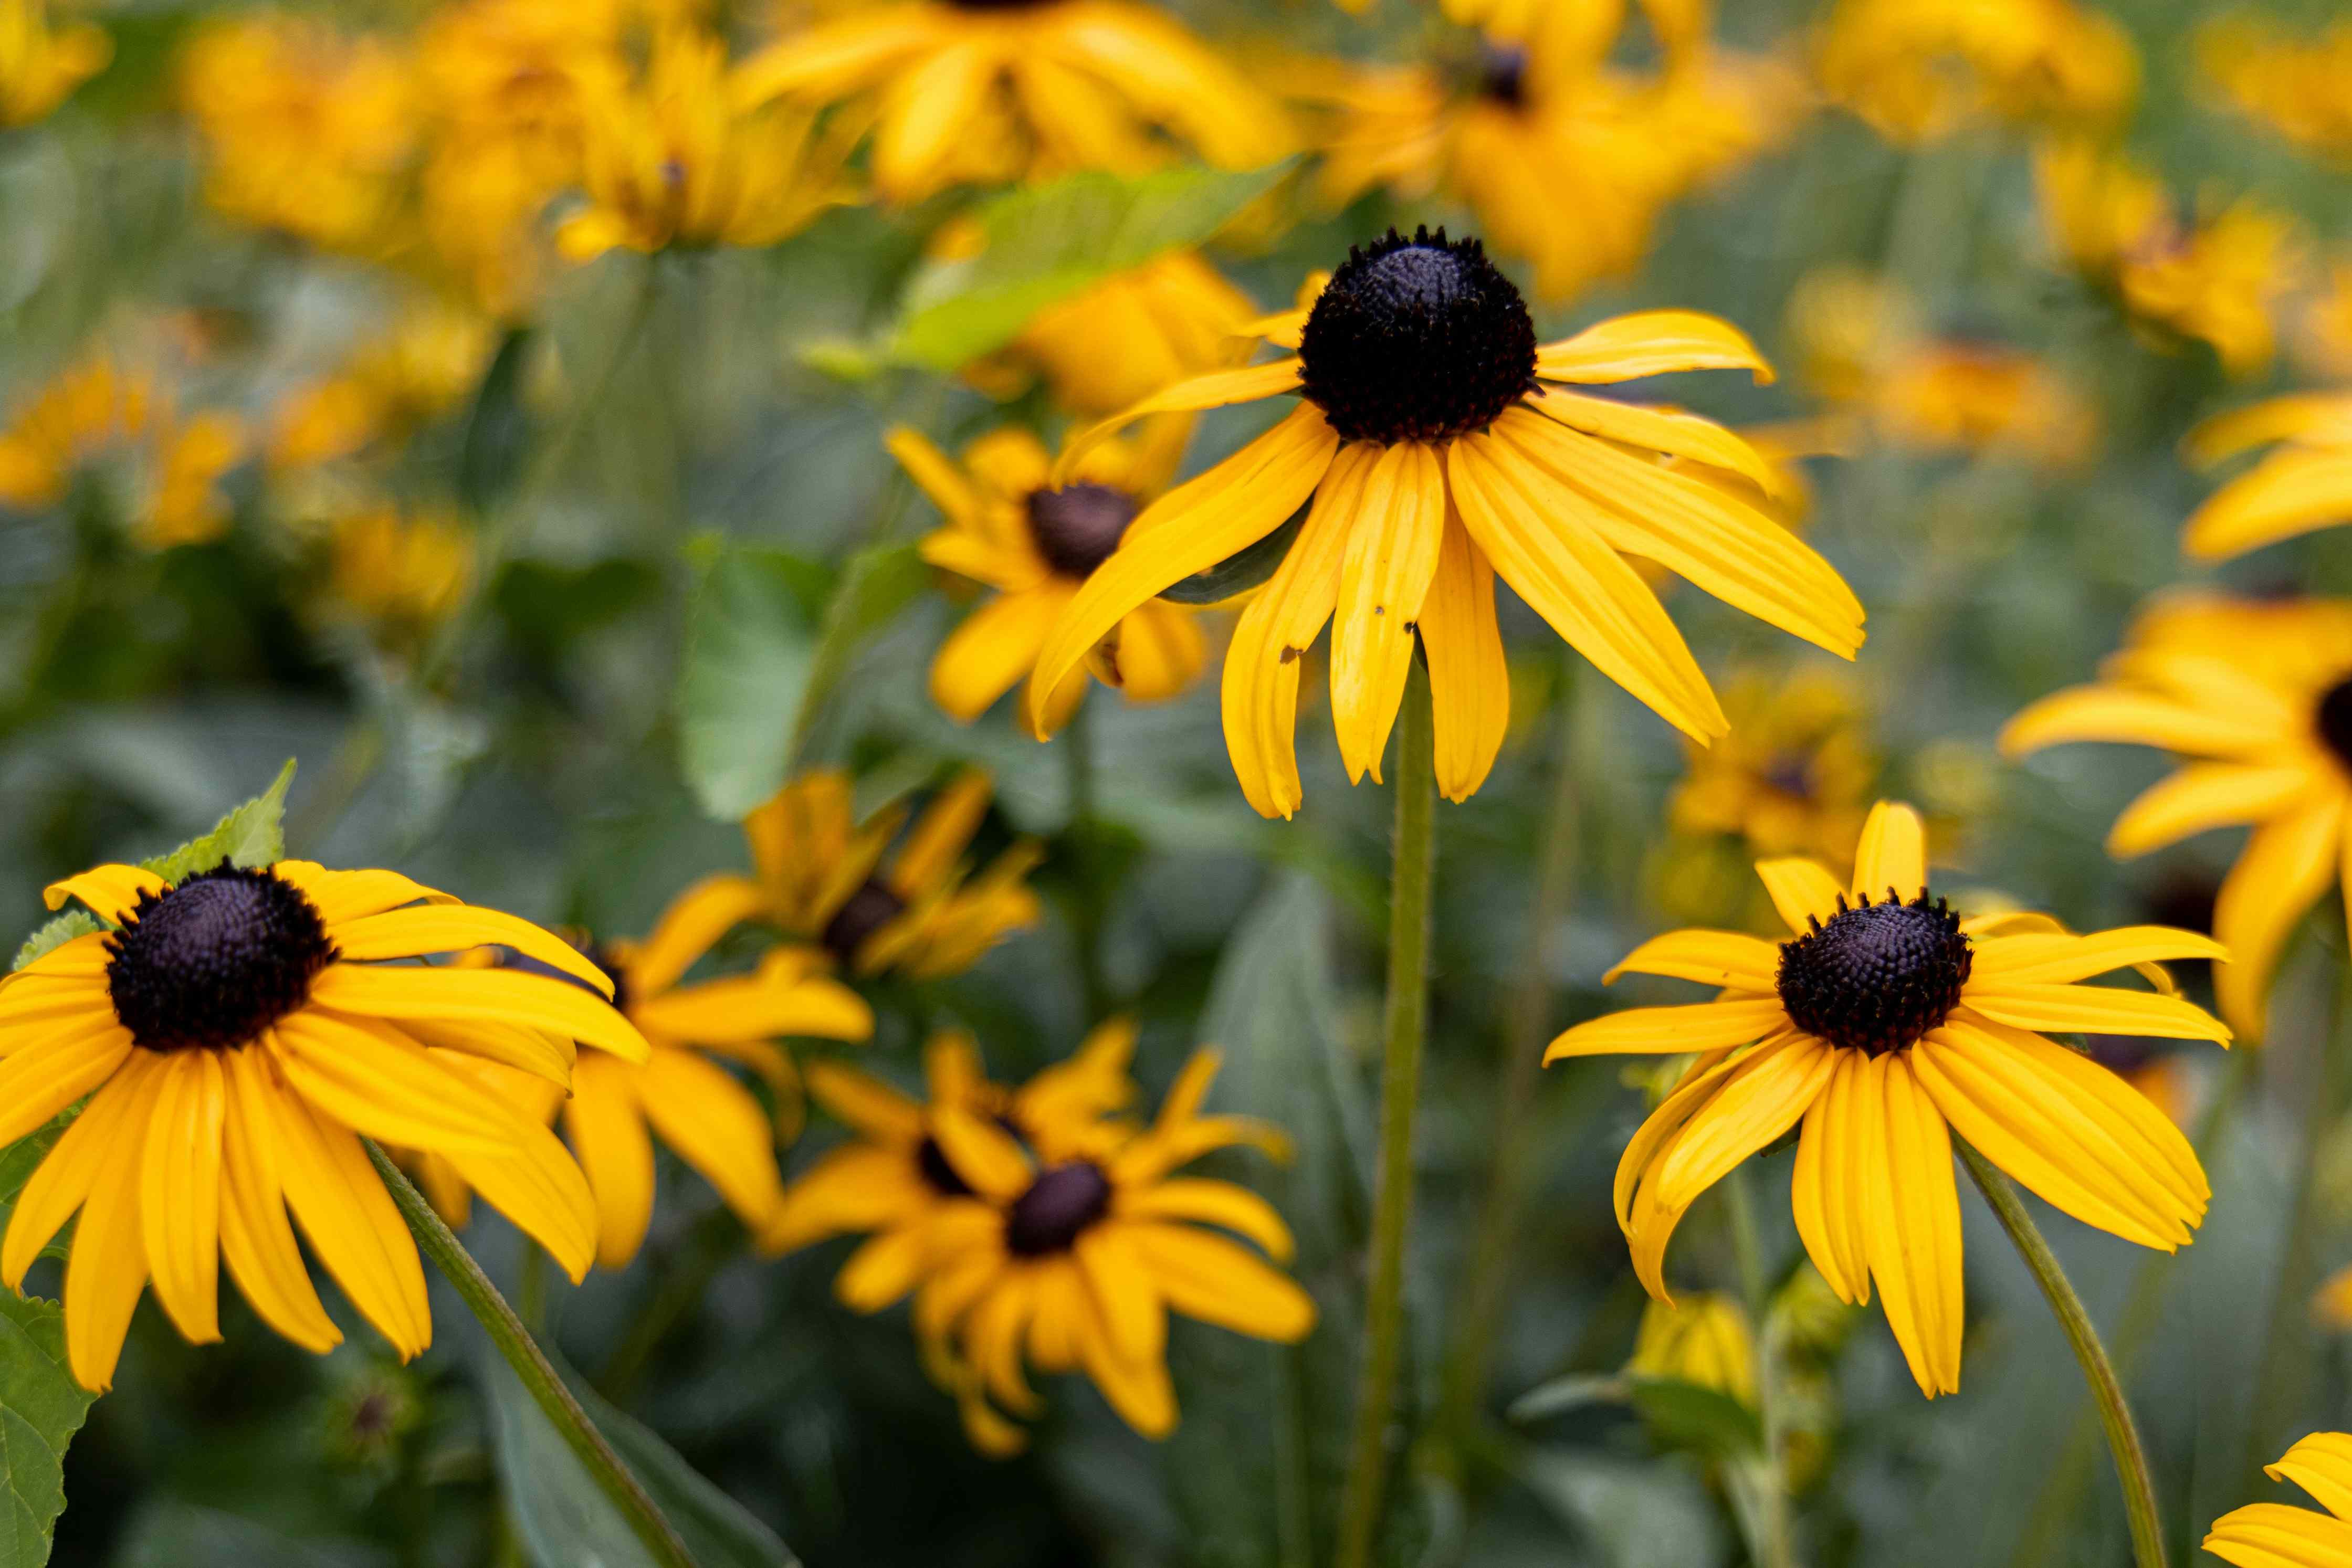
Black-eyed Susans are the golden retrievers of the flower border: cheerful, dependable, and almost impossible not to like. Their sunny petals and dark centers keep the garden looking awake long after summer starts yawning. But once cold weather rolls in, many gardeners face the same question with pruners in hand: should you cut them back before winter, or let them stand?
The honest answer is not a dramatic “always” or “never.” It depends on the condition of the plant, your local climate, and whether you value a tidy bed more than winter seed heads and wildlife benefits. In many cases, the best time to cut back black-eyed Susans is late winter to early spring, not the first chilly afternoon when you suddenly feel productive. Healthy stems and seed heads can add winter texture, feed birds, and provide some shelter for beneficial insects. But if the plants are diseased, collapsing, or simply looking like a bad hair day you can see from space, a careful late-fall cleanup can be the smarter move.
This guide breaks down exactly when to cut back black-eyed Susans for winter, how to do it safely, what mistakes to avoid, and how experienced gardeners handle the job without accidentally giving their plants the horticultural version of a buzz cut gone wrong.
Should You Cut Back Black-Eyed Susans in Fall or Spring?
For healthy black-eyed Susans, spring is often the better choice. Leaving the seed heads and stems standing through winter gives the garden structure when everything else looks sleepy. It can also help support birds that feed on seed heads and offer a bit of habitat value for overwintering beneficial insects. If you enjoy a garden that still has some personality in January, standing black-eyed Susans earn their keep.
That said, fall cleanup is not a gardening crime. In fact, it is the better move when plants are struggling with leaf spot, powdery mildew, rot, or heavy insect damage. Diseased foliage can carry problems into the next season, so sanitation matters. If the plants are flopping over, smothering nearby crowns, or making your front bed look like it lost a bet, cutting them back after frost is reasonable.
One important detail: “black-eyed Susan” covers more than one type of Rudbeckia. Rudbeckia hirta, the classic black-eyed Susan, is often treated as an annual, biennial, or short-lived perennial, depending on the variety and location. Meanwhile, popular garden workhorses like Rudbeckia fulgida ‘Goldsturm’ are reliable perennials that return year after year. The cut-back timing is similar, but knowing which type you grow helps you understand whether you are maintaining a long-term clump or encouraging reseeding from shorter-lived plants.
The Right Time to Cut Back Black-Eyed Susans for Winter
Best timing for healthy plants
If your plants are healthy, the ideal window is late winter to early spring, just before fresh growth begins. This timing lets you enjoy winter seed heads while reducing the chance of accidentally removing stems that still have habitat value. It also makes cleanup easier because you can clearly see what is dead and what is beginning to regrow.
In colder regions, many gardeners wait until temperatures are consistently mild and the garden is waking up. That usually means late March or April, depending on your zone. If you want to be extra pollinator-friendly, wait until the weather has warmed more consistently before doing a full cleanup.
Best timing for diseased or badly damaged plants
If black-eyed Susans developed serious leaf spot, mildew, or other foliar disease during the growing season, cut them back in late fall, after several hard frosts or once the foliage has clearly died back. The goal is to remove infected debris before it can linger in the bed all winter.
This is also the right time to cut them back if the clump has become a soggy mess, if stems are lying across neighboring perennials, or if rodents seem a little too interested in setting up winter condos in the bed.
A simple rule you can actually remember
Use this shortcut:
- Healthy and attractive? Leave it until late winter or early spring.
- Diseased, mushy, or messy? Cut it back after hard frost in late fall.
- Unsure? Leave some stems standing and clean up the worst-looking parts only.
How to Cut Back Black-Eyed Susans Safely
Once you know the timing, the actual job is simple. The secret is to avoid turning a quick garden task into an invitation for disease, crown damage, or spring confusion.
1. Gather the right tools
You do not need a trailer full of equipment. A few basics will do the job:
- Sharp hand pruners or garden shears
- Gardening gloves
- A bucket, tarp, or paper yard bag for debris
- Rubbing alcohol or disinfectant wipes for sanitizing blades
Gloves matter more than you might think. Mature rudbeckia stems can be rough, dry, and scratchy, which is a charming trait in exactly no one’s hands.
2. Inspect the plant before cutting
Look closely at the leaves and stems. If the plant had powdery mildew, spotted leaves, or stem rot, separate that debris from healthy material. Diseased foliage should not go into a casual backyard compost pile unless you maintain hot compost conditions that reliably kill pathogens. For most home gardeners, bagging and disposing of diseased material is the safer choice.
If the plant looks healthy and the seed heads are intact, you can choose a lighter cleanup instead of a full cutback. Sometimes all that is needed is removing the most broken stems and leaving the rest for winter interest.
3. Cut stems to the right height
For a full cutback, trim stems to about 4 to 6 inches above the soil line. In especially cold or windy regions, some gardeners leave closer to 6 to 8 inches so the crown is easier to spot and the remaining stubble helps trap leaves or snow for a little insulation.
Do not cut below the crown or hack into the base of the plant. Black-eyed Susans are tough, but they still appreciate not being treated like a hedge in a hurry.
4. Clean up around the crown
After cutting, remove heavy mats of wet leaves and plant debris piled directly over the crown. A light natural layer is fine, but thick, soggy buildup can encourage rot and create a cozy setup for problems you would rather not host.
If your garden is exposed, a thin layer of mulch after the ground cools can help moderate winter temperature swings. Keep mulch slightly away from the crown instead of burying it. Plants like comfort, not suffocation.
5. Sanitize tools, especially after diseased plants
Wipe blades with rubbing alcohol or another garden-safe disinfectant after working on any diseased clumps. This is a small step that prevents you from becoming the unwitting chauffeur who drives pathogens around the flower bed.
6. Mark the plant if you tend to forget where things are
This sounds silly until spring proves otherwise. If you cut plants low in fall, add a small plant marker so you do not dig, step on, or mulch over the crown later. Black-eyed Susans are resilient, but they cannot dodge boots.
When Not to Cut Back Black-Eyed Susans
There are several times when cutting back is either unnecessary or just poorly timed:
- Too early in fall: Cutting while plants are still actively growing can reduce the garden’s late-season value and may encourage weak new growth in some conditions.
- Before seed heads mature: If you want birds, winter interest, or self-seeding, do not rush to remove the spent blooms.
- During mild wet spells with disease present: Pruning slimy, wet foliage without sanitation can spread problems.
- When new spring growth is already well underway: At that point, cleanup takes more care because it is easier to snap tender new shoots.
Deadheading vs. Winter Cutback: Not the Same Job
Gardeners often mix these up, so let’s clear the mulch. Deadheading is the removal of faded flowers during the growing season to keep plants looking tidy and, in some cases, encourage more blooming. Winter cutback is the larger cleanup done after frost or before spring growth starts.
If you deadhead black-eyed Susans regularly in summer, you may get a neater display and sometimes a longer bloom period. But if you want winter seed heads or a chance for self-sowing, leave at least some spent flowers in place at the end of the season.
Common Mistakes to Avoid
Cutting every plant to the ground just because it is fall
A lot of perennial advice used to lean hard toward “clean everything up now.” Today, many gardeners take a more balanced approach. Not every stem needs to disappear before winter. Selective cleanup is often better than total scalping.
Ignoring disease issues
On the flip side, leaving obviously infected foliage in place all winter is not a sign of eco-wisdom. It is just procrastination in a cardigan. If disease was severe, remove the debris.
Overcrowding the clump
If your black-eyed Susans bloom less than they used to, develop leaf problems year after year, or start dying out in the center, the issue may be overcrowding rather than cutback timing alone. Divide mature perennial clumps when needed to improve airflow and vigor.
Forgetting your goal
Some gardeners want a tidy, low-maintenance winter bed. Others want wildlife value and seed heads. Both are valid. Problems start when you follow advice meant for a different goal than your own garden style.
Hands-On Gardener Experiences: What Usually Happens in Real Life
After a few seasons with black-eyed Susans, most gardeners end up less rigid and more practical. The first year, many people cut everything back in fall because it feels neat, responsible, and faintly heroic. The bed looks clean for about ten minutes. Then winter arrives, and the whole garden becomes a flat beige parking lot of mulch. That is usually when gardeners start noticing how much structure standing perennials actually provide.
One of the most common experiences is discovering that healthy black-eyed Susan seed heads are far more useful than expected. In winter, they give the border shape when everything else has vanished. They also attract attention from birds, especially when food is scarce. Gardeners who once rushed to remove every spent bloom often change their minds after seeing movement and life around those dark seed heads on a cold morning. Suddenly, “messy” starts looking a lot like “alive.”
Another real-world lesson comes after a wet or humid growing season. Black-eyed Susans are generous bloomers, but they are not invincible. In crowded beds or areas with poor air circulation, disease can creep in. Leaves spot, mildew appears, and by fall the plant may look less like a golden daisy and more like it just survived finals week. In those years, experienced gardeners rarely debate timing for long. They cut the plants back after frost, bag the diseased material, sanitize tools, and move on. The next spring usually rewards that discipline.
Many gardeners also learn the hard way that not all black-eyed Susans behave the same. A shorter-lived type may reseed and wander happily through the garden, while a perennial clump like ‘Goldsturm’ returns in a more predictable patch. That changes how people handle end-of-season cleanup. If self-seeding is welcome, some seed heads get left alone. If the goal is a controlled border with named cultivars, gardeners may deadhead more often and manage fall cleanup more tightly.
Then there is the practical matter nobody talks about until it happens: spring amnesia. If you cut black-eyed Susans all the way down in fall and forget where the clumps are, you may step on them, dig into them, or cover them too heavily with mulch. Gardeners who have done this once tend to become devoted fans of leaving a few inches of stem or using simple plant markers. Experience has a funny way of turning the smallest tips into sacred law.
There is also a timing lesson that comes from pure impatience. Many people try to “get ahead” by cleaning the whole garden too early in fall. The result is often disappointing. The plants were still contributing color or seed, the bed loses visual interest sooner, and the gardener ends up doing more work for less benefit. Over time, experienced gardeners stop cleaning on autopilot and start responding to what the plant is actually telling them. Healthy? Leave it. Diseased? Remove it. Collapsing onto the sidewalk? Fair game.
Perhaps the biggest takeaway from real gardens is that black-eyed Susan maintenance works best when it is flexible. The safest and smartest cutback plan is not a fixed calendar date circled in red. It is a decision based on plant health, weather, wildlife value, and your own tolerance for winter texture. That is why seasoned gardeners rarely ask, “Do I always cut back black-eyed Susans in fall?” Instead, they ask, “What shape are these plants in this year?” That question leads to much better results.
Final Thoughts
If you want the simplest answer, here it is: cut back black-eyed Susans in late winter or early spring if the plants are healthy, and in late fall after hard frost if disease or severe messiness is an issue. Use clean tools, leave a few inches of stem, remove diseased debris carefully, and avoid smothering the crown.
That approach protects plant health, supports a cleaner spring start, and still leaves room for winter beauty and wildlife value when conditions allow. In other words, you do not need to choose between a responsible gardener and a relaxed gardener. Black-eyed Susans are perfectly happy if you become both.














